Perfect Homemade Macarons:
Simple and Quick Recipe
Updated on October 6, 2024

This easy-to-follow tutorial will help you master the art of making macarons
Welcome to the Ultimate Guide for Making Beautiful, Delicious Macarons at Home. This step-by-step beginner's guide breaks down the process with simple ingredients and 4 essential steps, ensuring you can master the art of perfect macarons with ease.
Why Choose My Recipe?
I’ve invested countless hours in mastering the art of macaron making through cooking classes and private lessons with professional chefs. After conducting over a hundred personal trials and experimenting with different ingredients and settings, I’m thrilled to share my expert knowledge with you in a straightforward format, ensuring your macaron journey is both enjoyable and stress-free.Discover the essential ingredients and tools required for perfect macarons in your home kitchen. I’ll also reveal professional cooking secrets and tweaks used by chefs to create flawless macarons.This French macaron recipe, featuring Italian meringue, guarantees smoother, more aesthetically pleasing shells compared to traditional French macaron recipes.
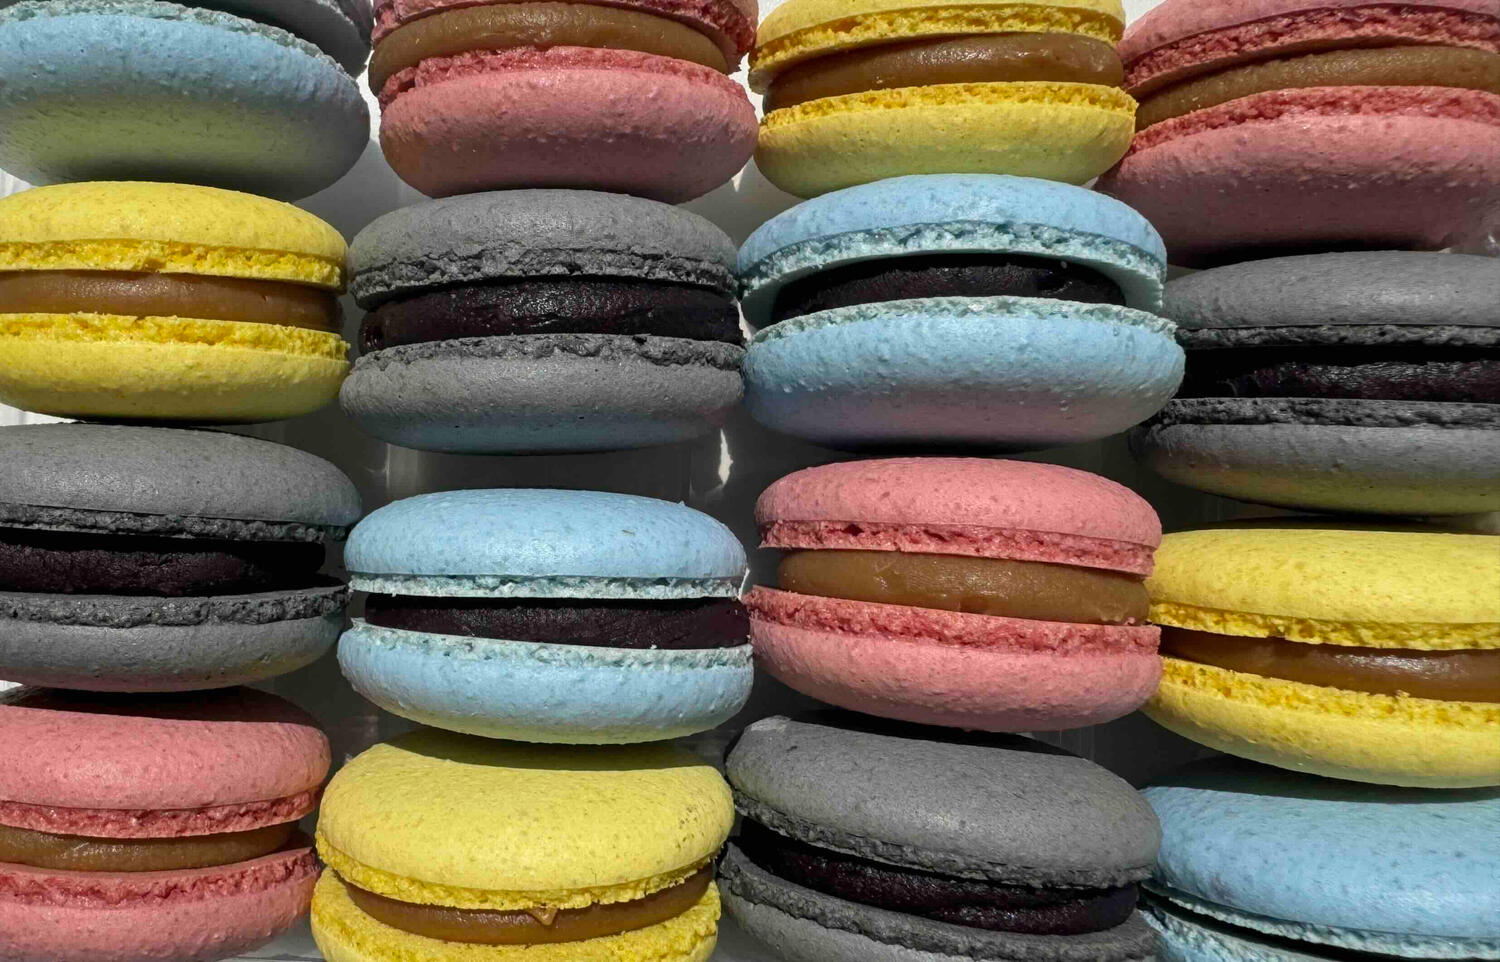
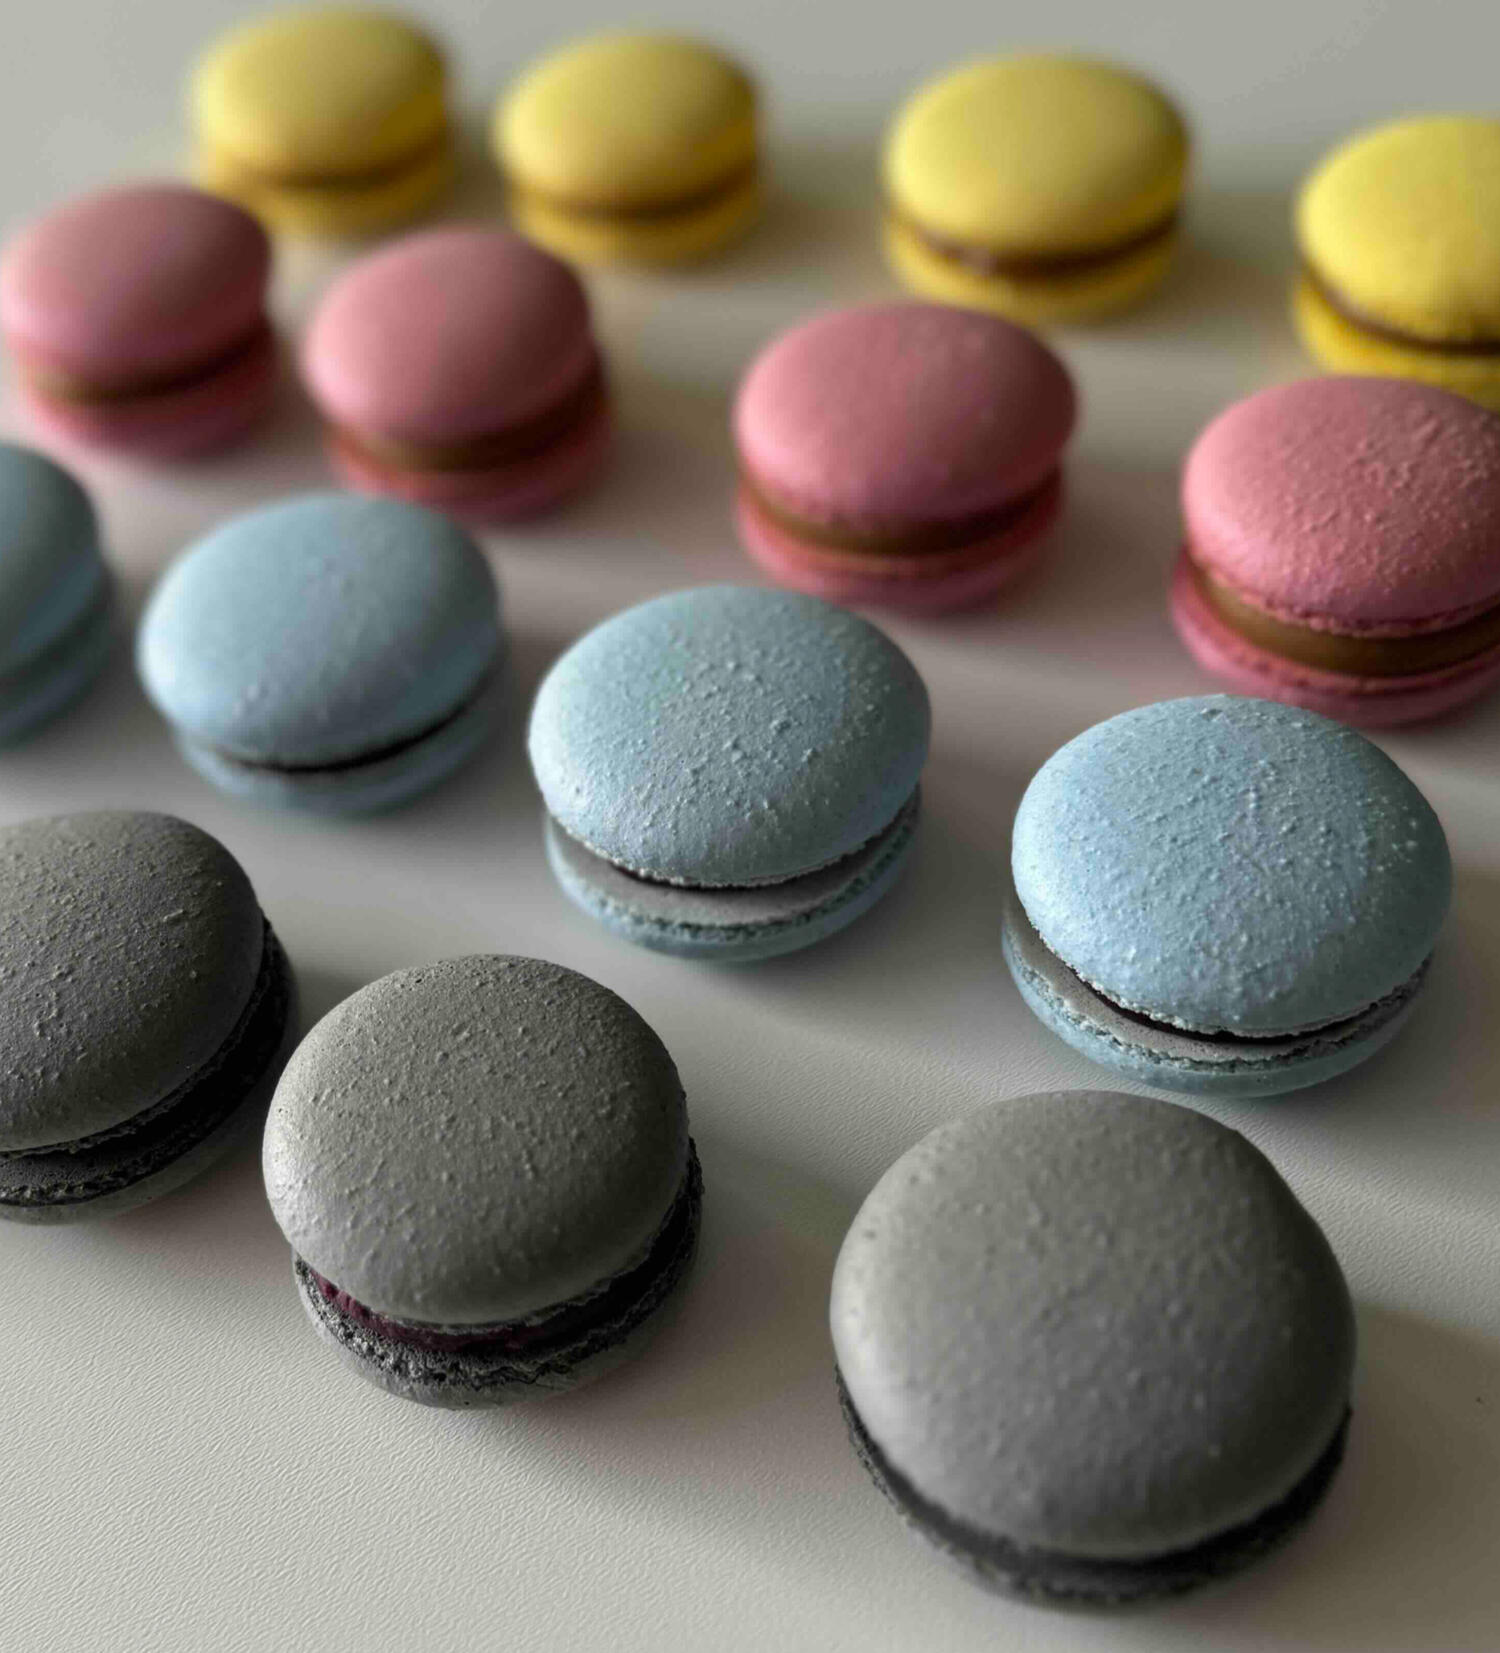
Ready to Get Started?
I promise, with this guide, you’ll be able to create perfect macarons, even if you’re a complete beginner. Let’s dive in and start baking!
Table of contents
This article contains affiliate links to the ingredients and tools that I use and recommend. As an Amazon Associate I earn from qualifying purchases.
Essential Ingredients for Macarons
We only need 5 basic ingredients, plus a pinch of salt, citric acid powder, and a splash of water:
EGG WHITES: 110g/ 3.88oz** (approx. 3 eggs required). This amount will be split equally (55g/1.95oz each) for the meringue and almond/confectioners' sugar mixture.
SUPERFINE SUGAR: 135g/ 4.76oz. If superfine sugar is unavailable, blend granular sugar for 5-10 seconds.
FINELY GROUND ALMOND FLOUR: 175g/ 6.17oz
CONFECTIONER'S SUGAR (powdered sugar): 150g/ 5.29oz
ALBUMIN (Egg White Powder): 2g/ 0.07oz. Provides stability for the macaron batter
WATER: 37g/ 1.31oz to create syrup with superfine sugar
PINCH OF SALT
PINCH OF CITRIC ACID POWDER
This recipe yields approx. 30 macarons.One of the benefits of this recipe is that you can store the unused shells in the fridge or freeze the assembled macarons to enjoy later.For more details, see the Step 4: Assembling and Storing Macarons section below.
Proportions are crucial. I strongly recommend using a food scale to measure ingredients precisely by weight. While some recipes offer measurements in cups, in my experience, this method is often inaccurate and can lead to issues with your macarons
Always use fresh eggs, not pasteurized egg whites, as this significantly impacts the quality of your macarons
Must-Have Tools for Baking Macarons
I personally use these tools (see links below), which are essential for creating perfect macarons:
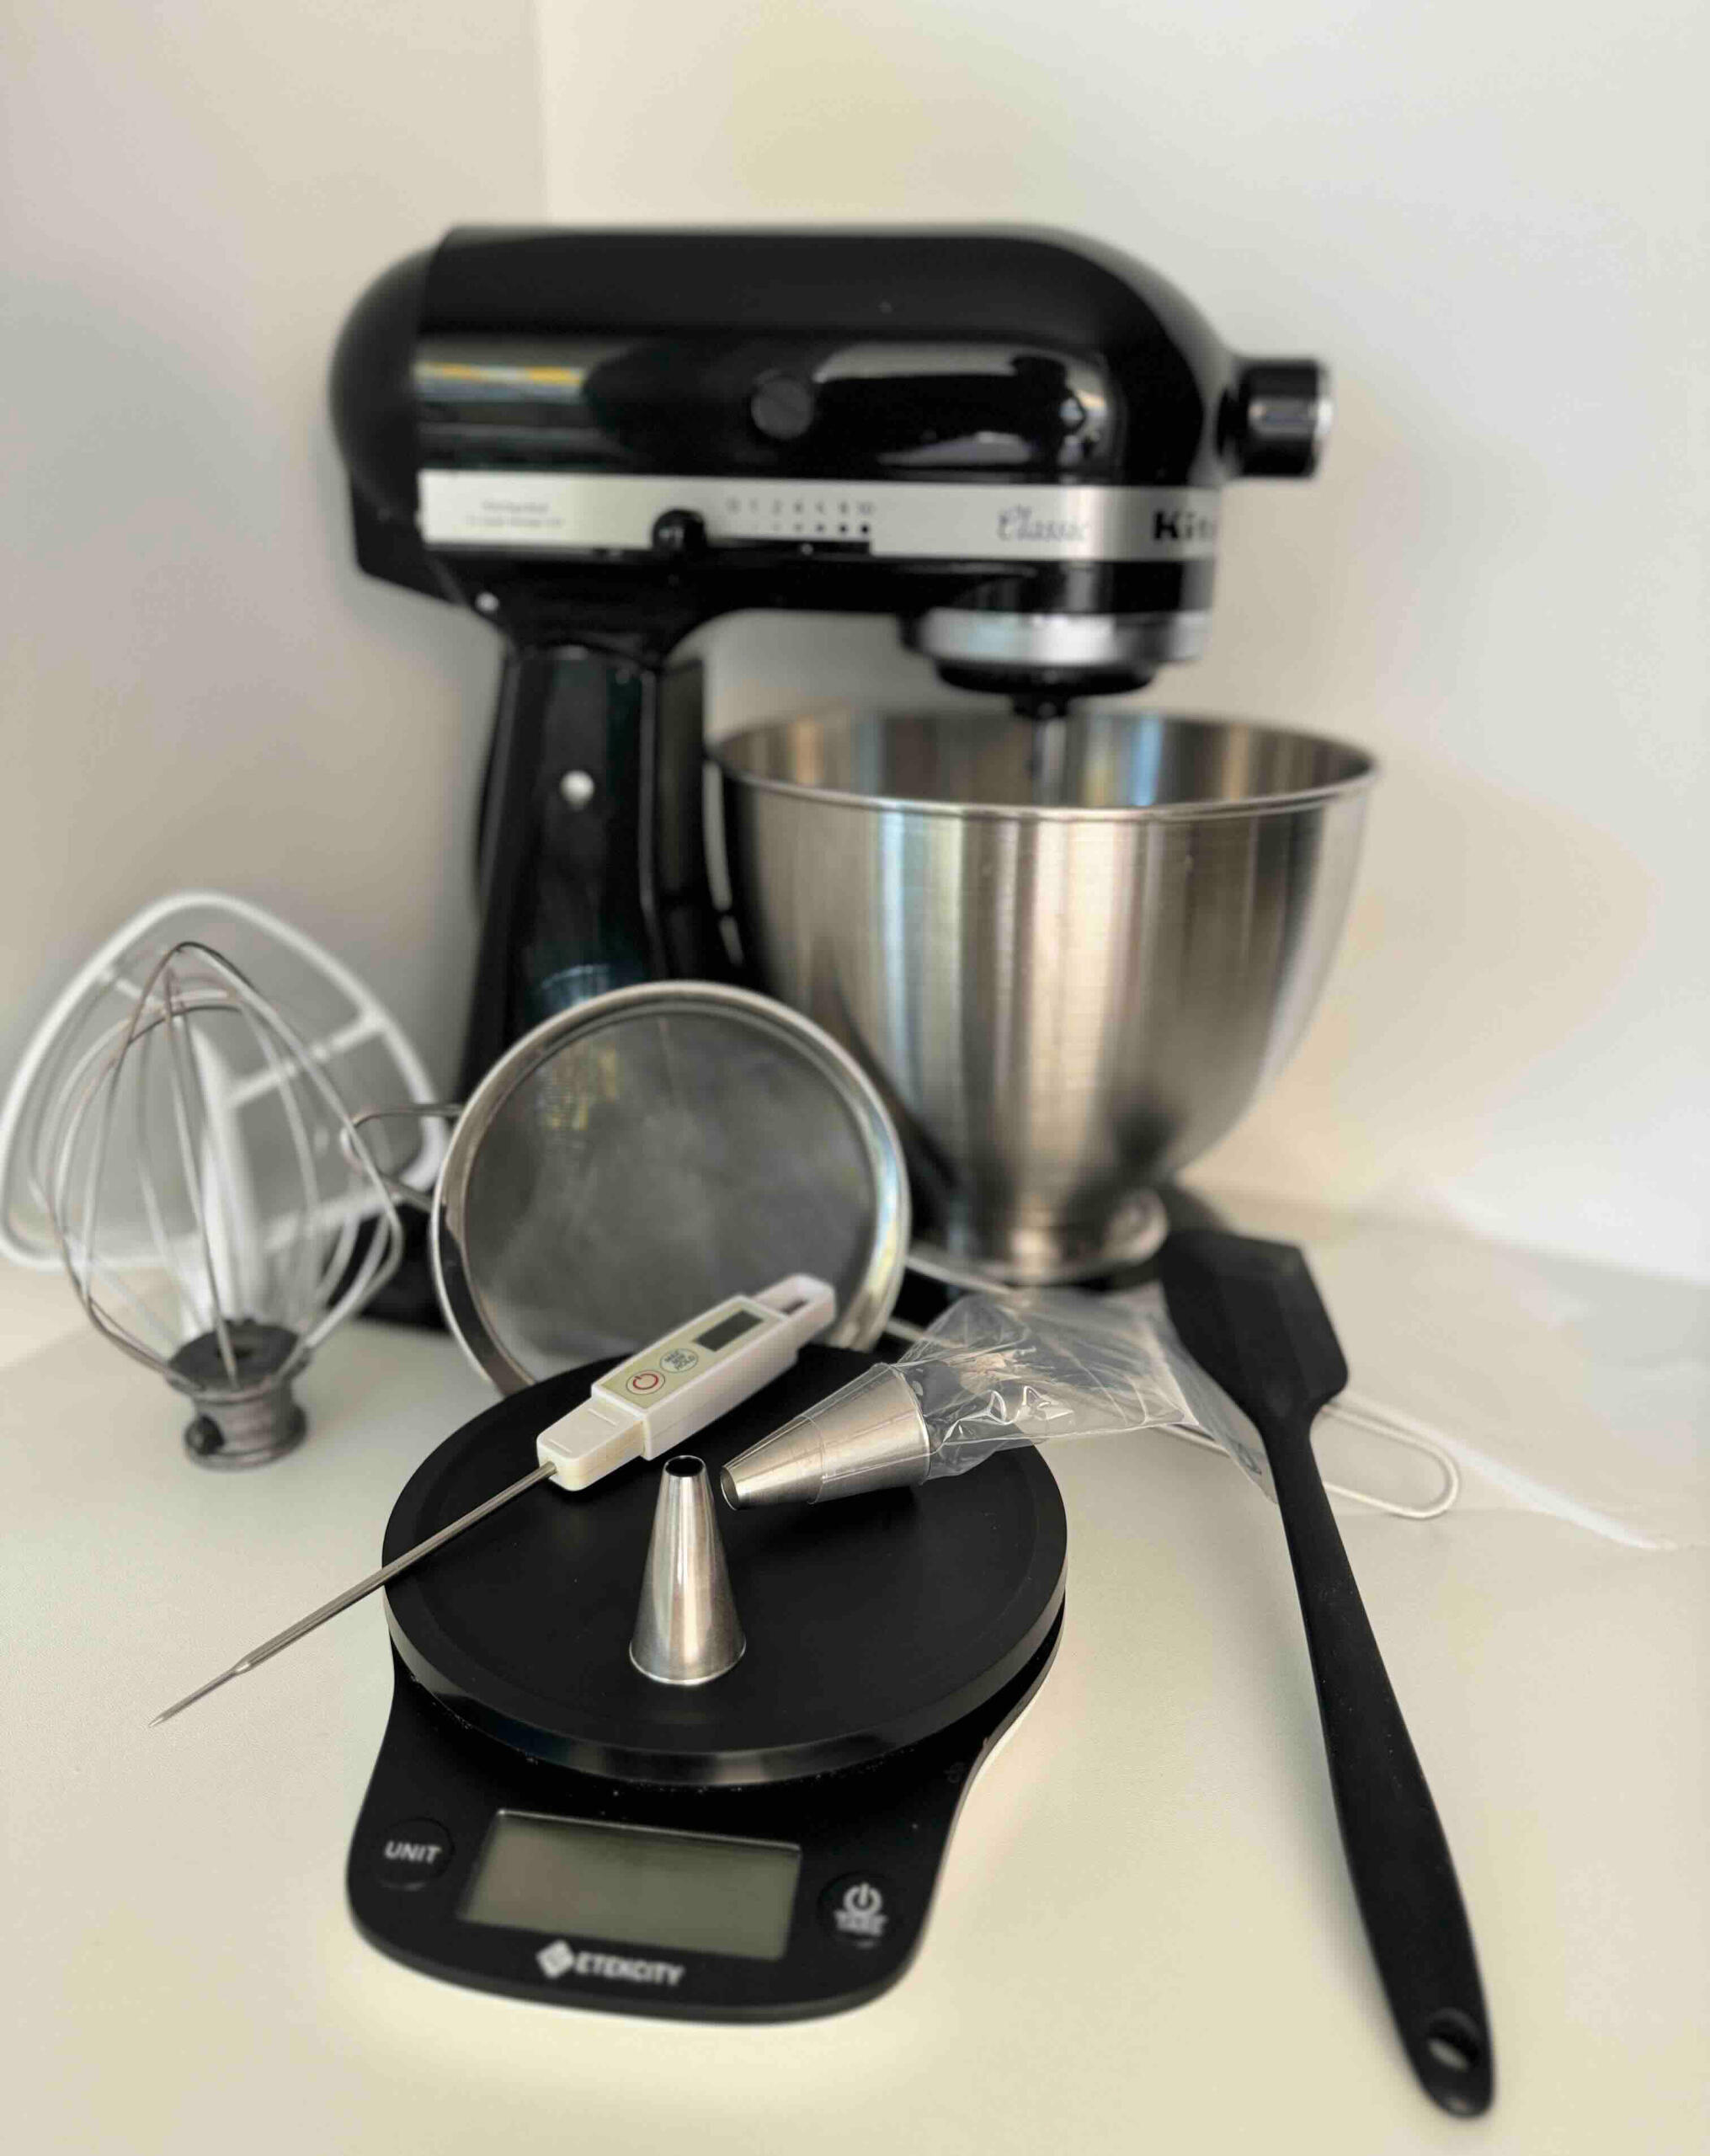
Food Scale allows precise measuring and is key to success
Spatula essential for the macaronage process
Teflon Mat you can also use a silicone non-stick baking mat or parchment paper, but from my experience, the baking result is substantially better with a teflon mat
Stand Mixer (with a wire whip and flat beater attachments) or a Handheld Mixer to beat the egg whites. I prefer a stand mixer since it provides more consistent results and is easier to operate*
Metal or Glass Bowls. I personally use glass bowls to observe the mixture's consistency from all sides. I don't recommend using plastic bowls
Fine Mesh Strainer/ Sieve very helpful for properly mixing the almond flour and confectioners' sugar together
Piping Bags and Two Round Piping Tips for piping macaron shells (10mm/0.4in diameter) and filling (6mm/0.3in diameter)
Oven Thermometer an essential precision tool for baking perfect macaron shells. Note that all ovens are slightly different, as are their built-in thermometers
Instant Read Food Thermometer for measuring the temperature of the syrup
Airtight Container for storing macaron shells or assembled macarons
Blender or a Food Processor if you plan to make superfine sugar at home
Step 1: Preparing Macaron Batter (Meringue & Macaronage)
Prepare a few important things in advance:
If you have already prepared your macaron filling and kept it in the fridge for at least 1.5h, you can proceed to the next steps. Otherwise, please check the following section first: Step 3: Creating Macaron Filling with Delicious Flavors
Turn on the oven and preheat it to 140°C/ 290°F while mixing the macaron batter. Use an oven thermometer to ensure the temperature is accurate
Prepare your baking mat
Install the round tip (10mm/0.4in in diameter) on the piping bag. Place the piping bag in a tall glass and fold the upper part of the bag around the edge of the glass
Mixing almond flour with confectioners' sugar:
I prefer to start by sifting the almond flour to remove any lumps. If necessary, sift twice and adjust by adding more almond flour if you remove any lumps. I use a glass bowl and a strainer for this process. Next, I sift the confectioner's sugar into the same bowl and mix it thoroughly with the almond flour.
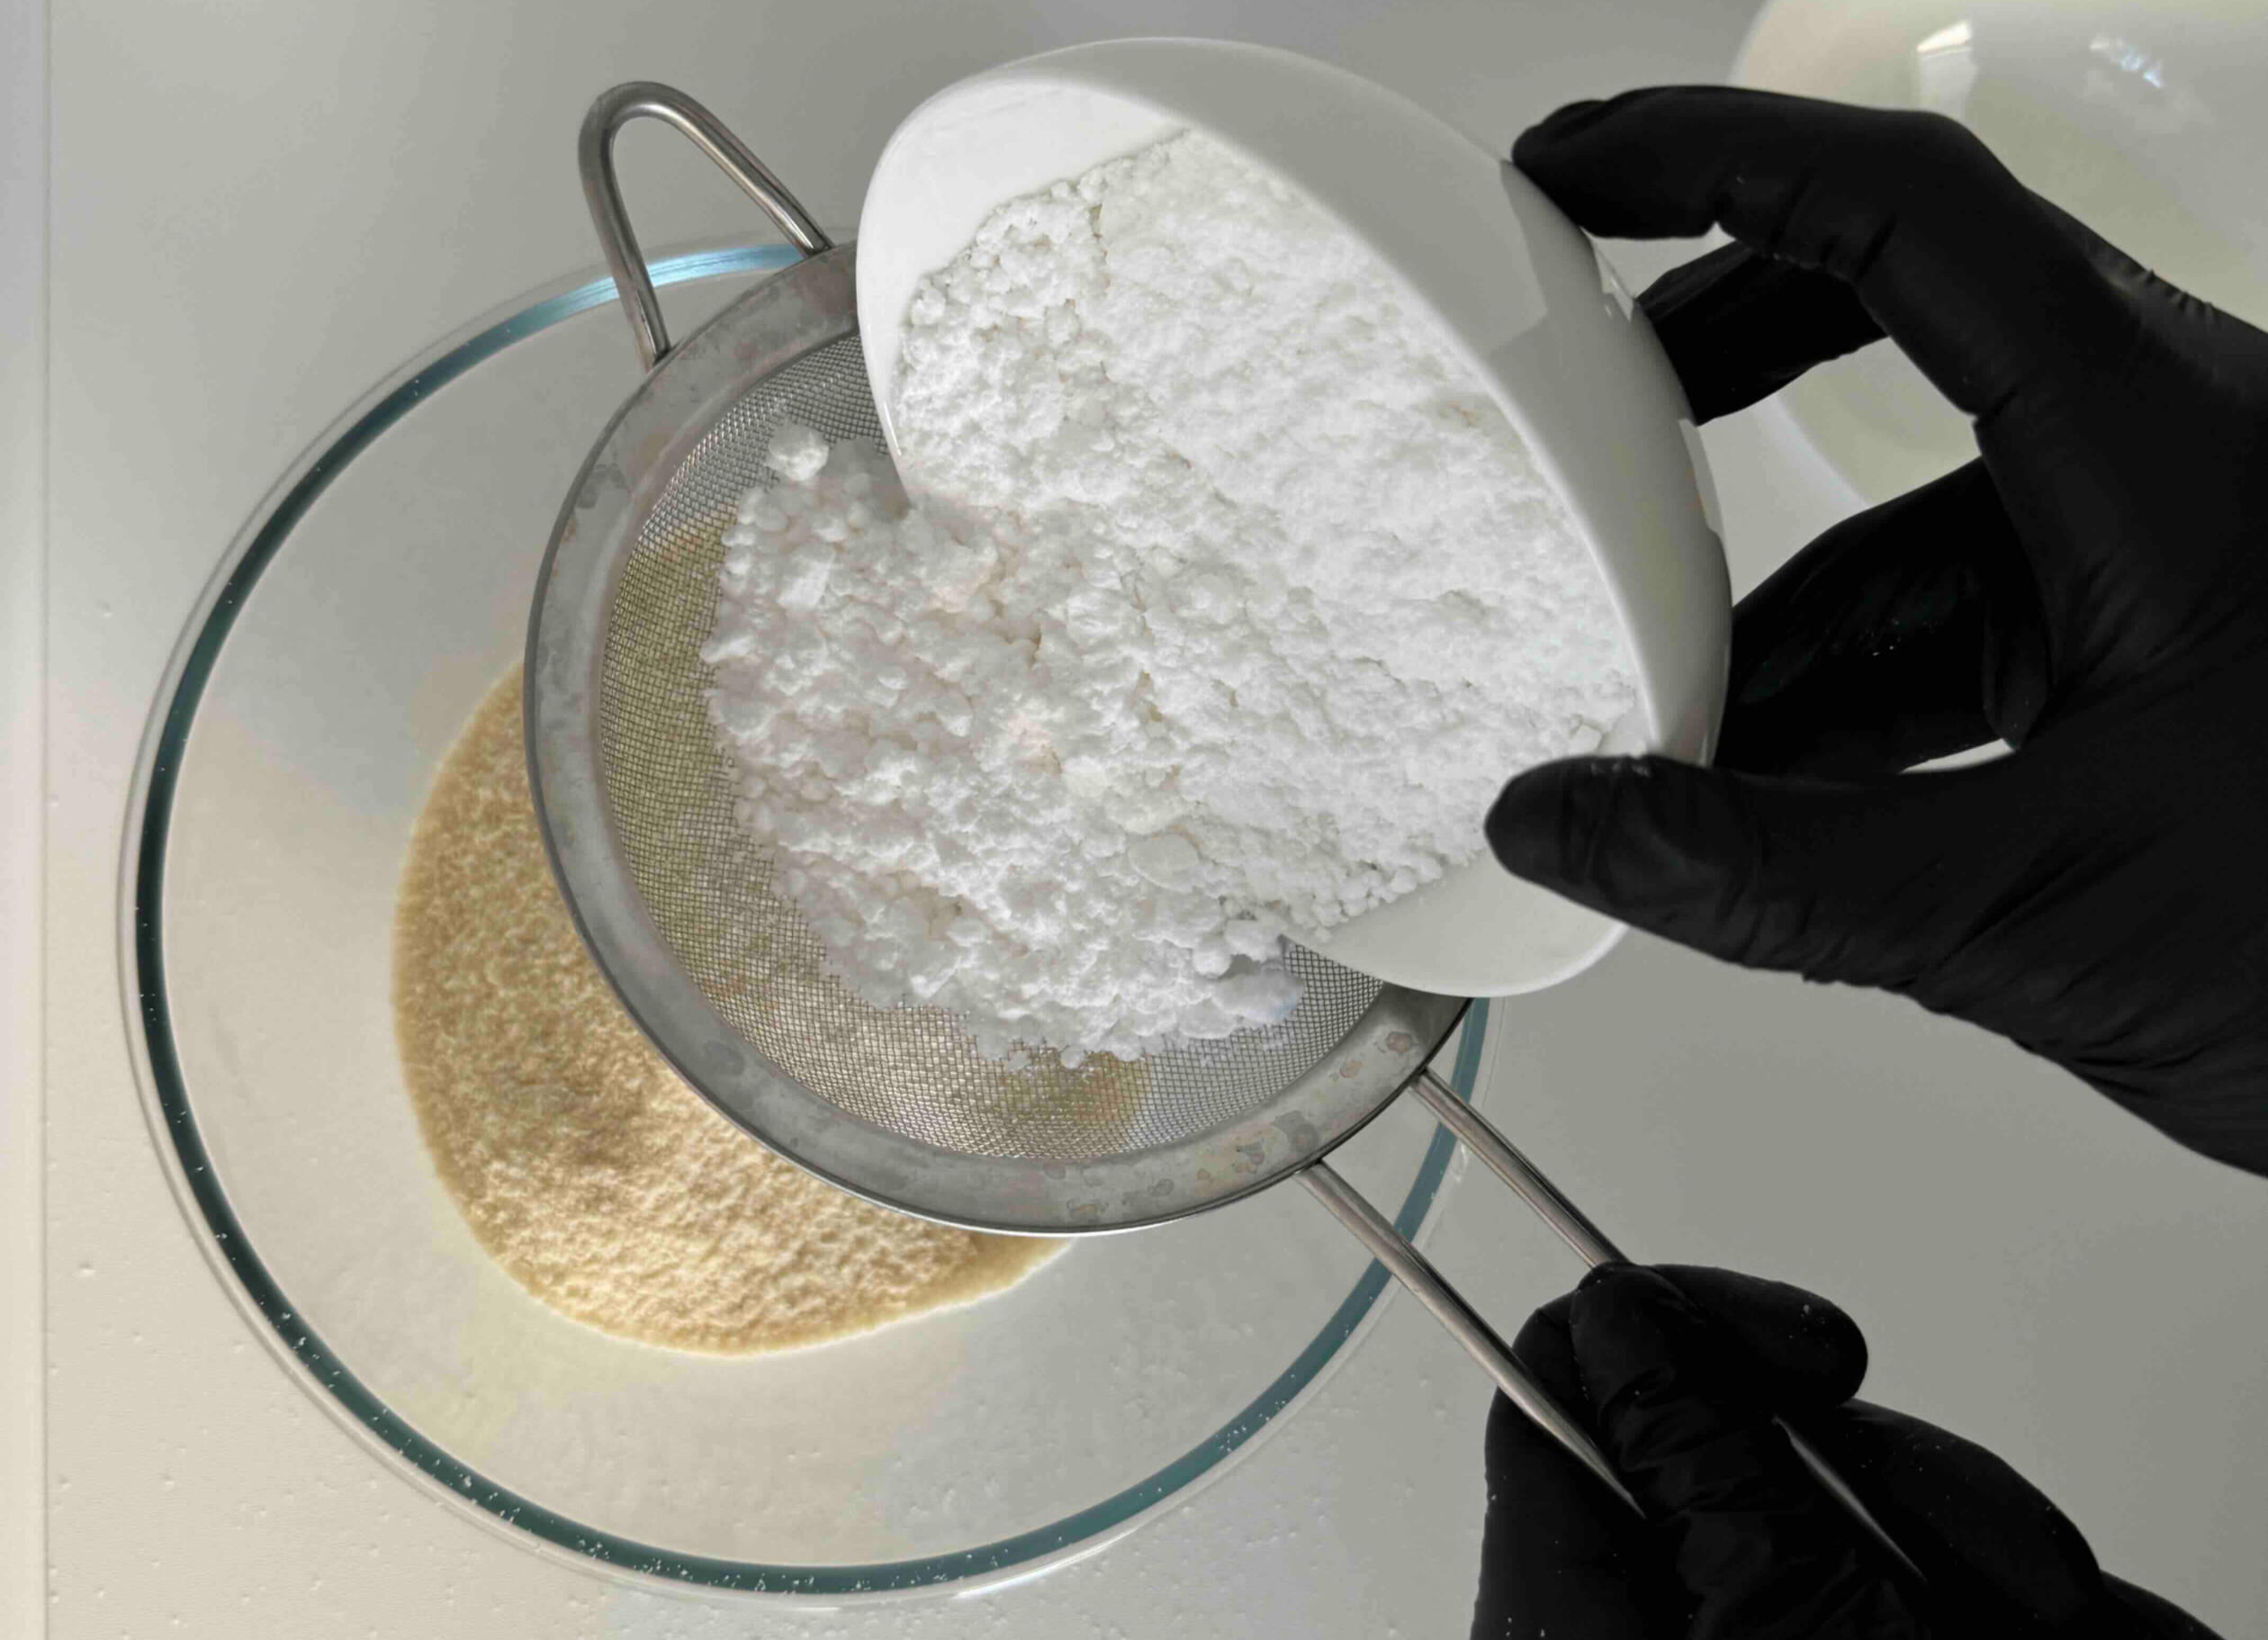
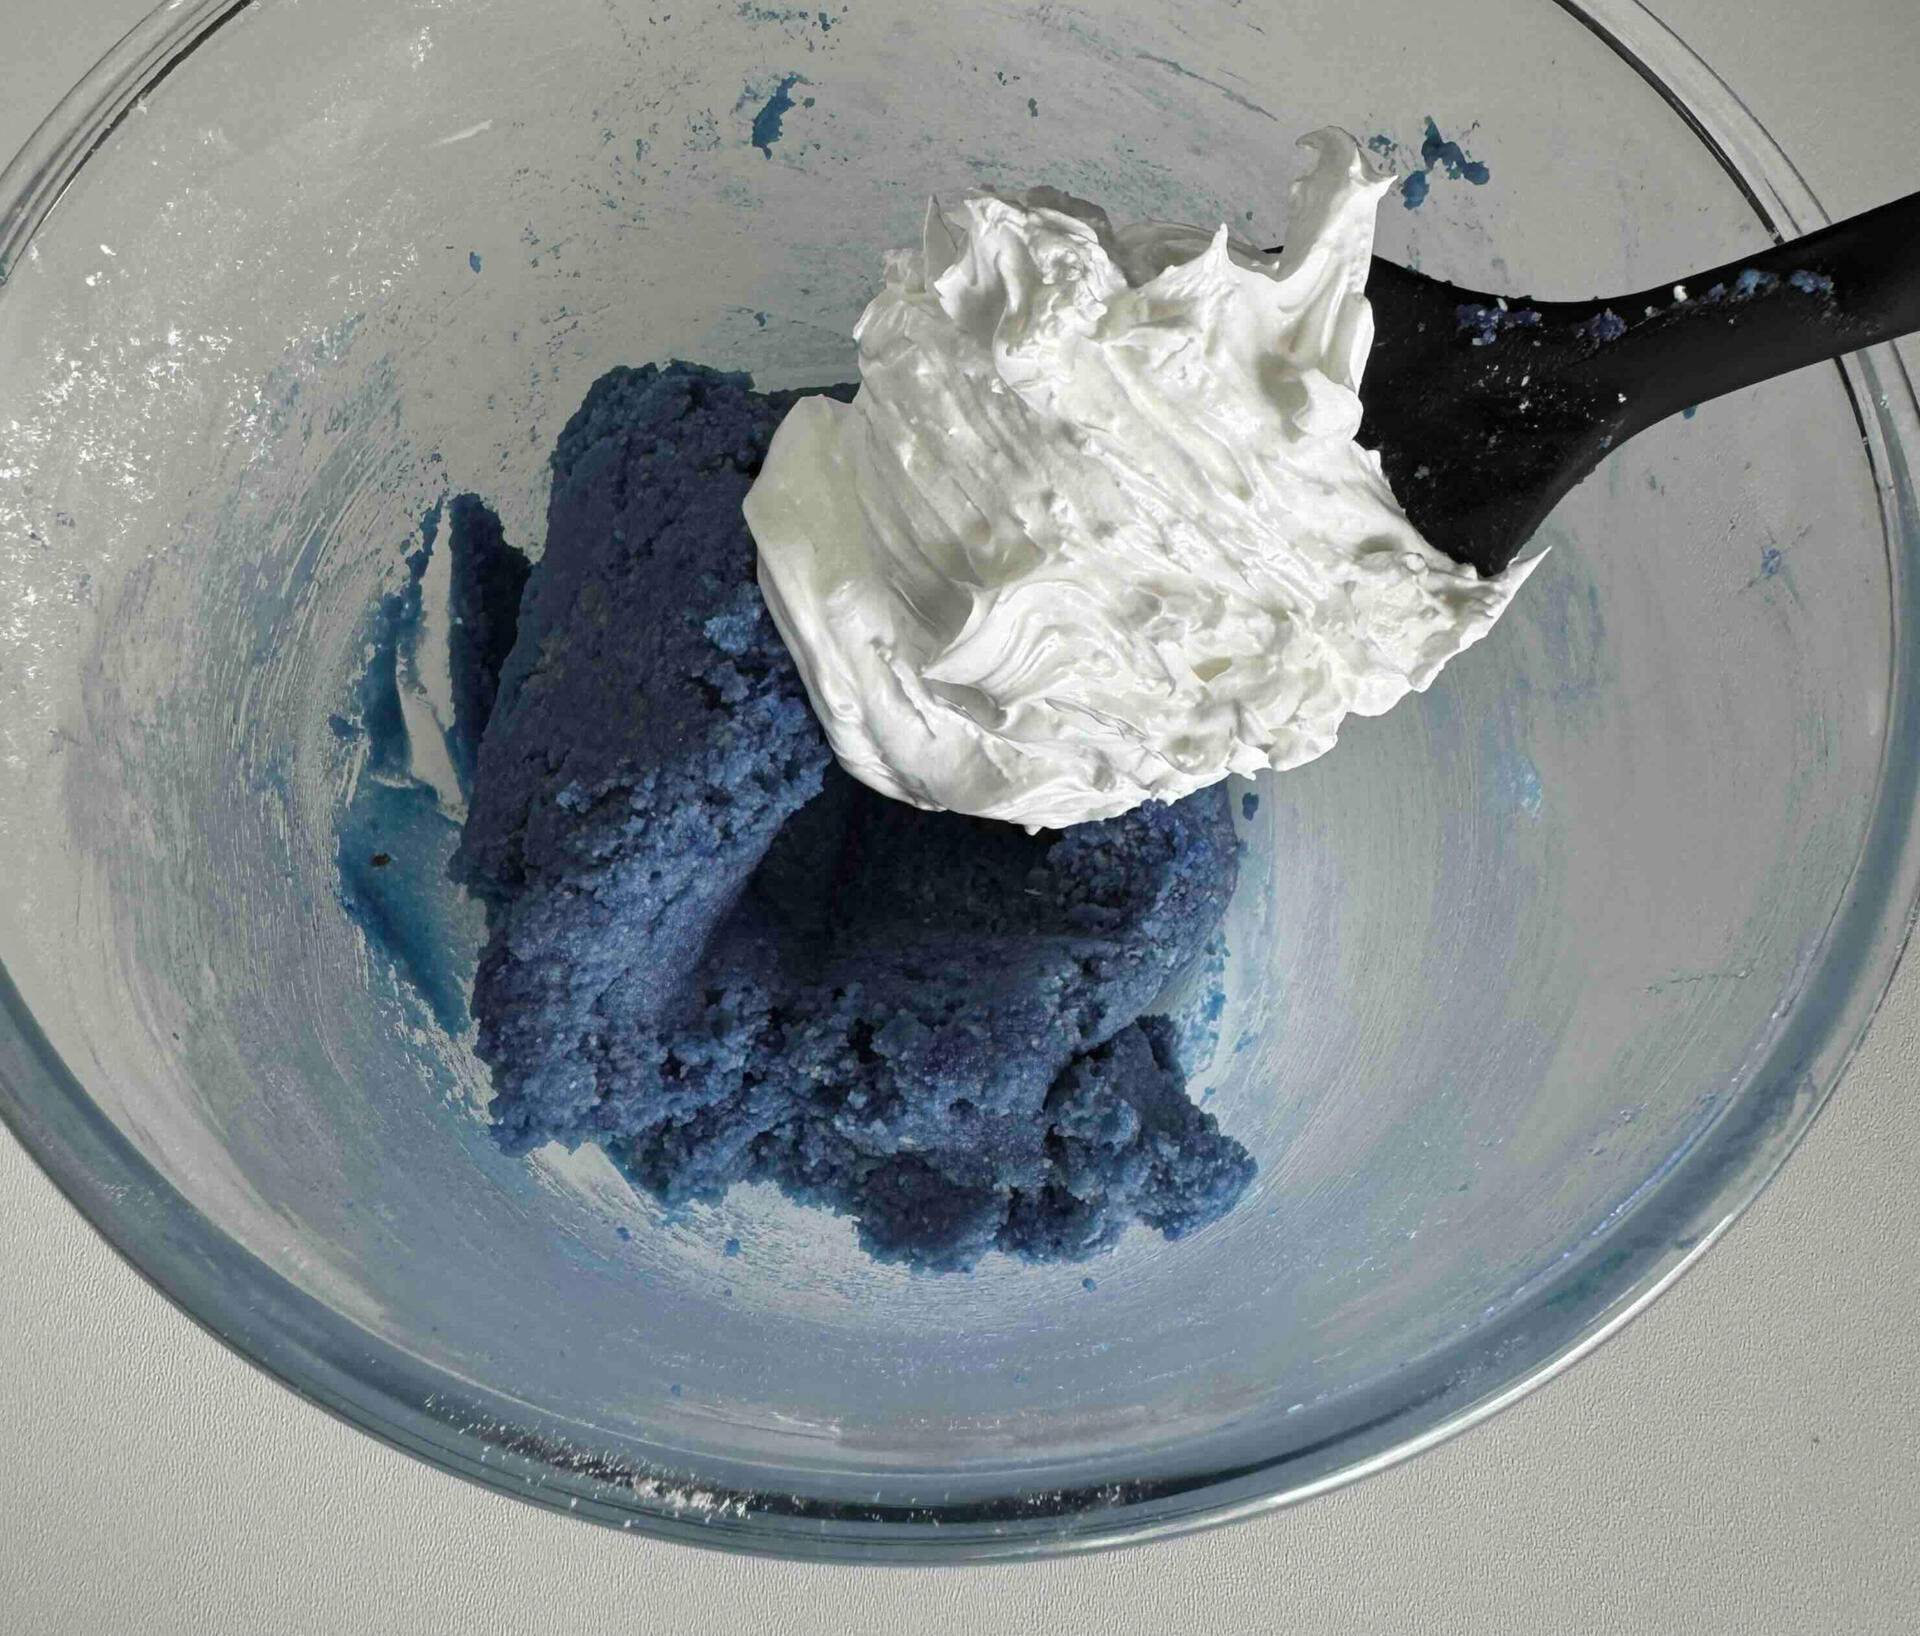
After sifting, add half of the egg whites (55g/1.95oz) at room temperature to this mixture and mix with a spatula until it becomes consistent (approximately 1-2min).
*Colored Macaron Shells: If you want to experiment with different colors for your macaron shells, you should add the colors to the egg whites before mixing them with the almond flour and confectioners' sugar. Based on my experience, the following food colors (made from natural ingredients) work very well and help produce eye-catching macarons:
Blue: blue spirulina, pea flower powder
Brown: cacao
Green: green spirulina, matcha
Pink: beetroot, pitaya/ dragon fruit
Yellow: turmeric (kurkuma)
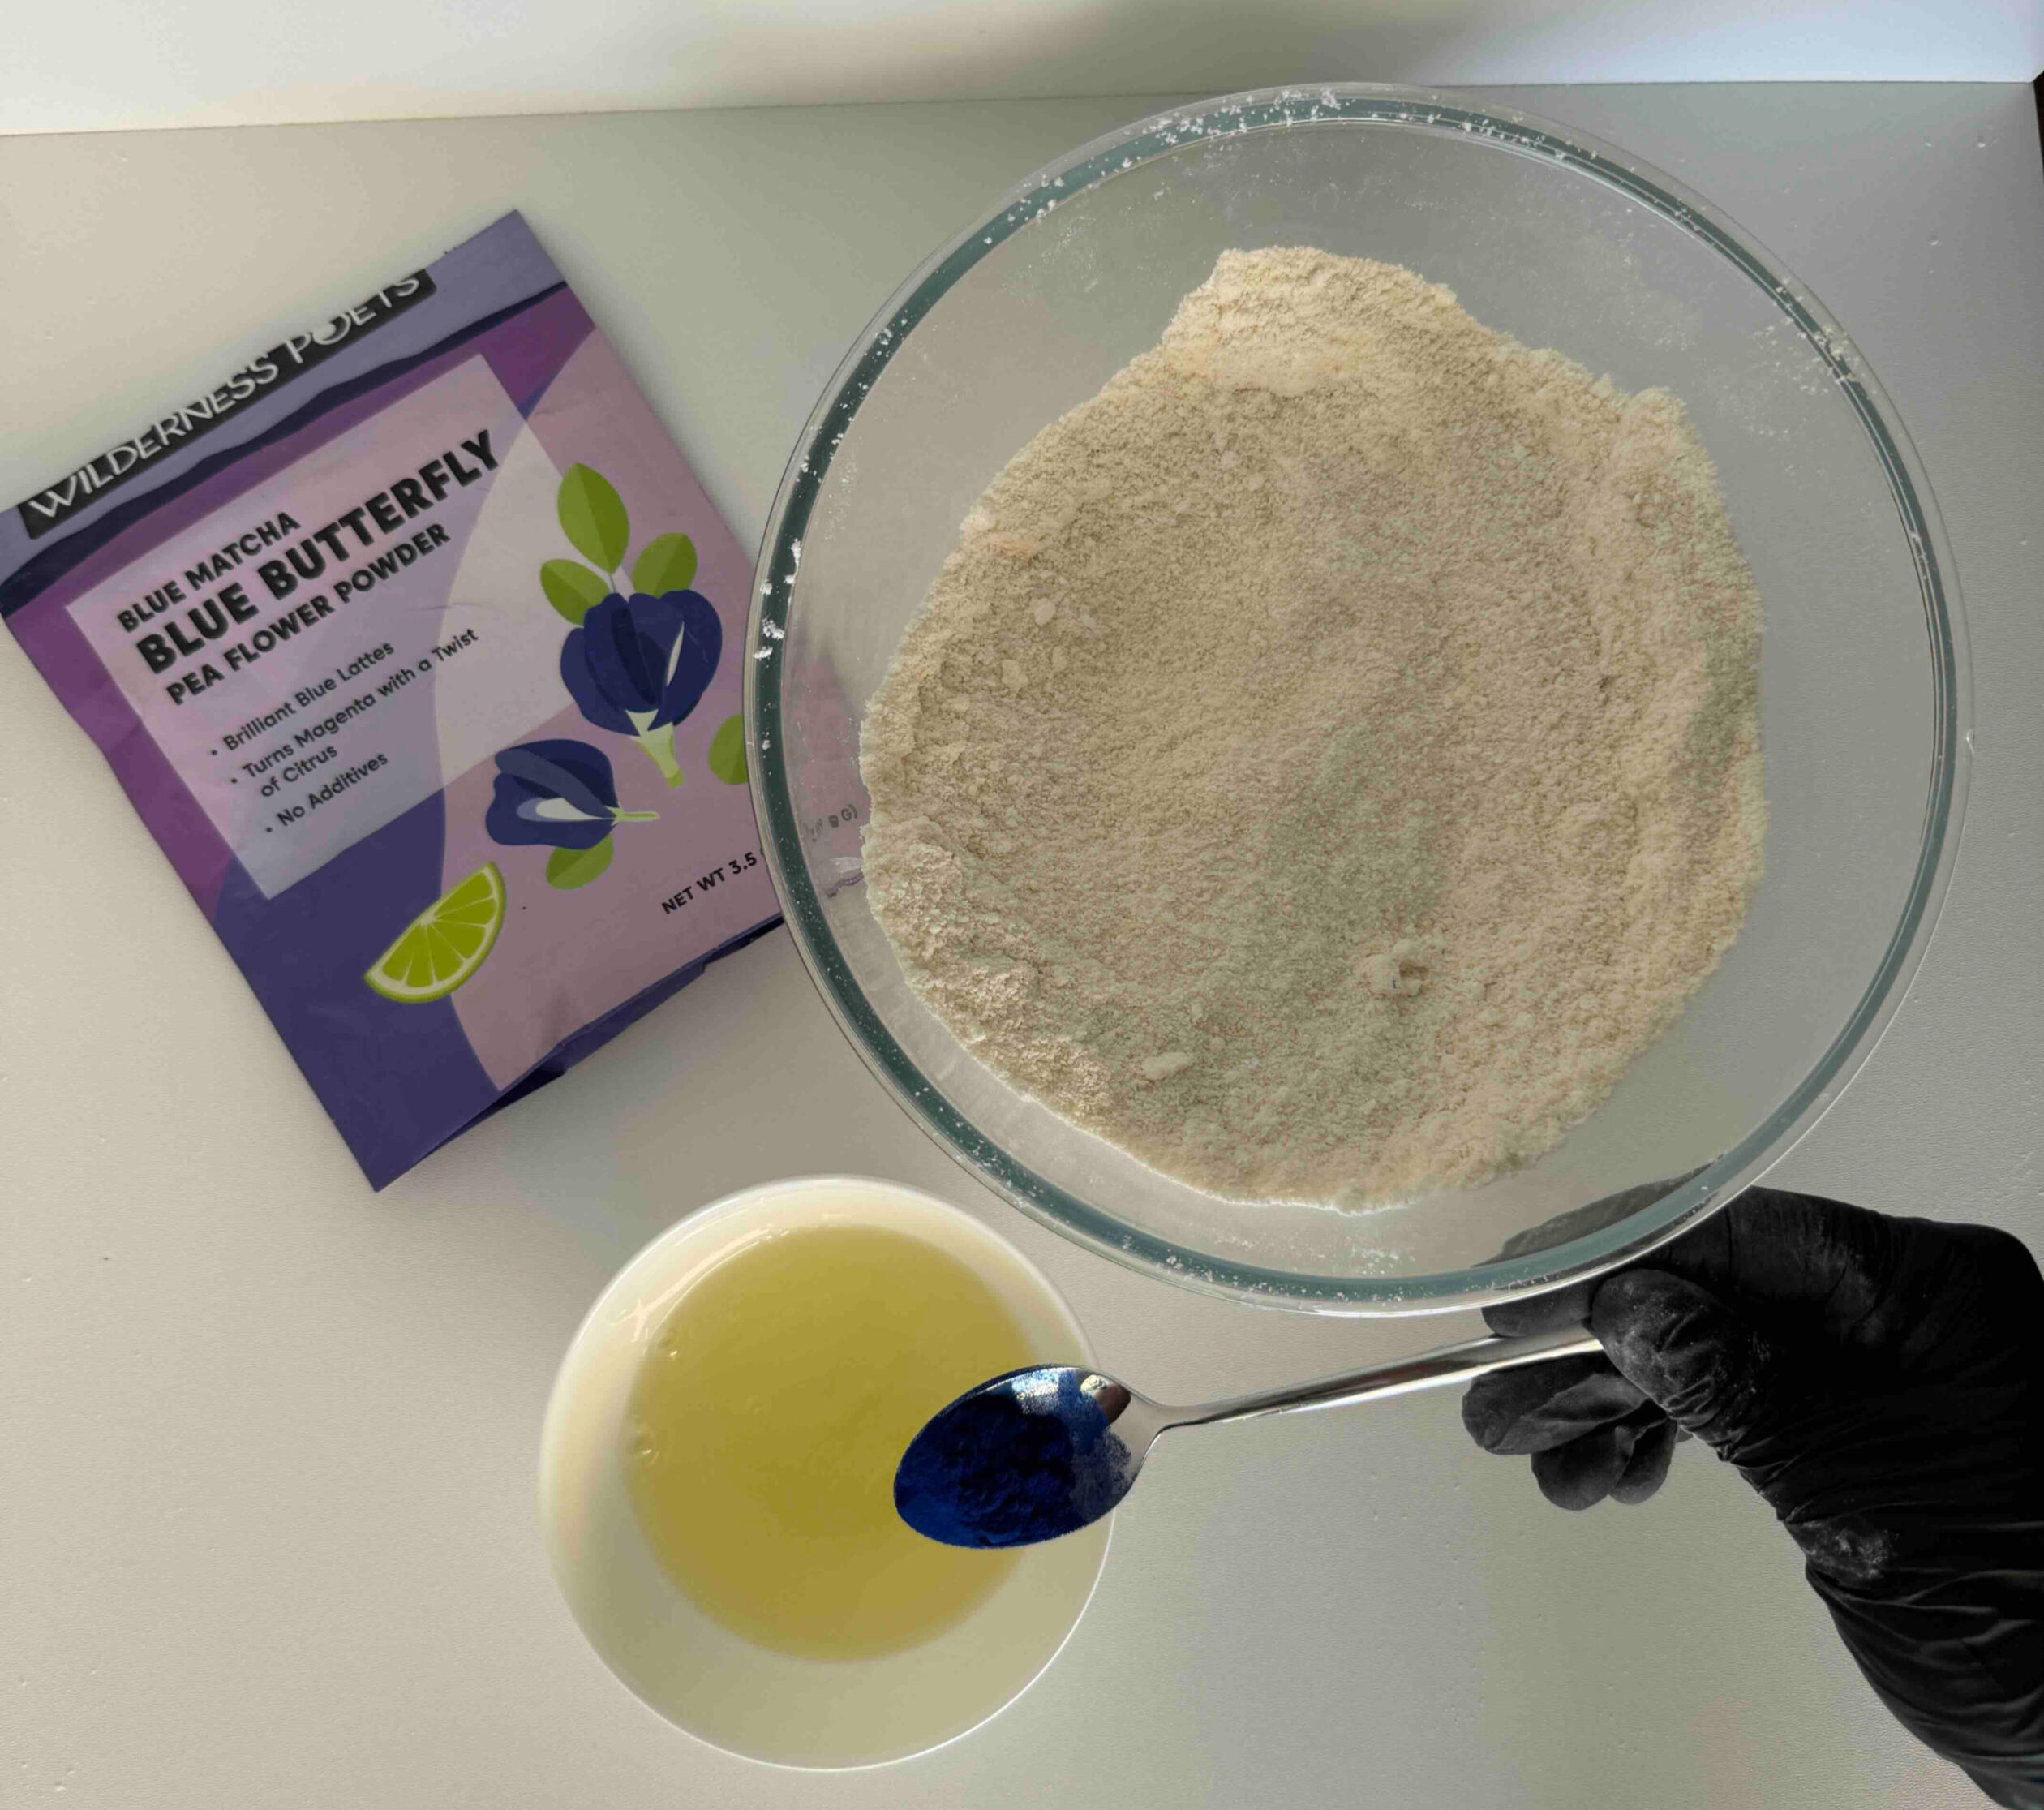
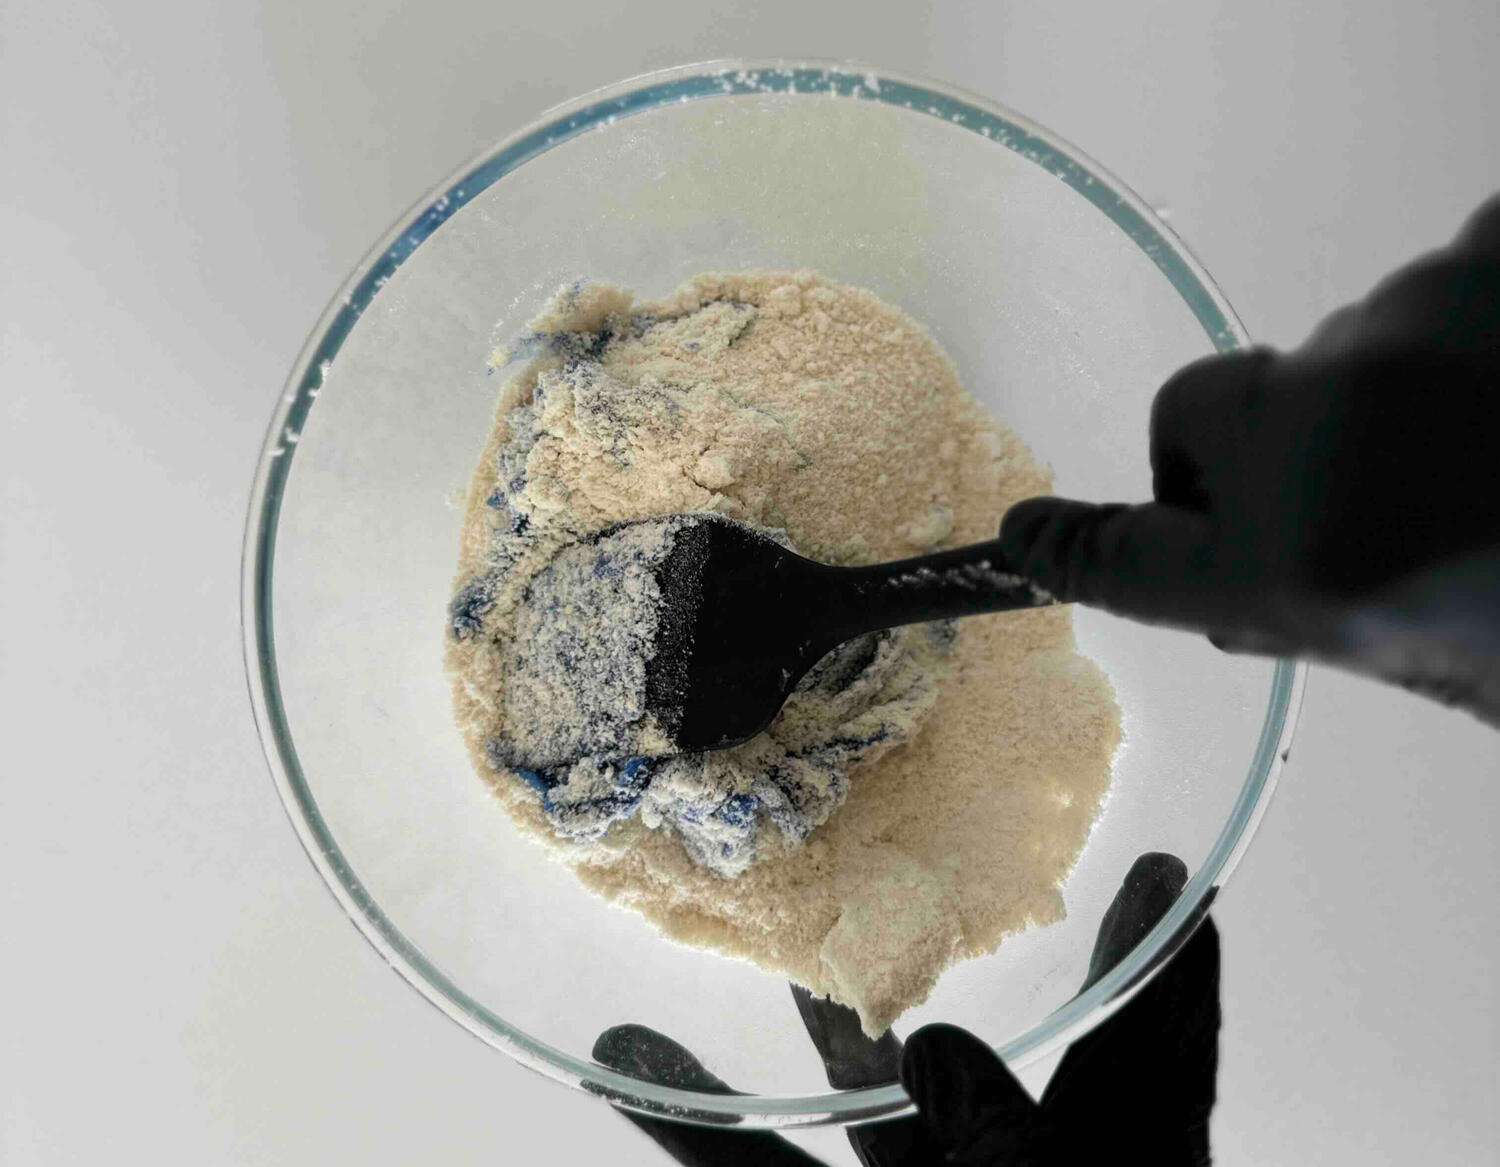
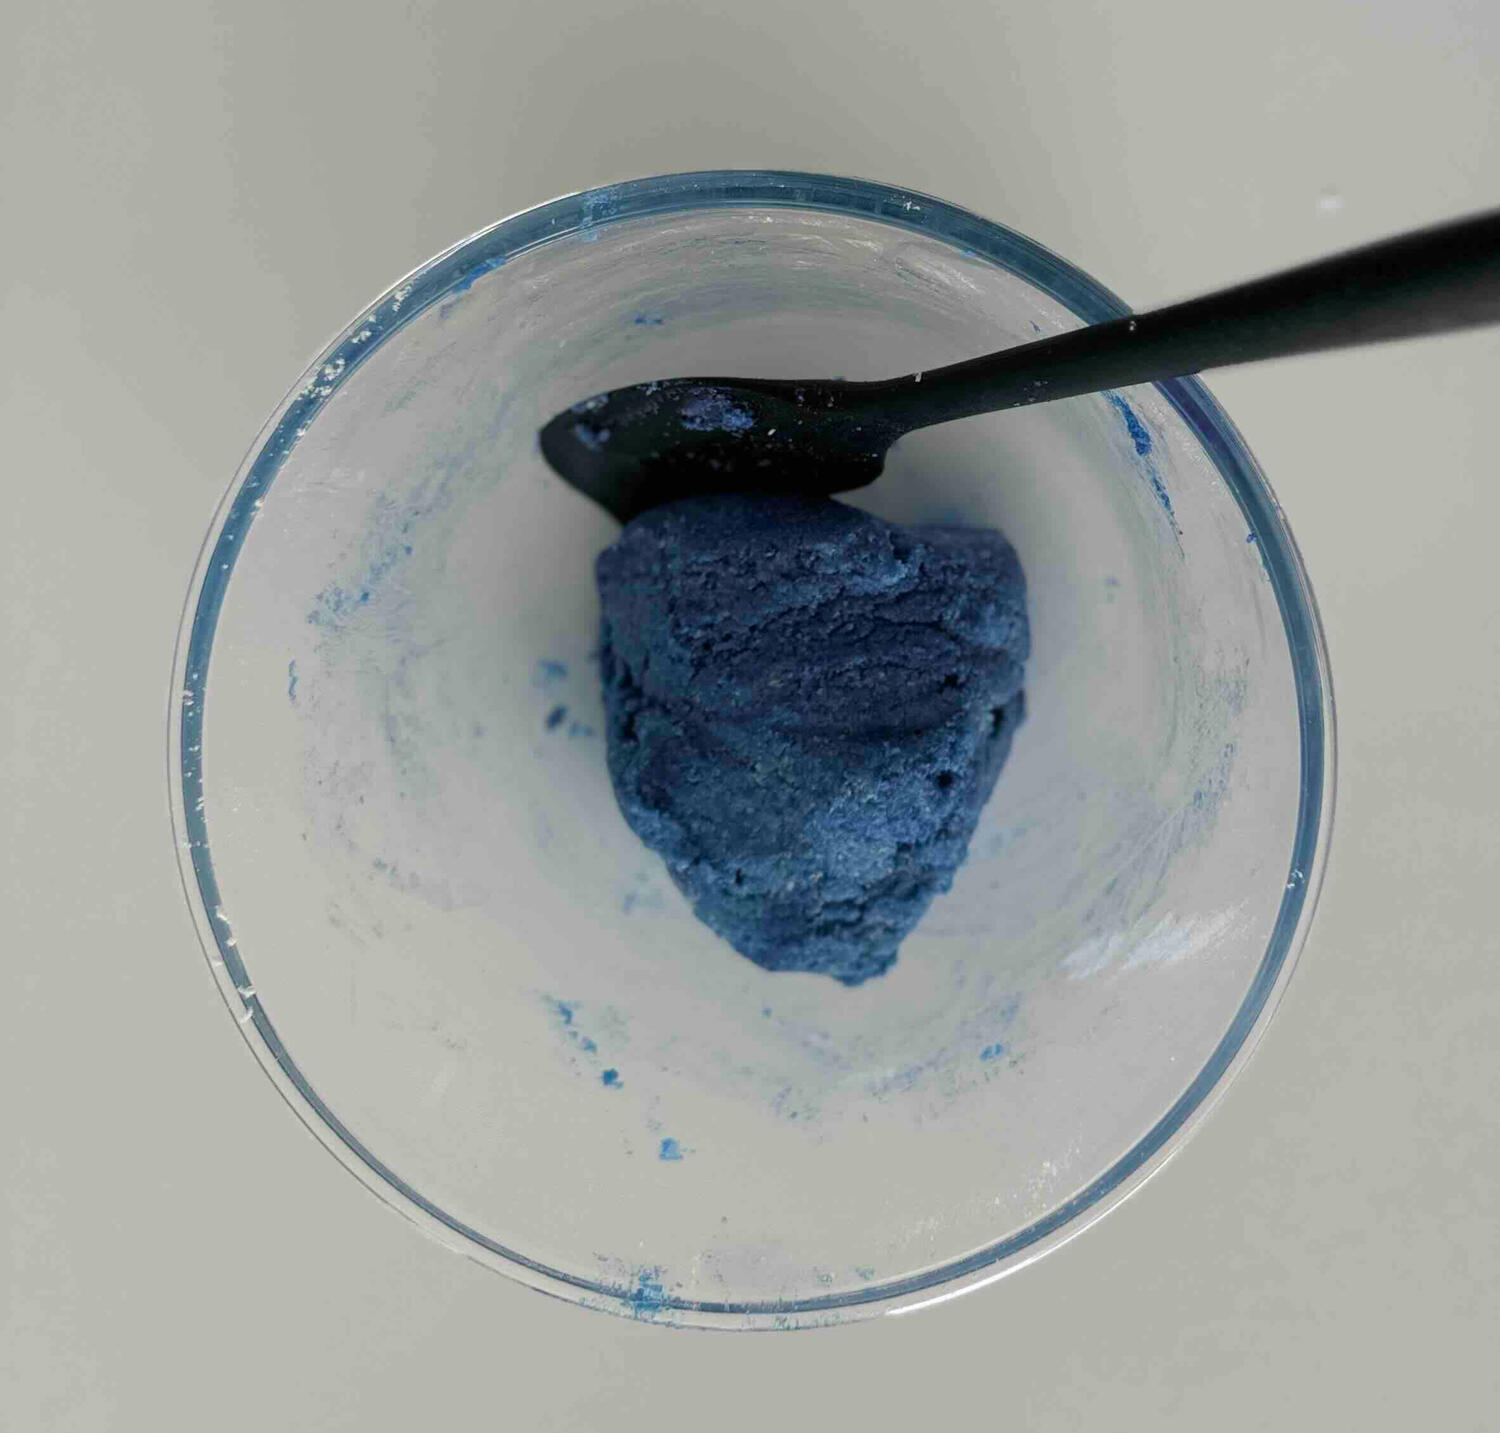
You can rely on the food colors provided above, but feel free to experiment with others. Just keep in mind that using the wrong color ingredient can ruin the structure of the macaron mixture and prevent your macaron shells from rising and forming feet
I recommend using only powdered colors, as liquid colors can negatively impact the consistency
Meringue
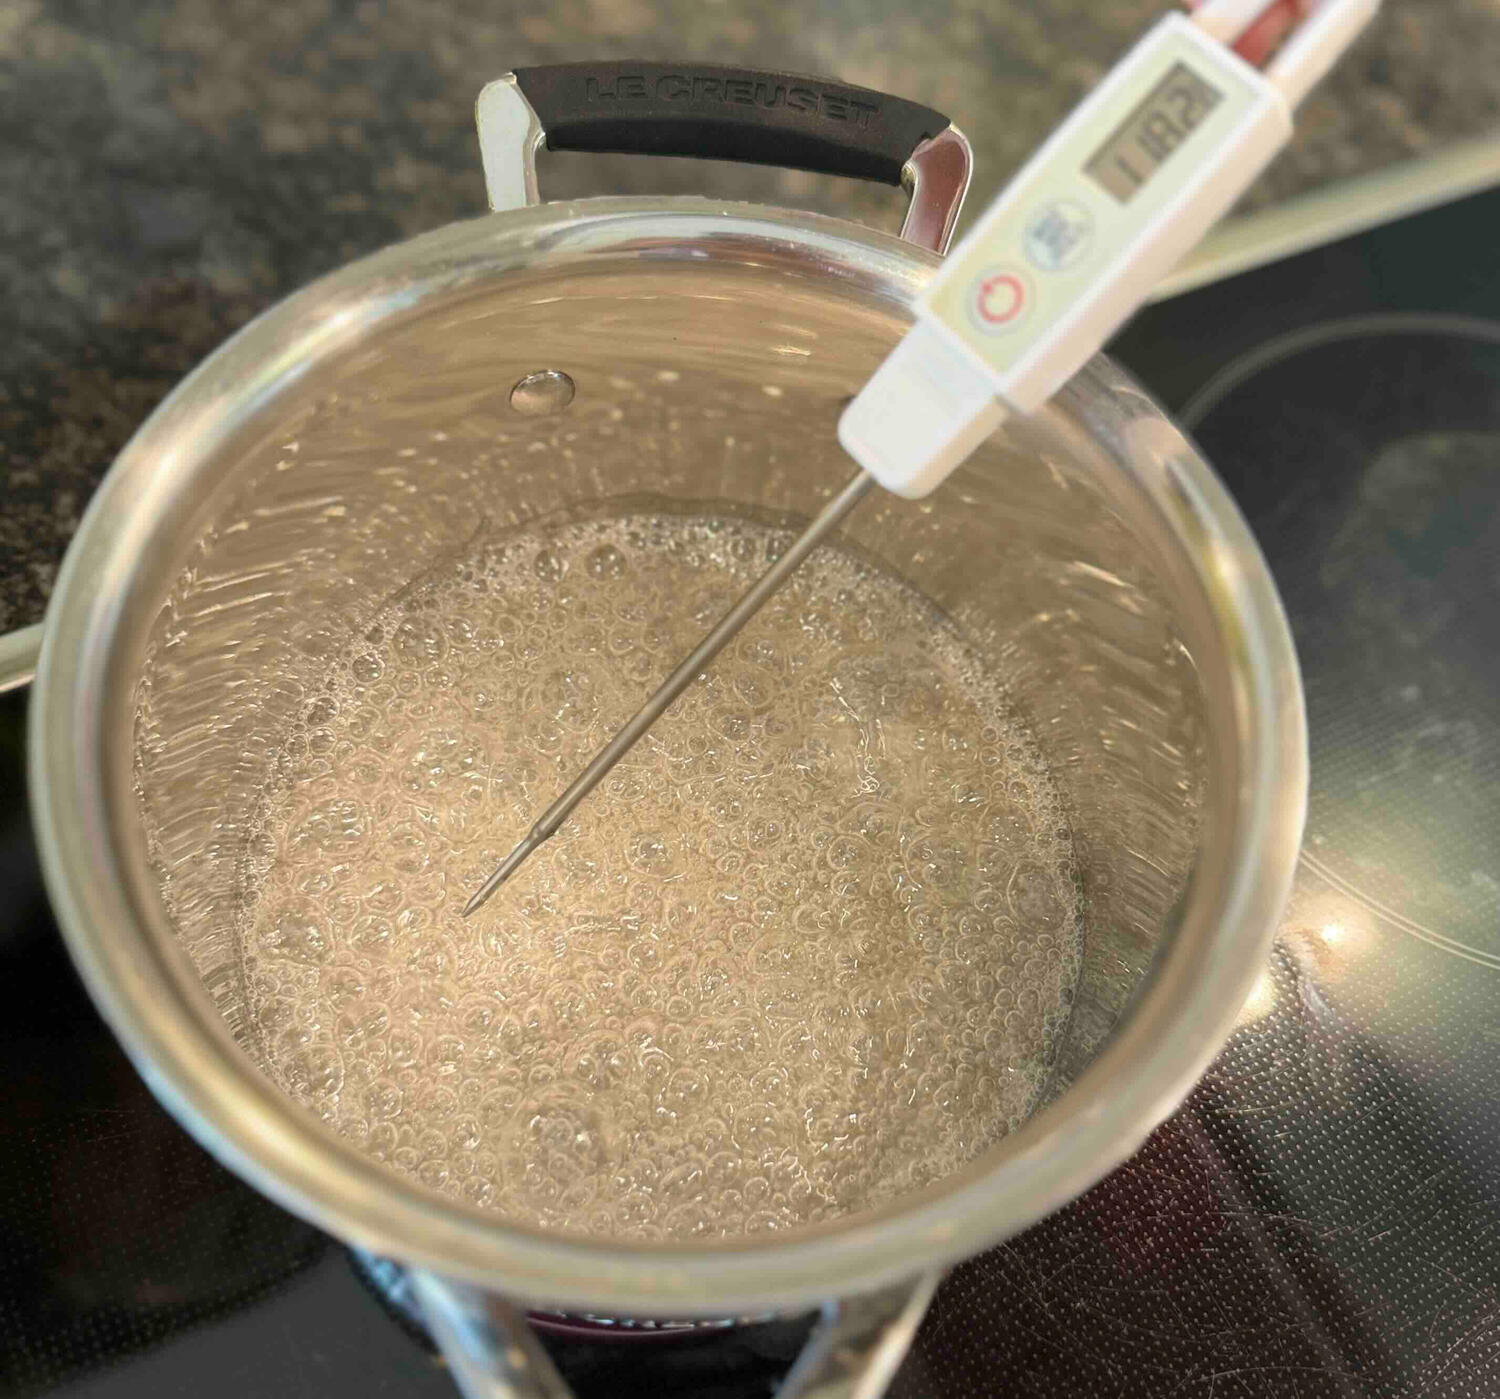
In the first step, prepare the syrup. Combine water (37g/ 1.31oz) and superfine sugar (135g/ 4.76oz) in a pot and heat on the stove until the mixture reaches 118°C/ 245°F. Measure the temperature with an instant-read food thermometer.While the syrup is heating, start beating the egg whites. Use the second half of the egg whites (55g/ 1.95oz) at room temperature and a stand mixer with a wire whip attachment. Set the stand mixer to speed 8 out of 10. Whip the egg whites until they become foamy (approx. 3min), as shown in the photo below.
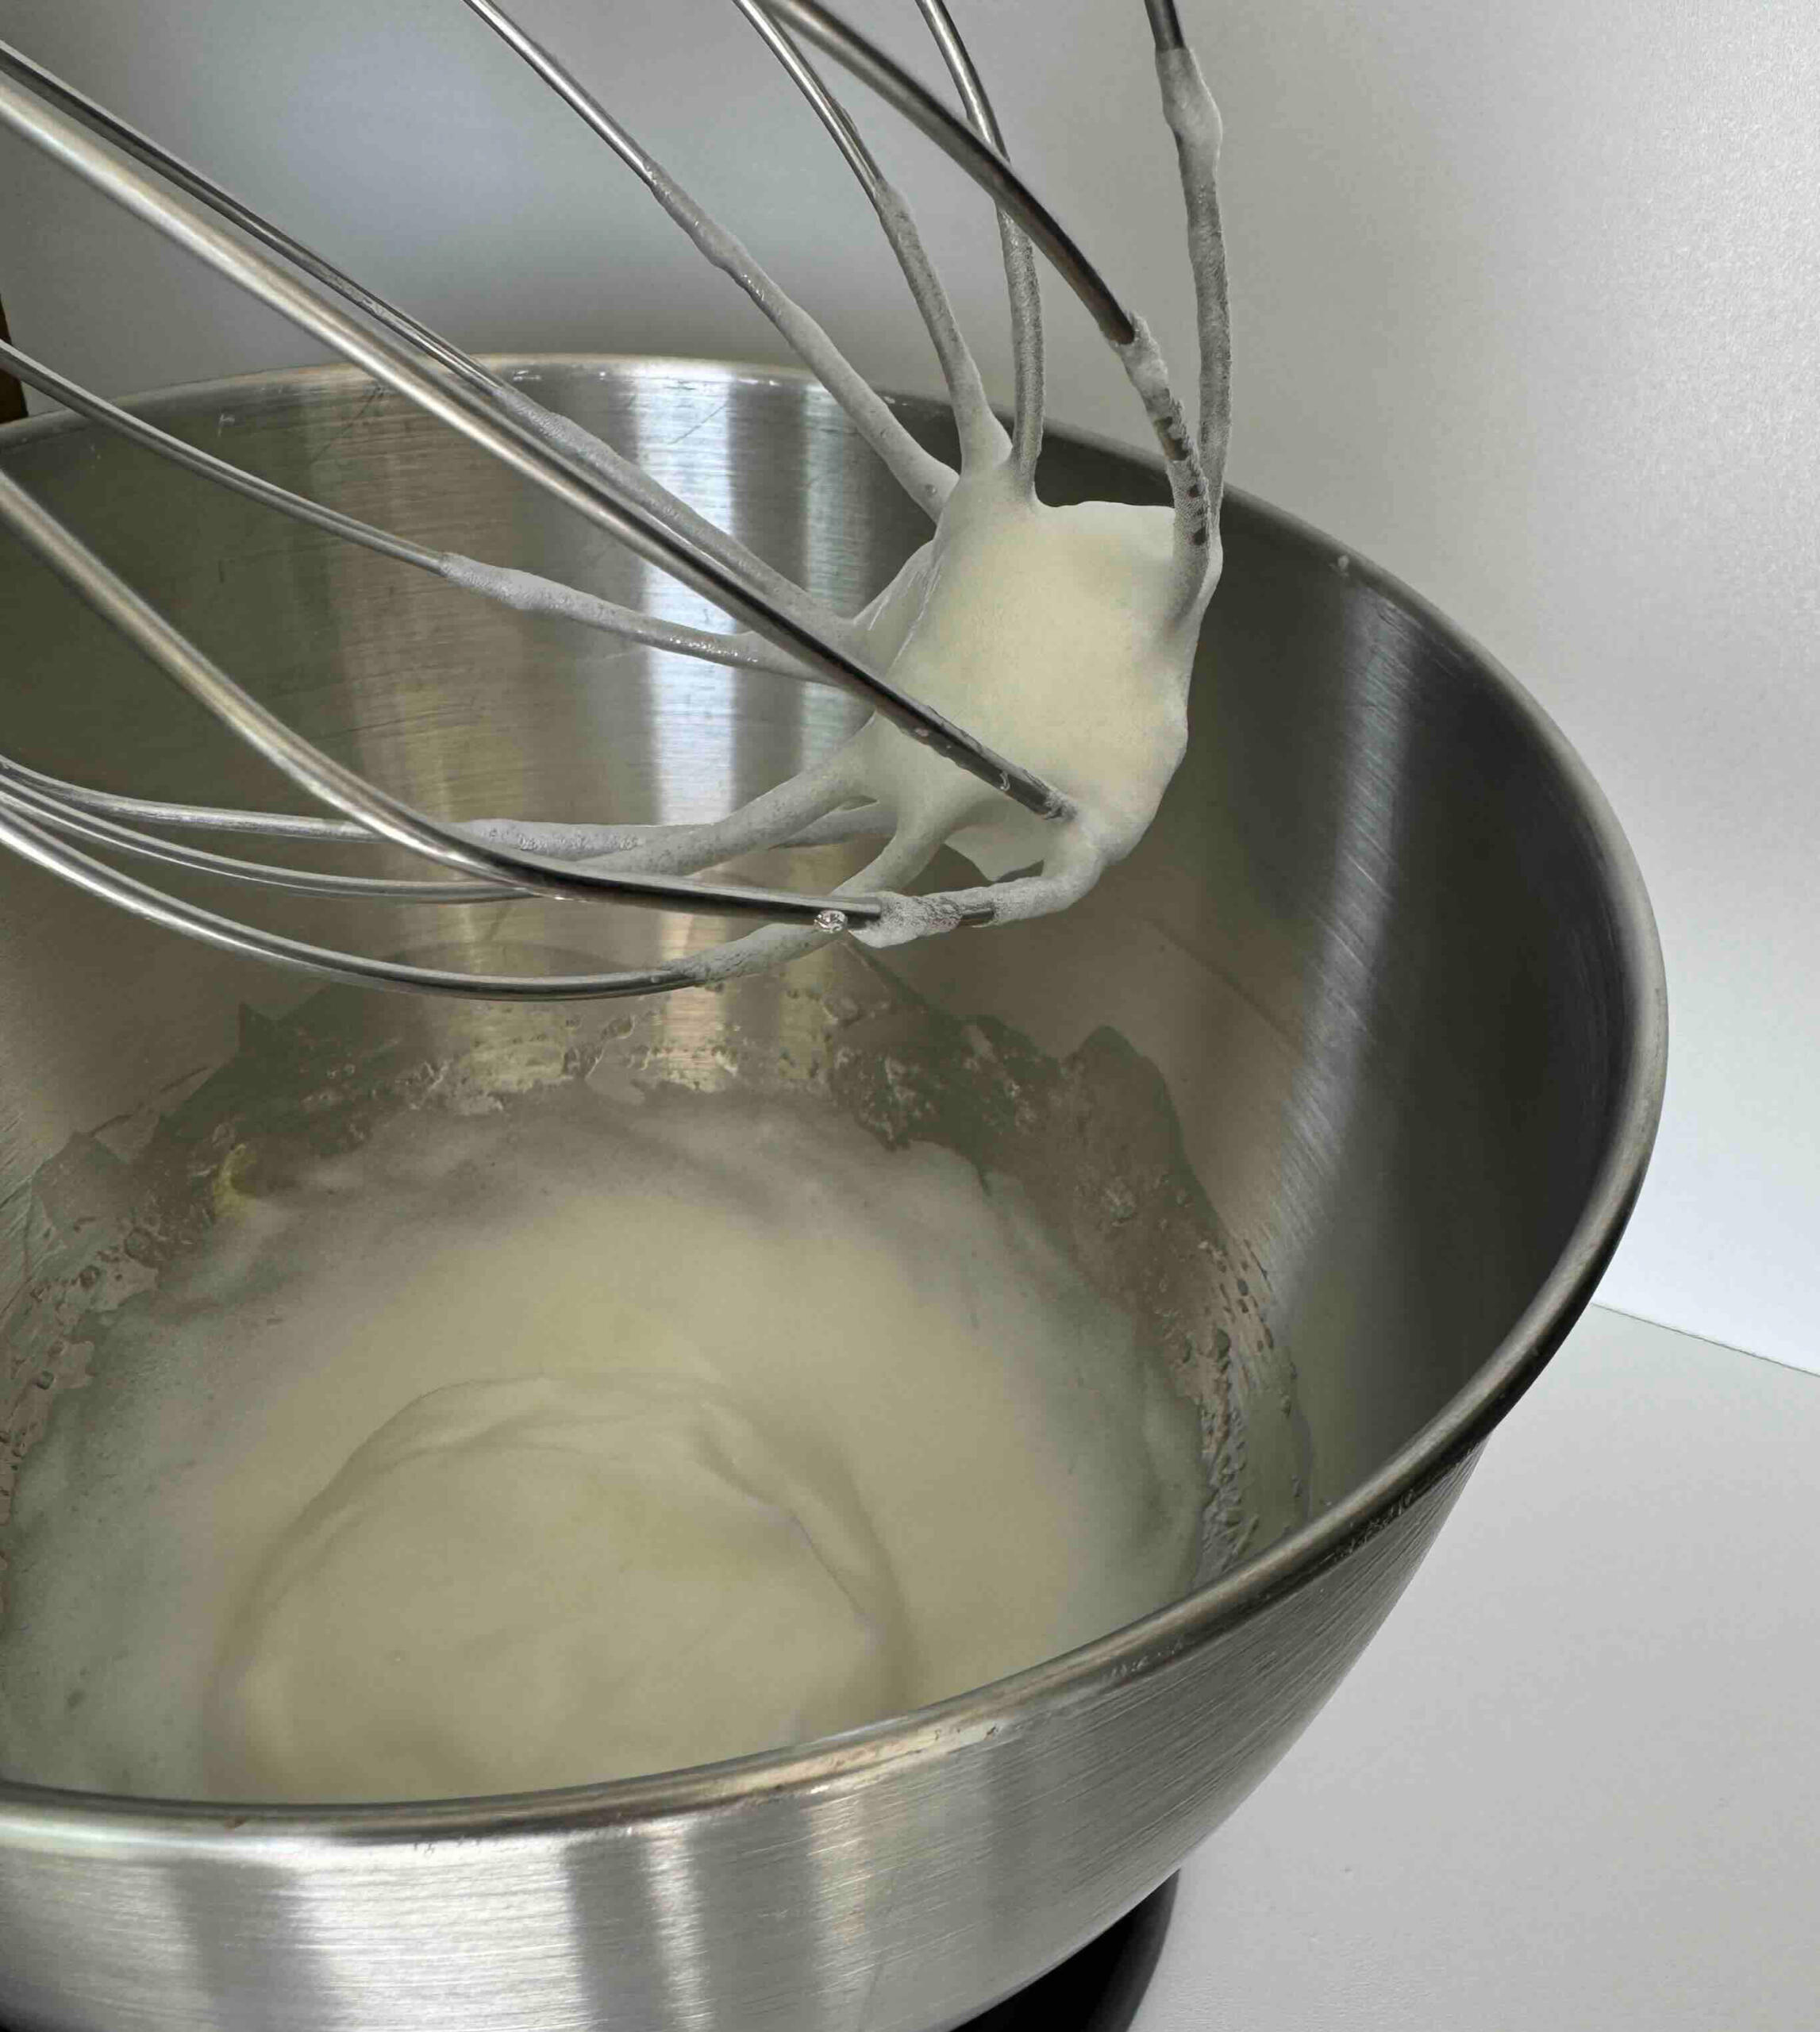
Now, the syrup should have reached the desired temperature of 118°C/ 245°F. Increase the mixer to maximum speed and gradually (over 1min) add the syrup to the foamy egg whites while continuing to whip.
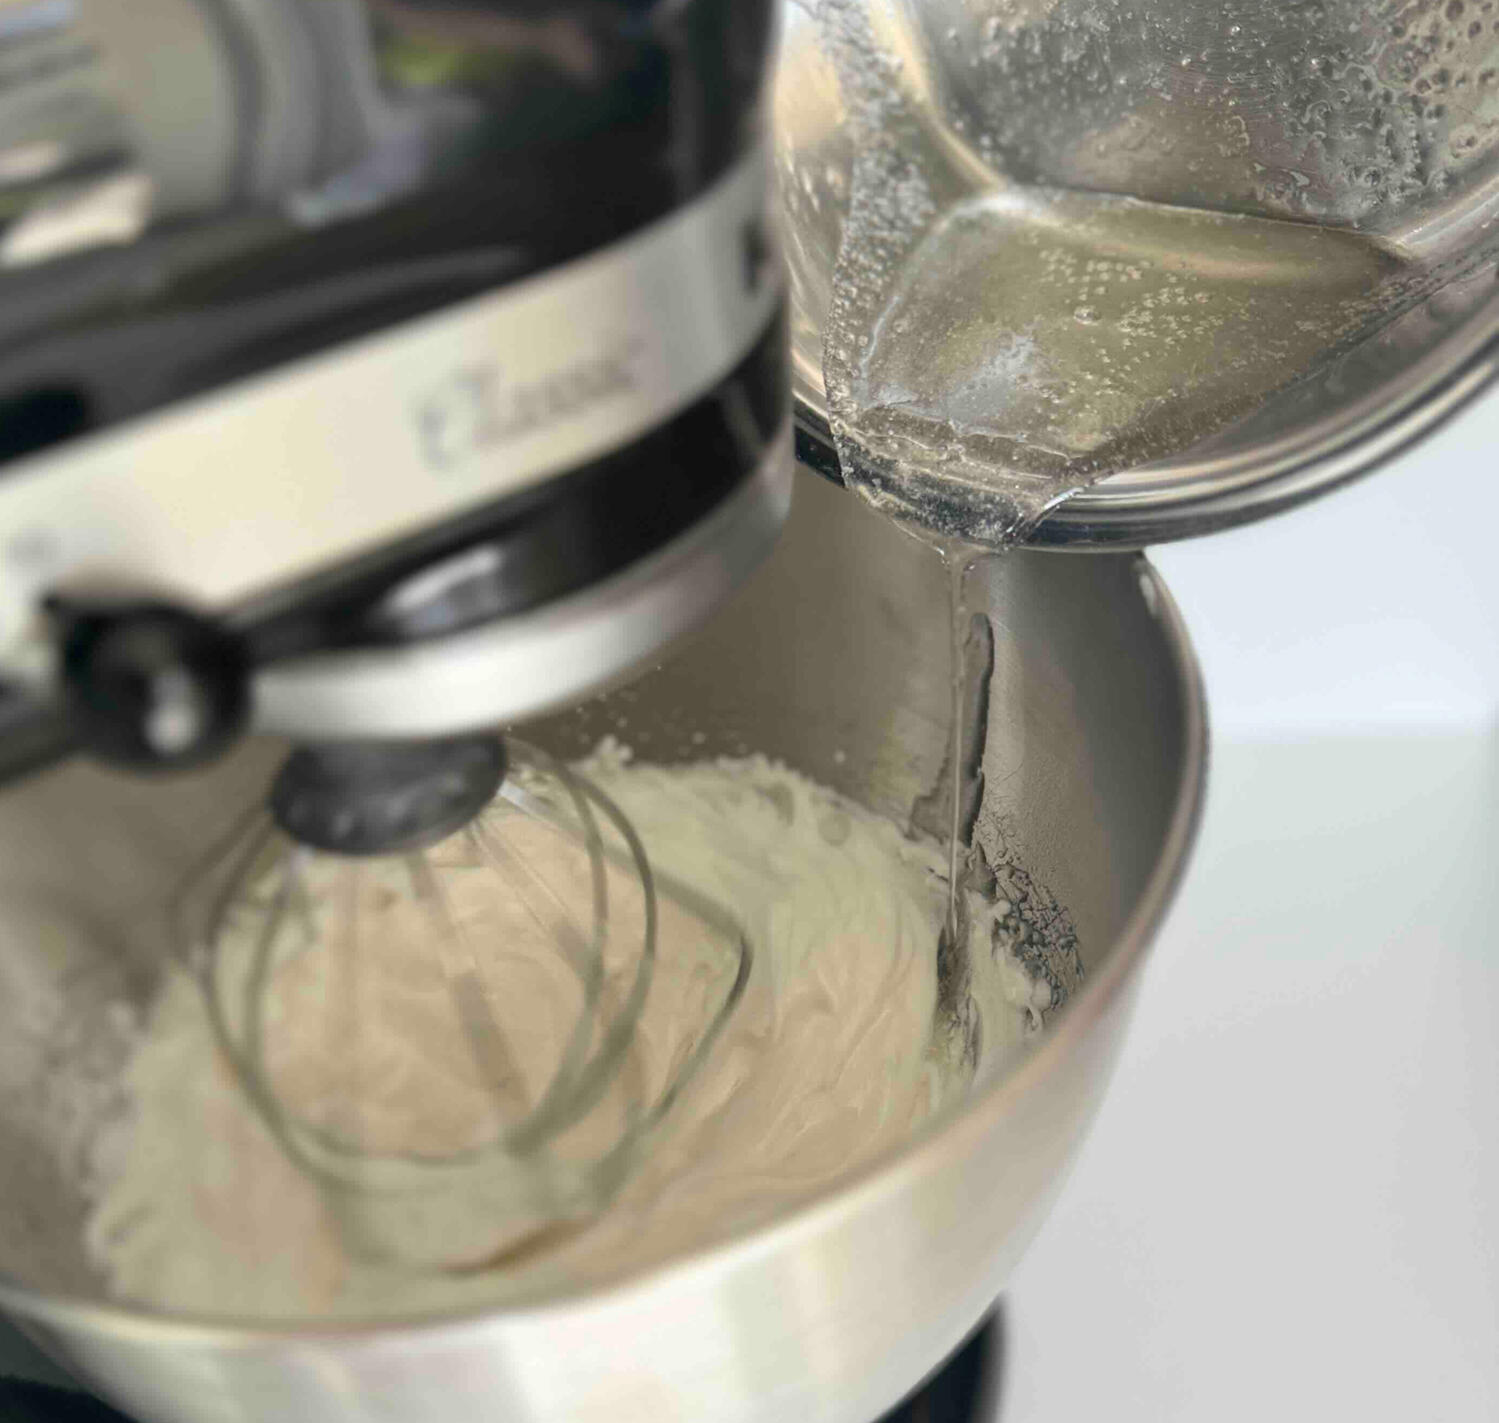
After adding the syrup, continue whipping for 1min at maximum speed. Then, reduce the speed to 8 out of 10 and whip for 2min.
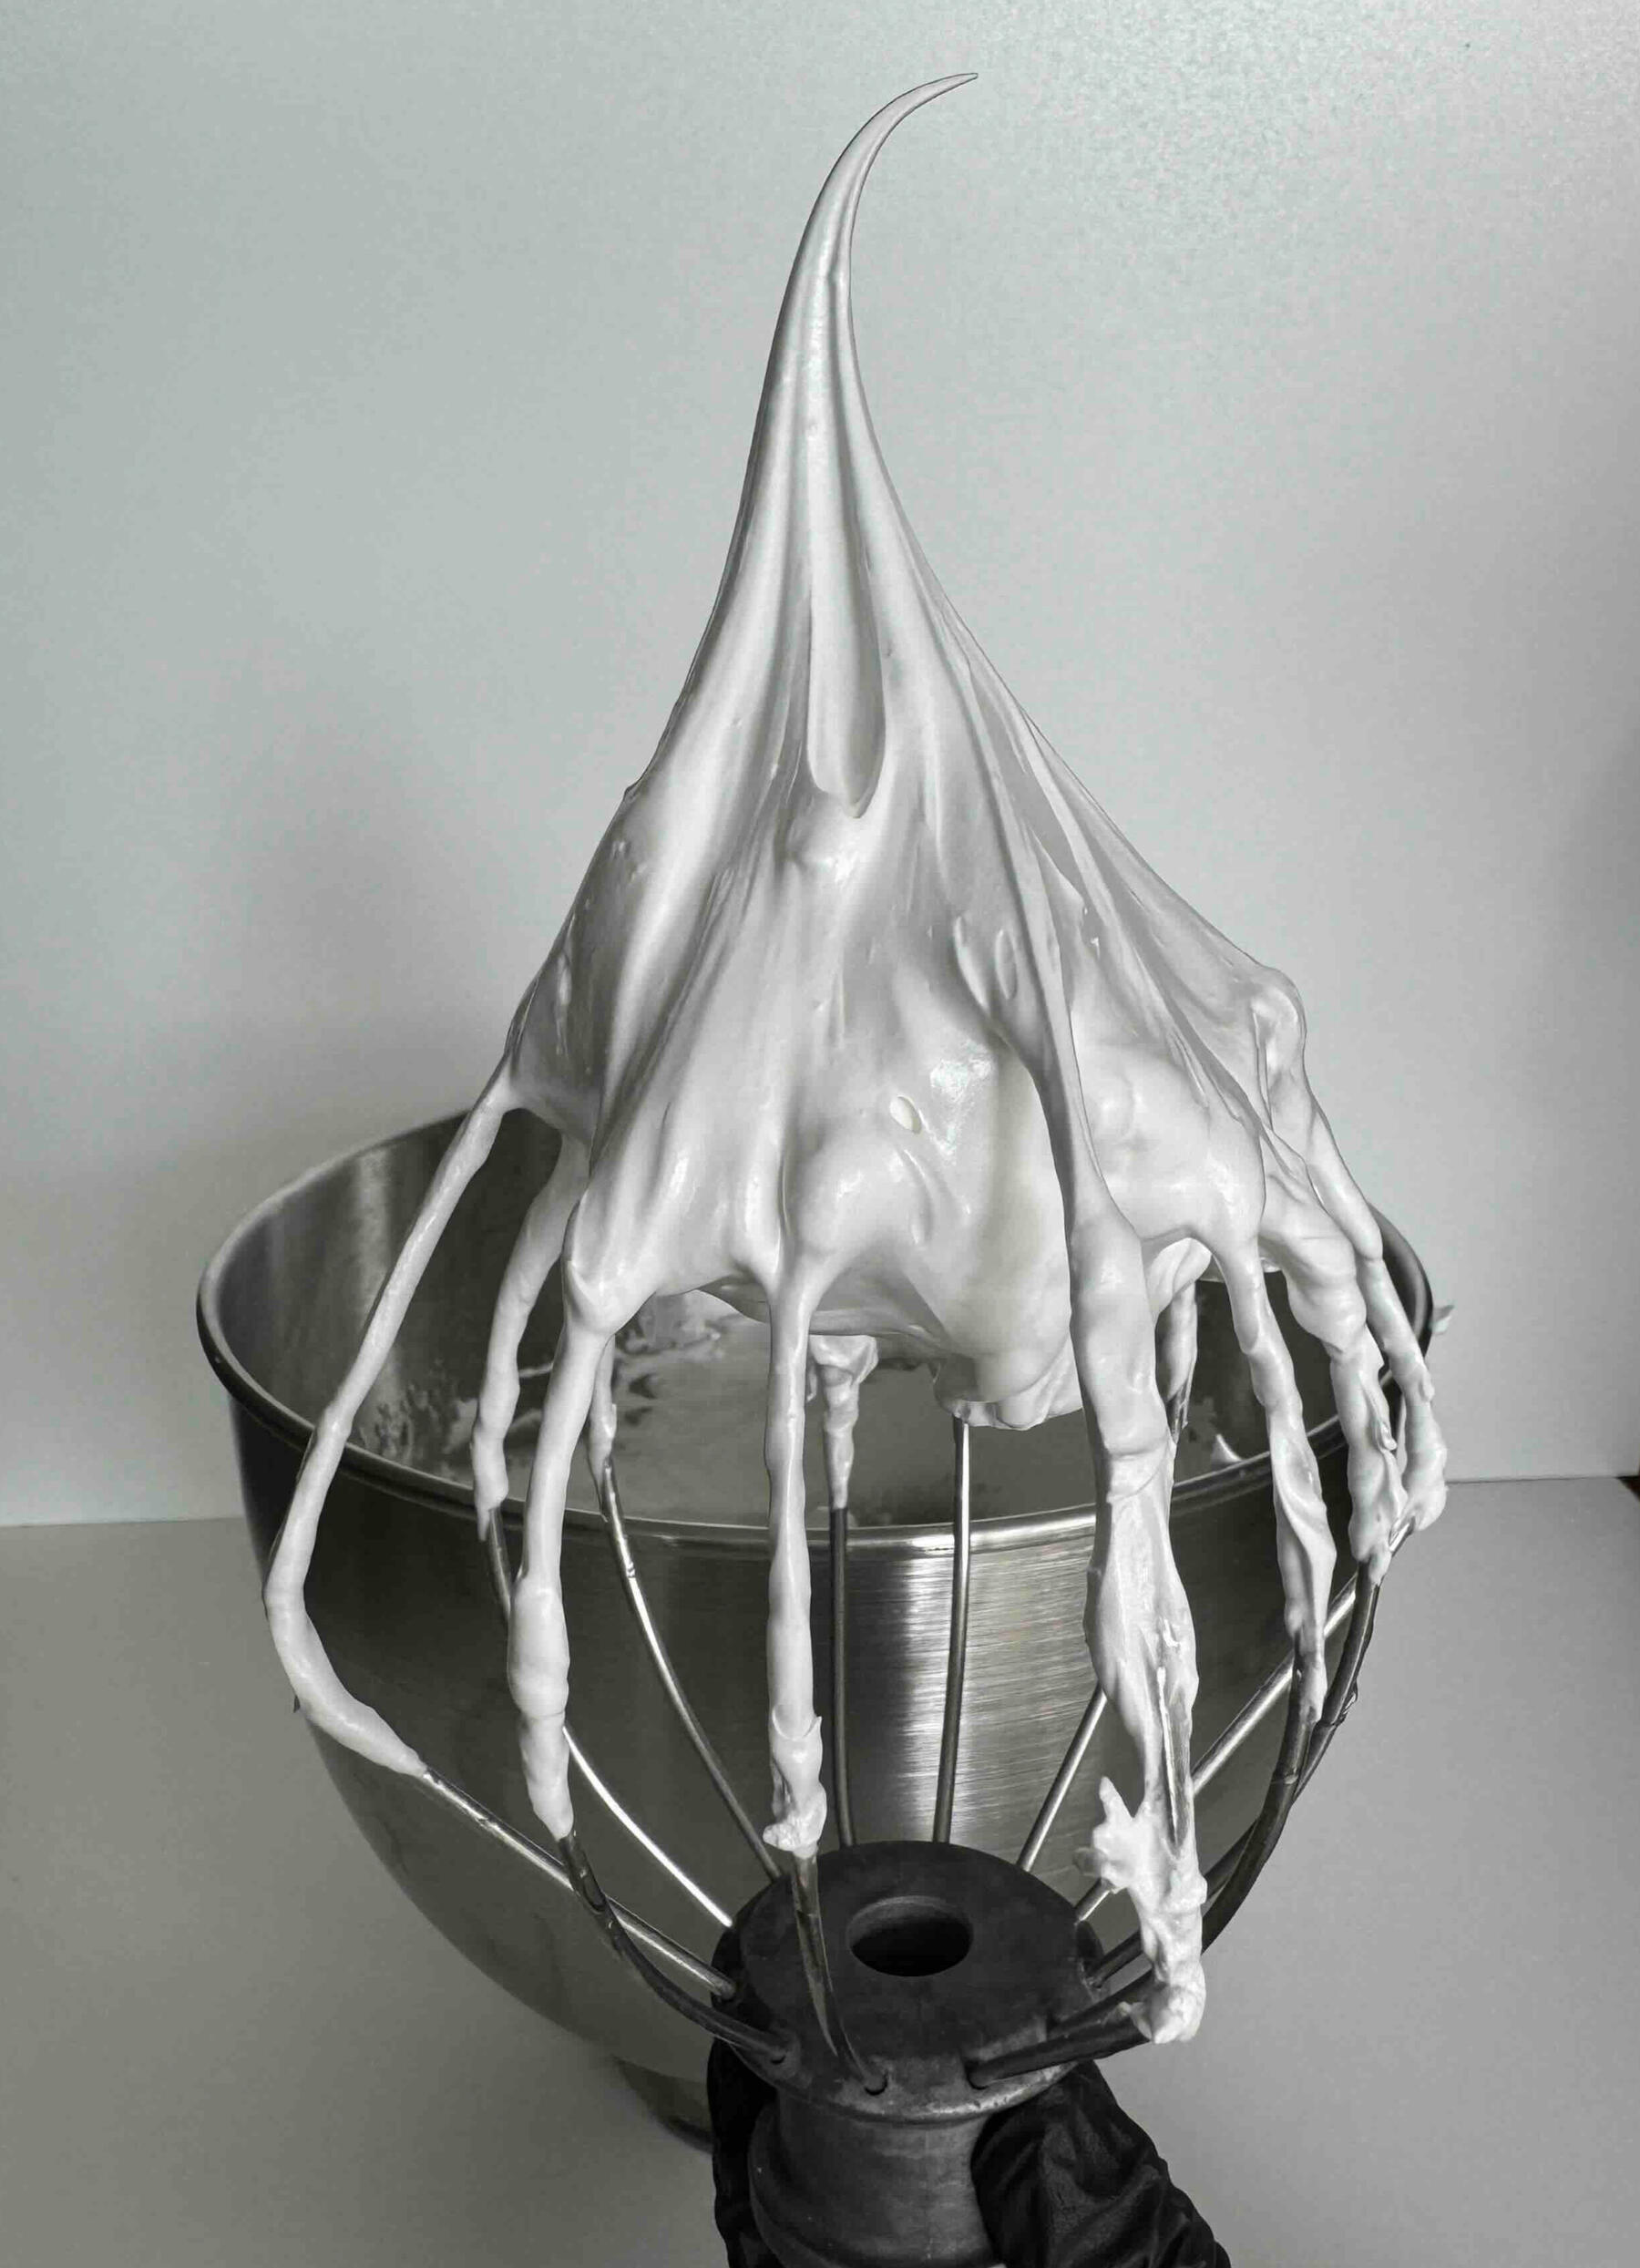
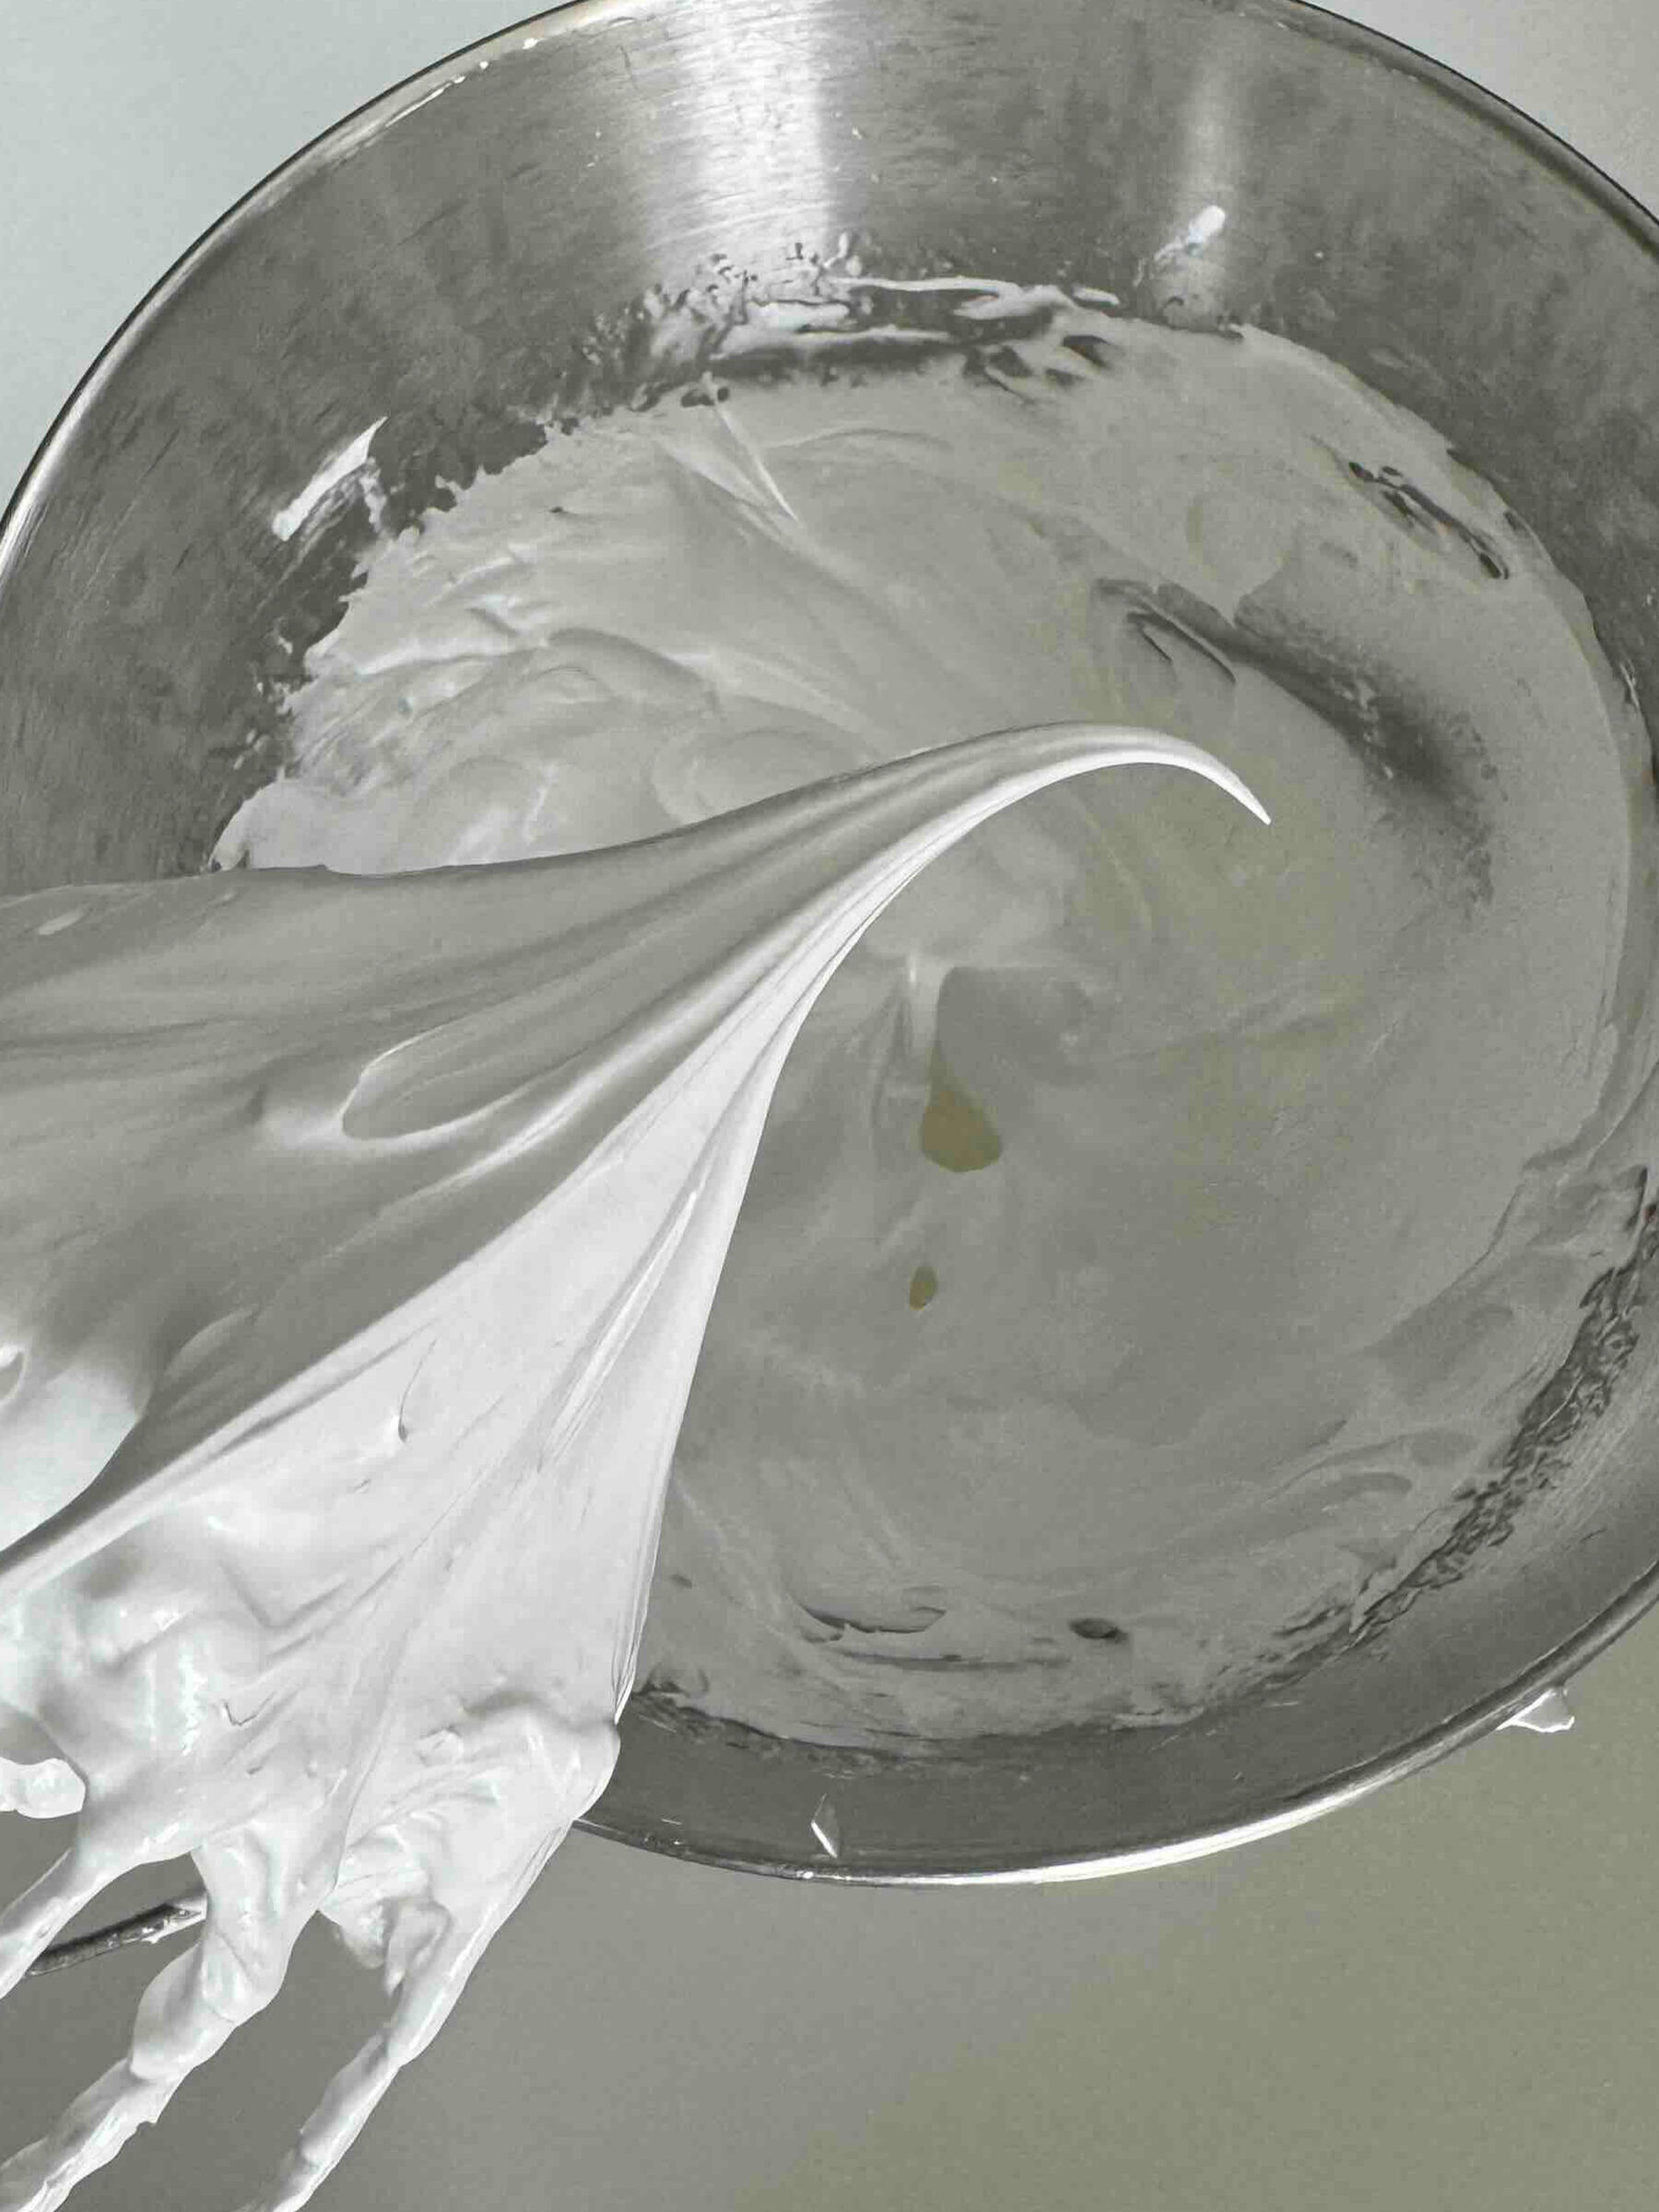
The mixture will become fluffy and glossy and form stiff peaks when you pull out the whip (see photo below). The tip of the meringue on your whip should remain elastic. You should achieve a thick texture that doesn't drop, even if you turn the bowl upside down.
Congratulations, you've created meringue!
Avoid any traces of egg yolks when separating the egg whites, as even a small amount of yolk can negatively affect the meringue's structure
Always use a clean, dry bowl for the best results
Macaronage and macaron batter
We are ready to begin the macaronage process, a crucial step to remove excess air and achieve the perfect consistency for the macaron batter. Achieving the right structure is essential for beautiful, smooth macarons.There are 2 methods to create perfect macaron batter. I have tested both, and each works effectively. Using a stand mixer in the first stage is generally easier and offers more consistent results.Method 1: Stand Mixer (Stage 1) & Spatula (Stage 2):
- Attach the flat beater to your stand mixer
- Set the mixer speed to 1 (the minimum)
- Gradually add the almond flour mixture to the meringue in approx. 7-10 portions
- Once the almond flour mixture is fully incorporated, turn off the mixer and check the batter consistency. It should be thick but not runny. The batter should detach slowly from the flat beater when lifted without flowing too easily.! Be careful not to over-mix. It’s better to under-mix slightly with the stand mixer and then use the spatula to refine the consistency, giving you better control over the macaronage process. Over-mixing can lead to a batter that is too thick.- After achieving the right consistency, turn off the mixer and finish folding with a spatula
- Continue folding until the batter flows from the lifted spatula in a smooth, continuous ribbon, leaving traces on the batter surface in the bowl. Refer to the photos below for the correct consistencyMethod 2: Spatula Only (Classic Technique):
- Divide the meringue mixture into 3 equal portions
- Gradually add the meringue portions to the almond flour mixture, folding with a spatula
- Fold until the batter flows from the lifted spatula in a smooth, continuous ribbon, leaving traces on the batter surface in the bowl. Approximately 50 strokes with the spatula will be neededThe final texture should be glossy and uniform, with no lumps or streaks.
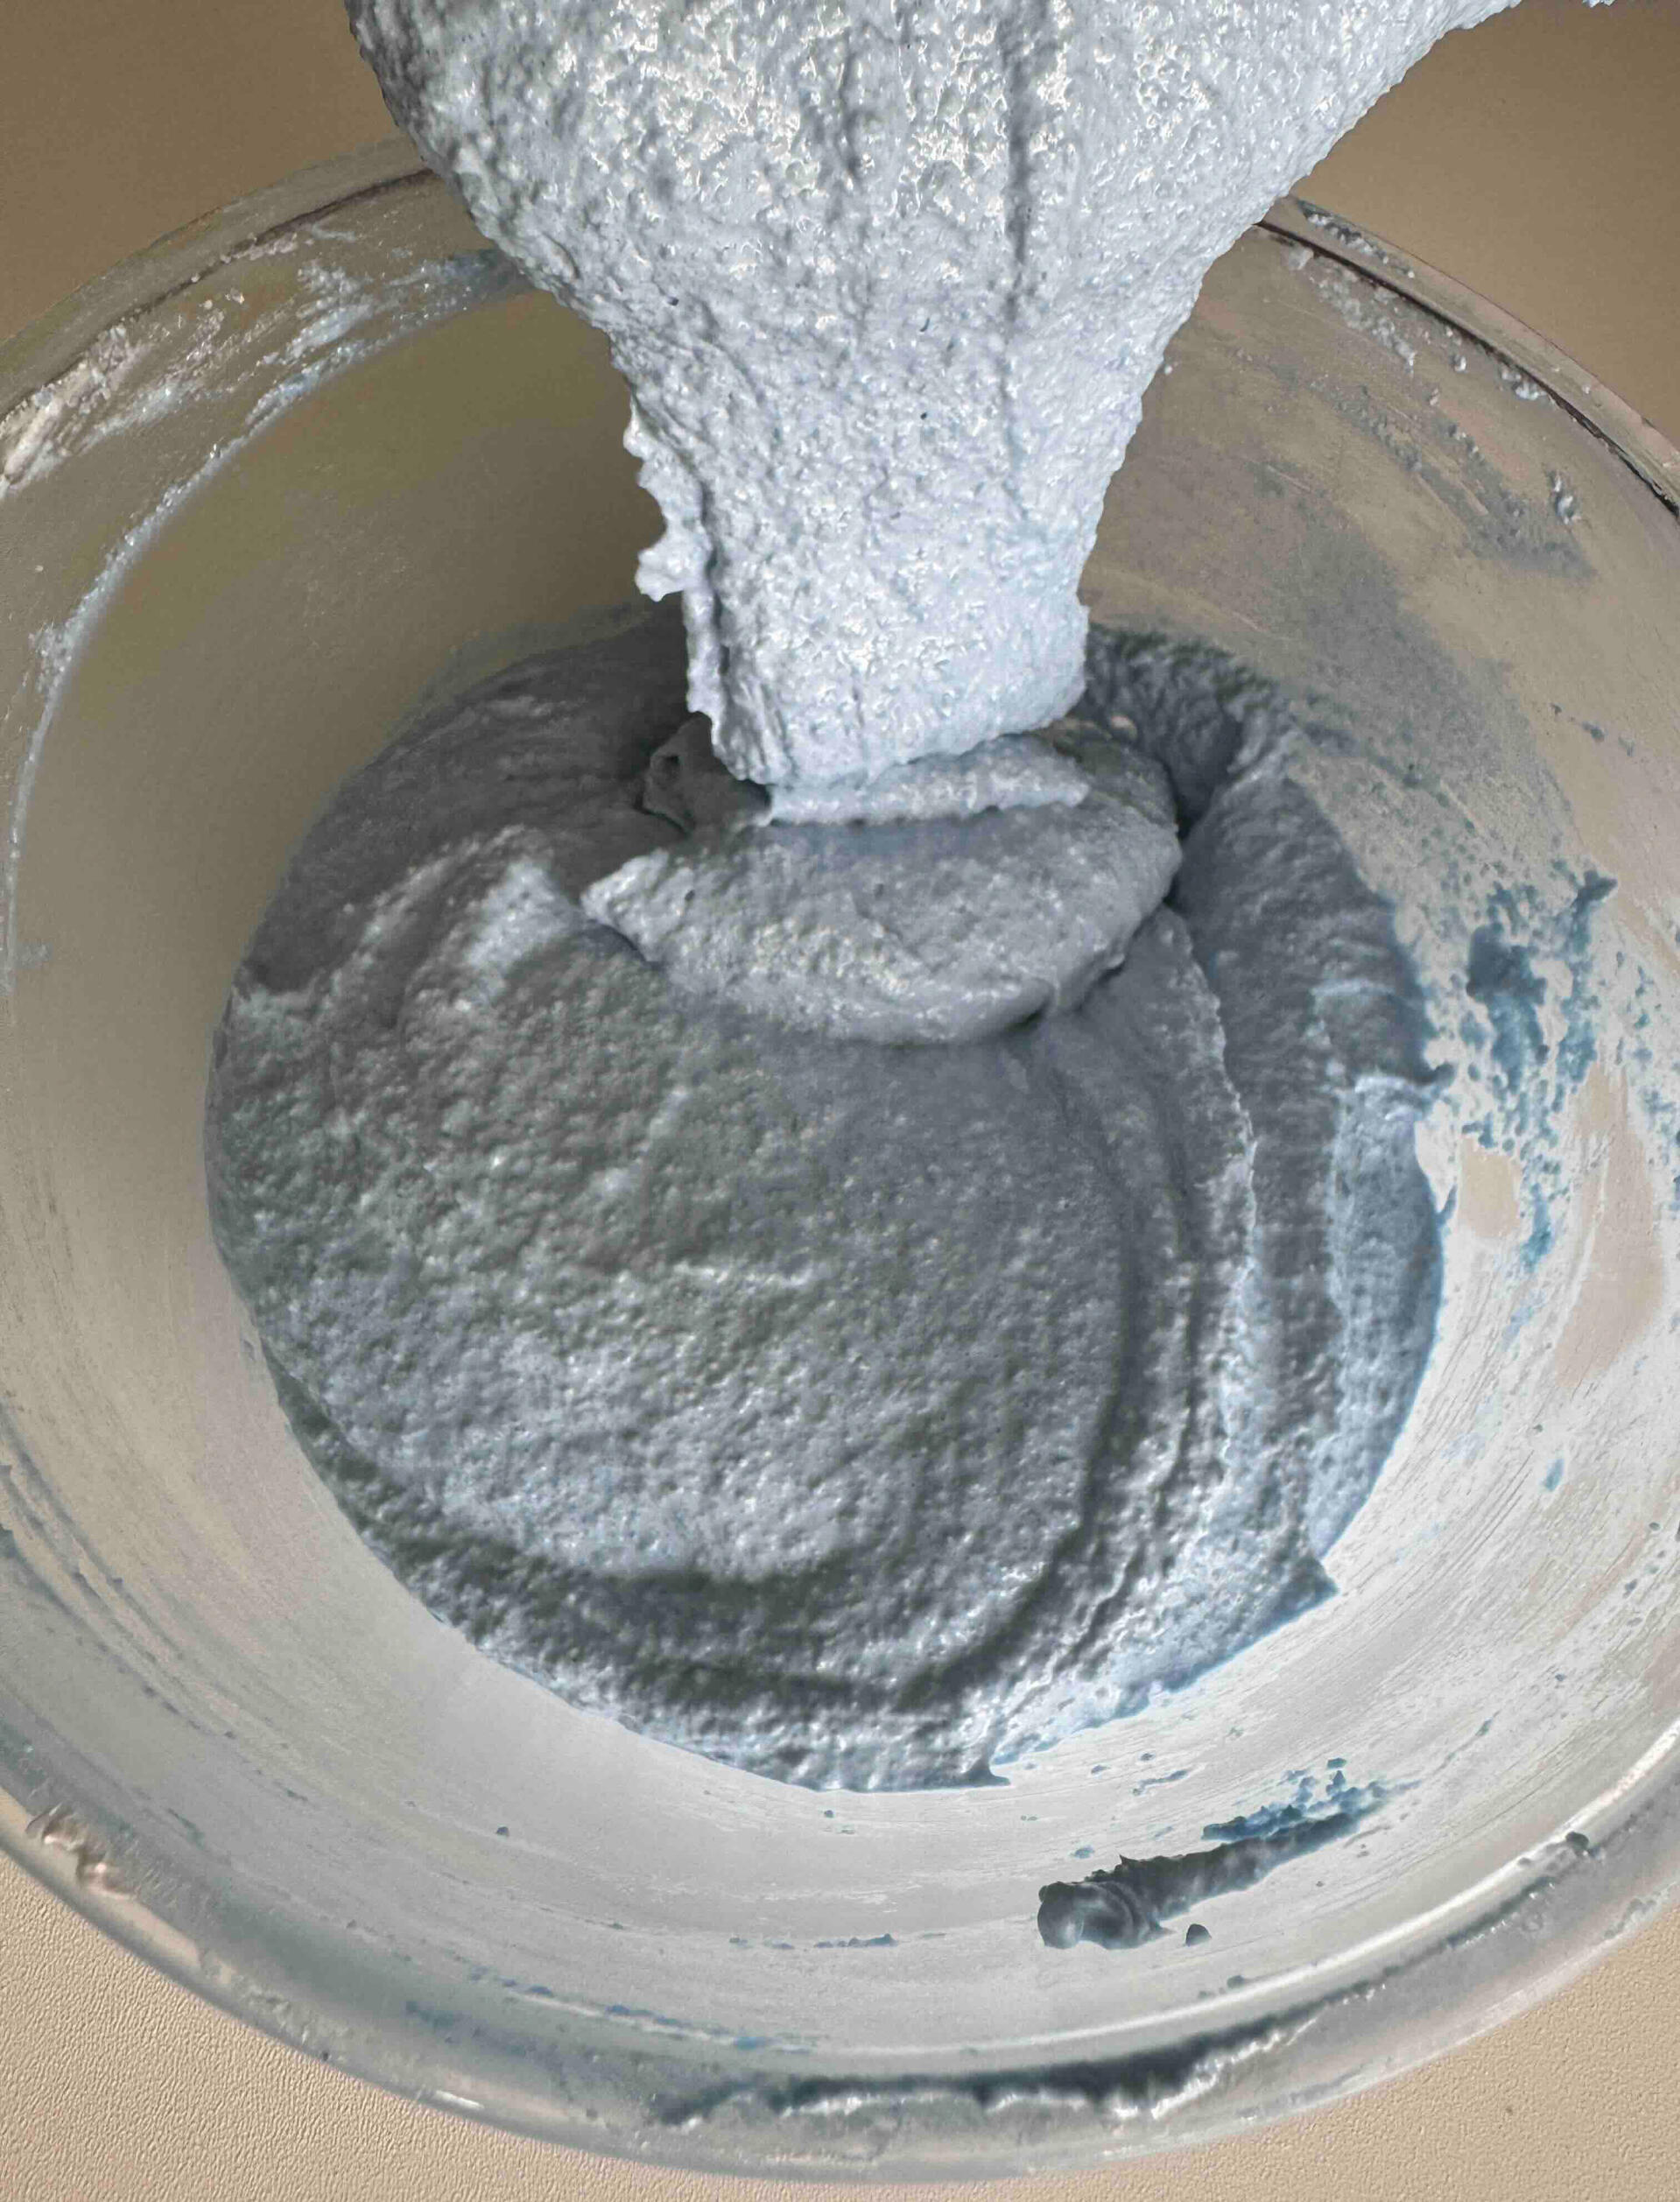
To prevent air pockets in the shells, which can lead to bubbles and cracks, fold the batter with the spatula without lifting or detaching it from the macaron batter
Over-mixing can cause the macarons to crack, and you may not achieve the desired macaron feet while baking.
Under-mixing may result in hollow or empty macaron shells.
Using a Stand Mixer: The longer you mix, the thicker the texture becomes
Without a Mixer: The longer you mix, the more fluid the texture will be
Step 2: Baking Perfect Macaron Shells
Filling the piping bag
After completing the macaronage and achieving the perfect macaron batter, you can proceed with filling the piping bag.If not already done during preparations, attach the piping tip to your piping bag. Place the piping bag in a tall glass and fold the upper part around the edge of the glass to make the filling process easier and faster.Use a spatula to fill the bag. Once filled, lift the piping bag from the glass and twist/ seal the upper part securely.
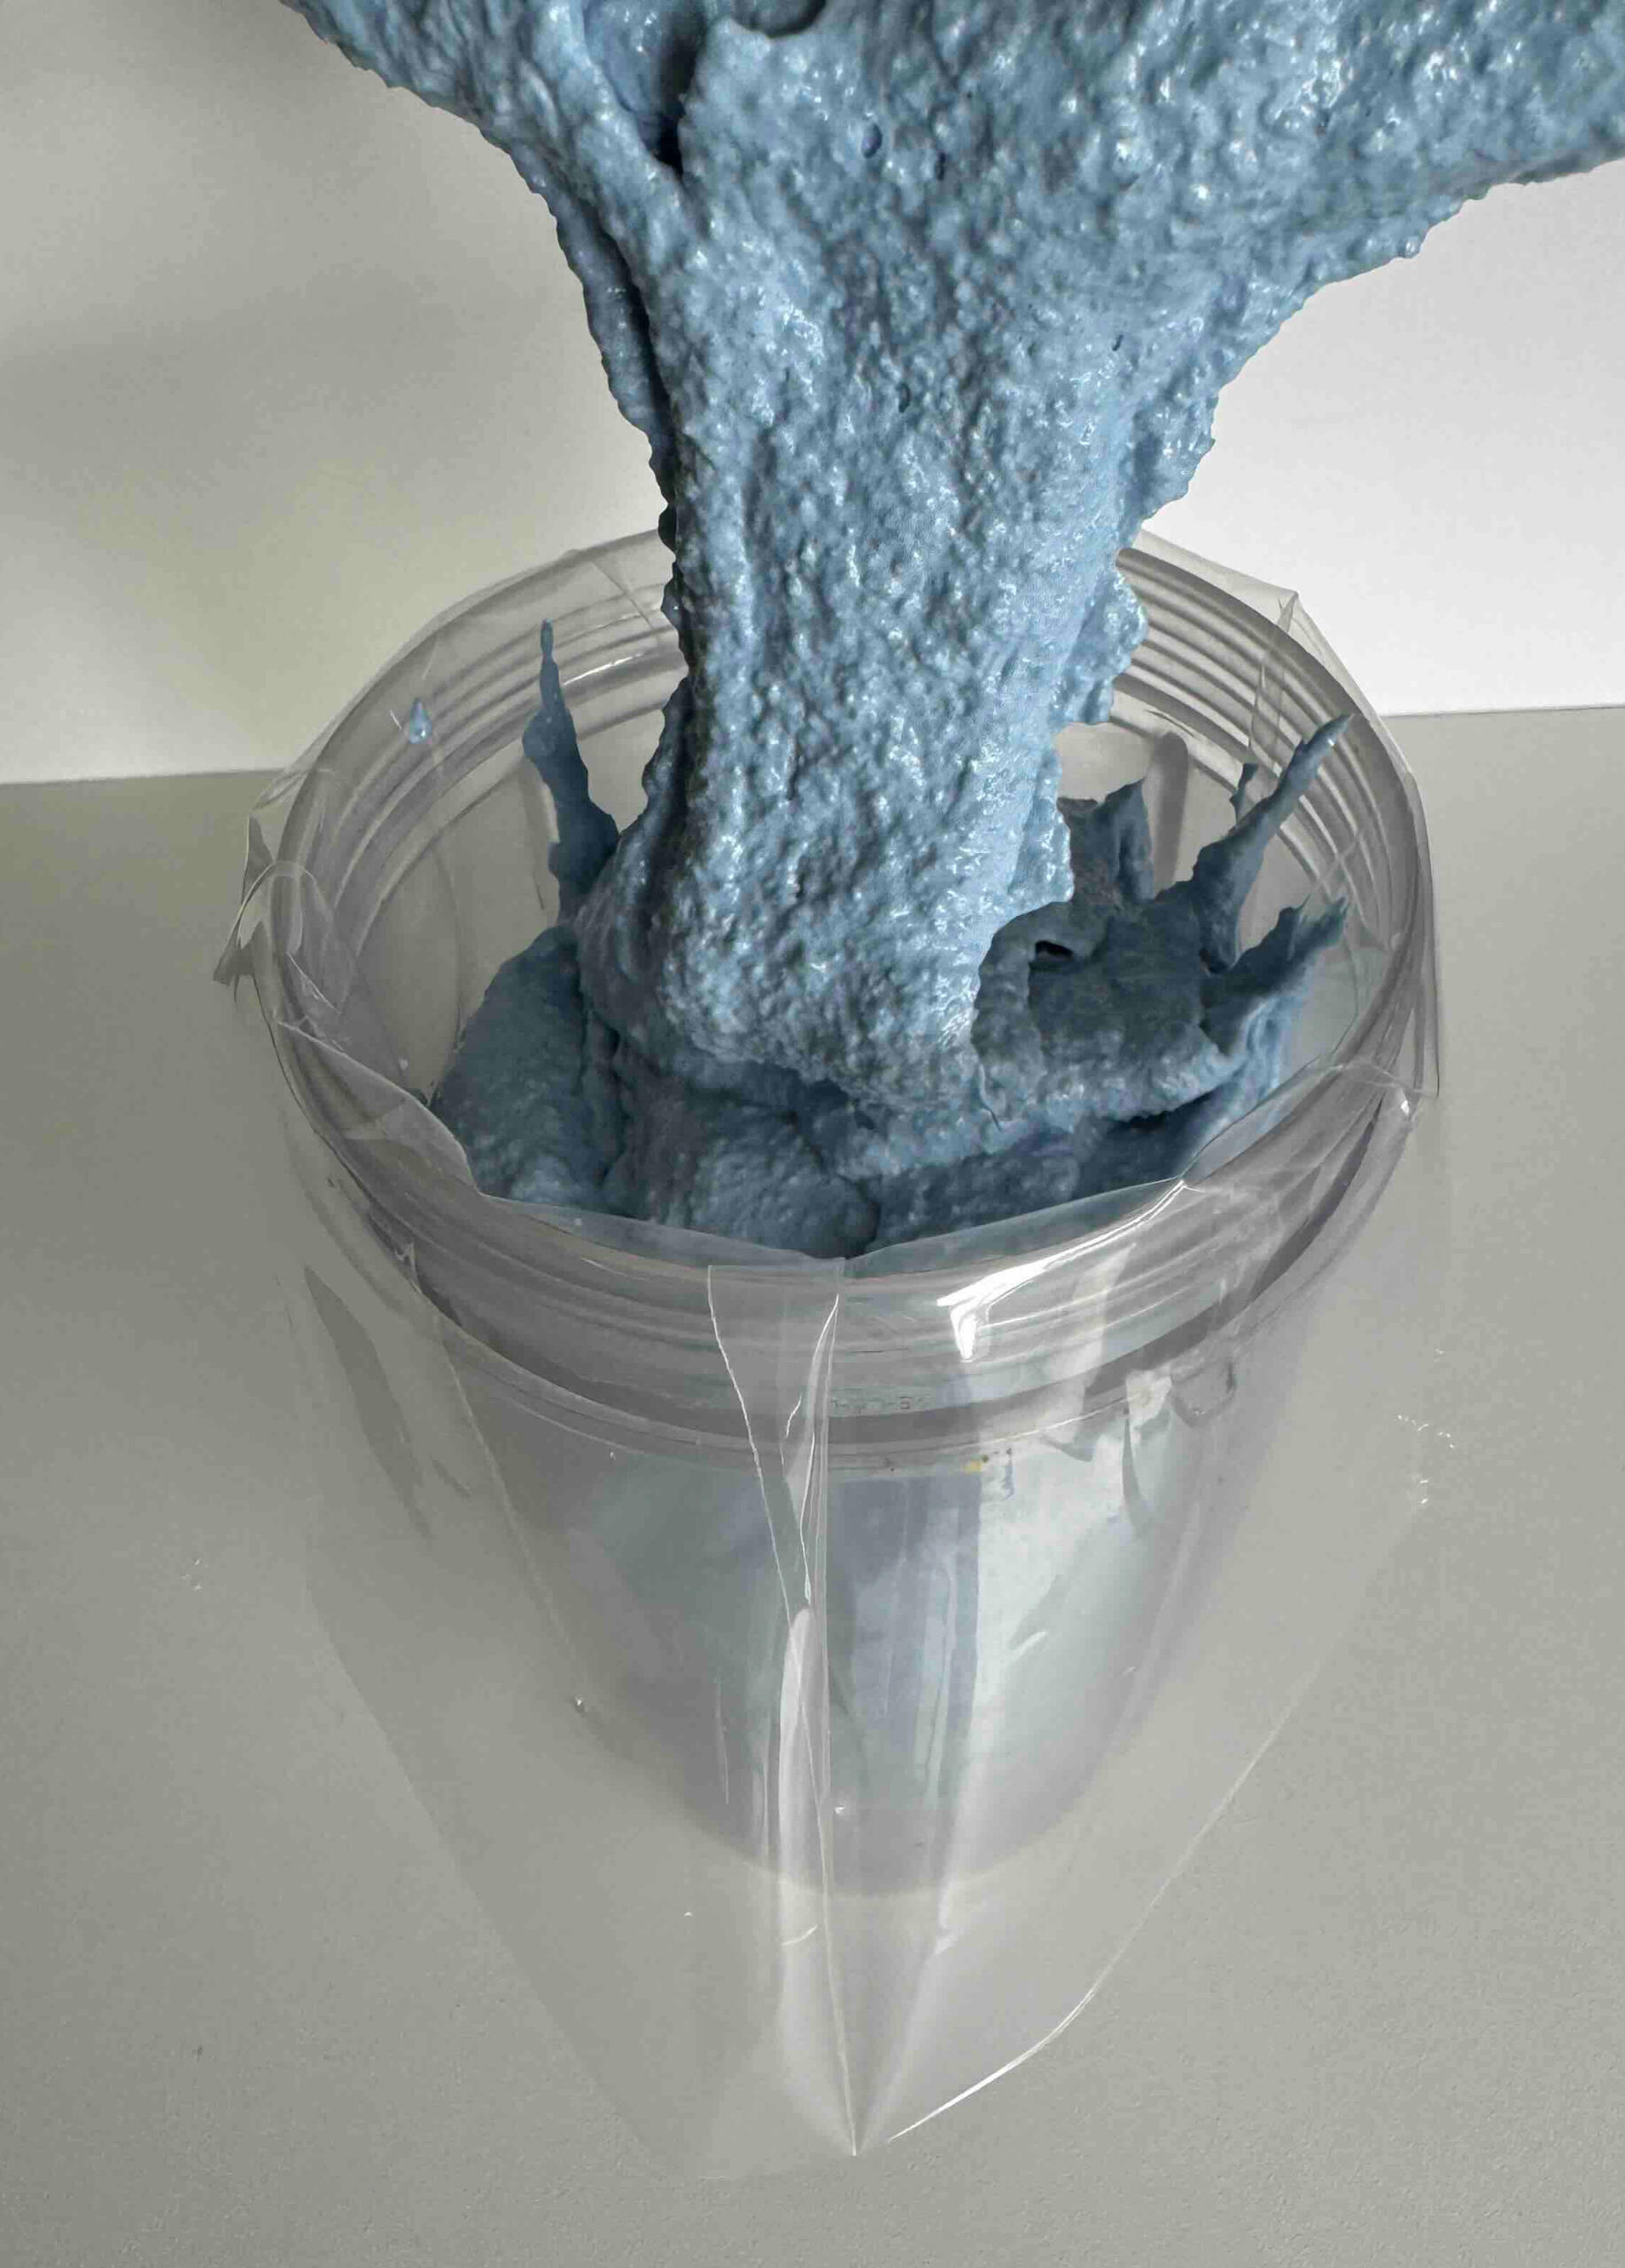
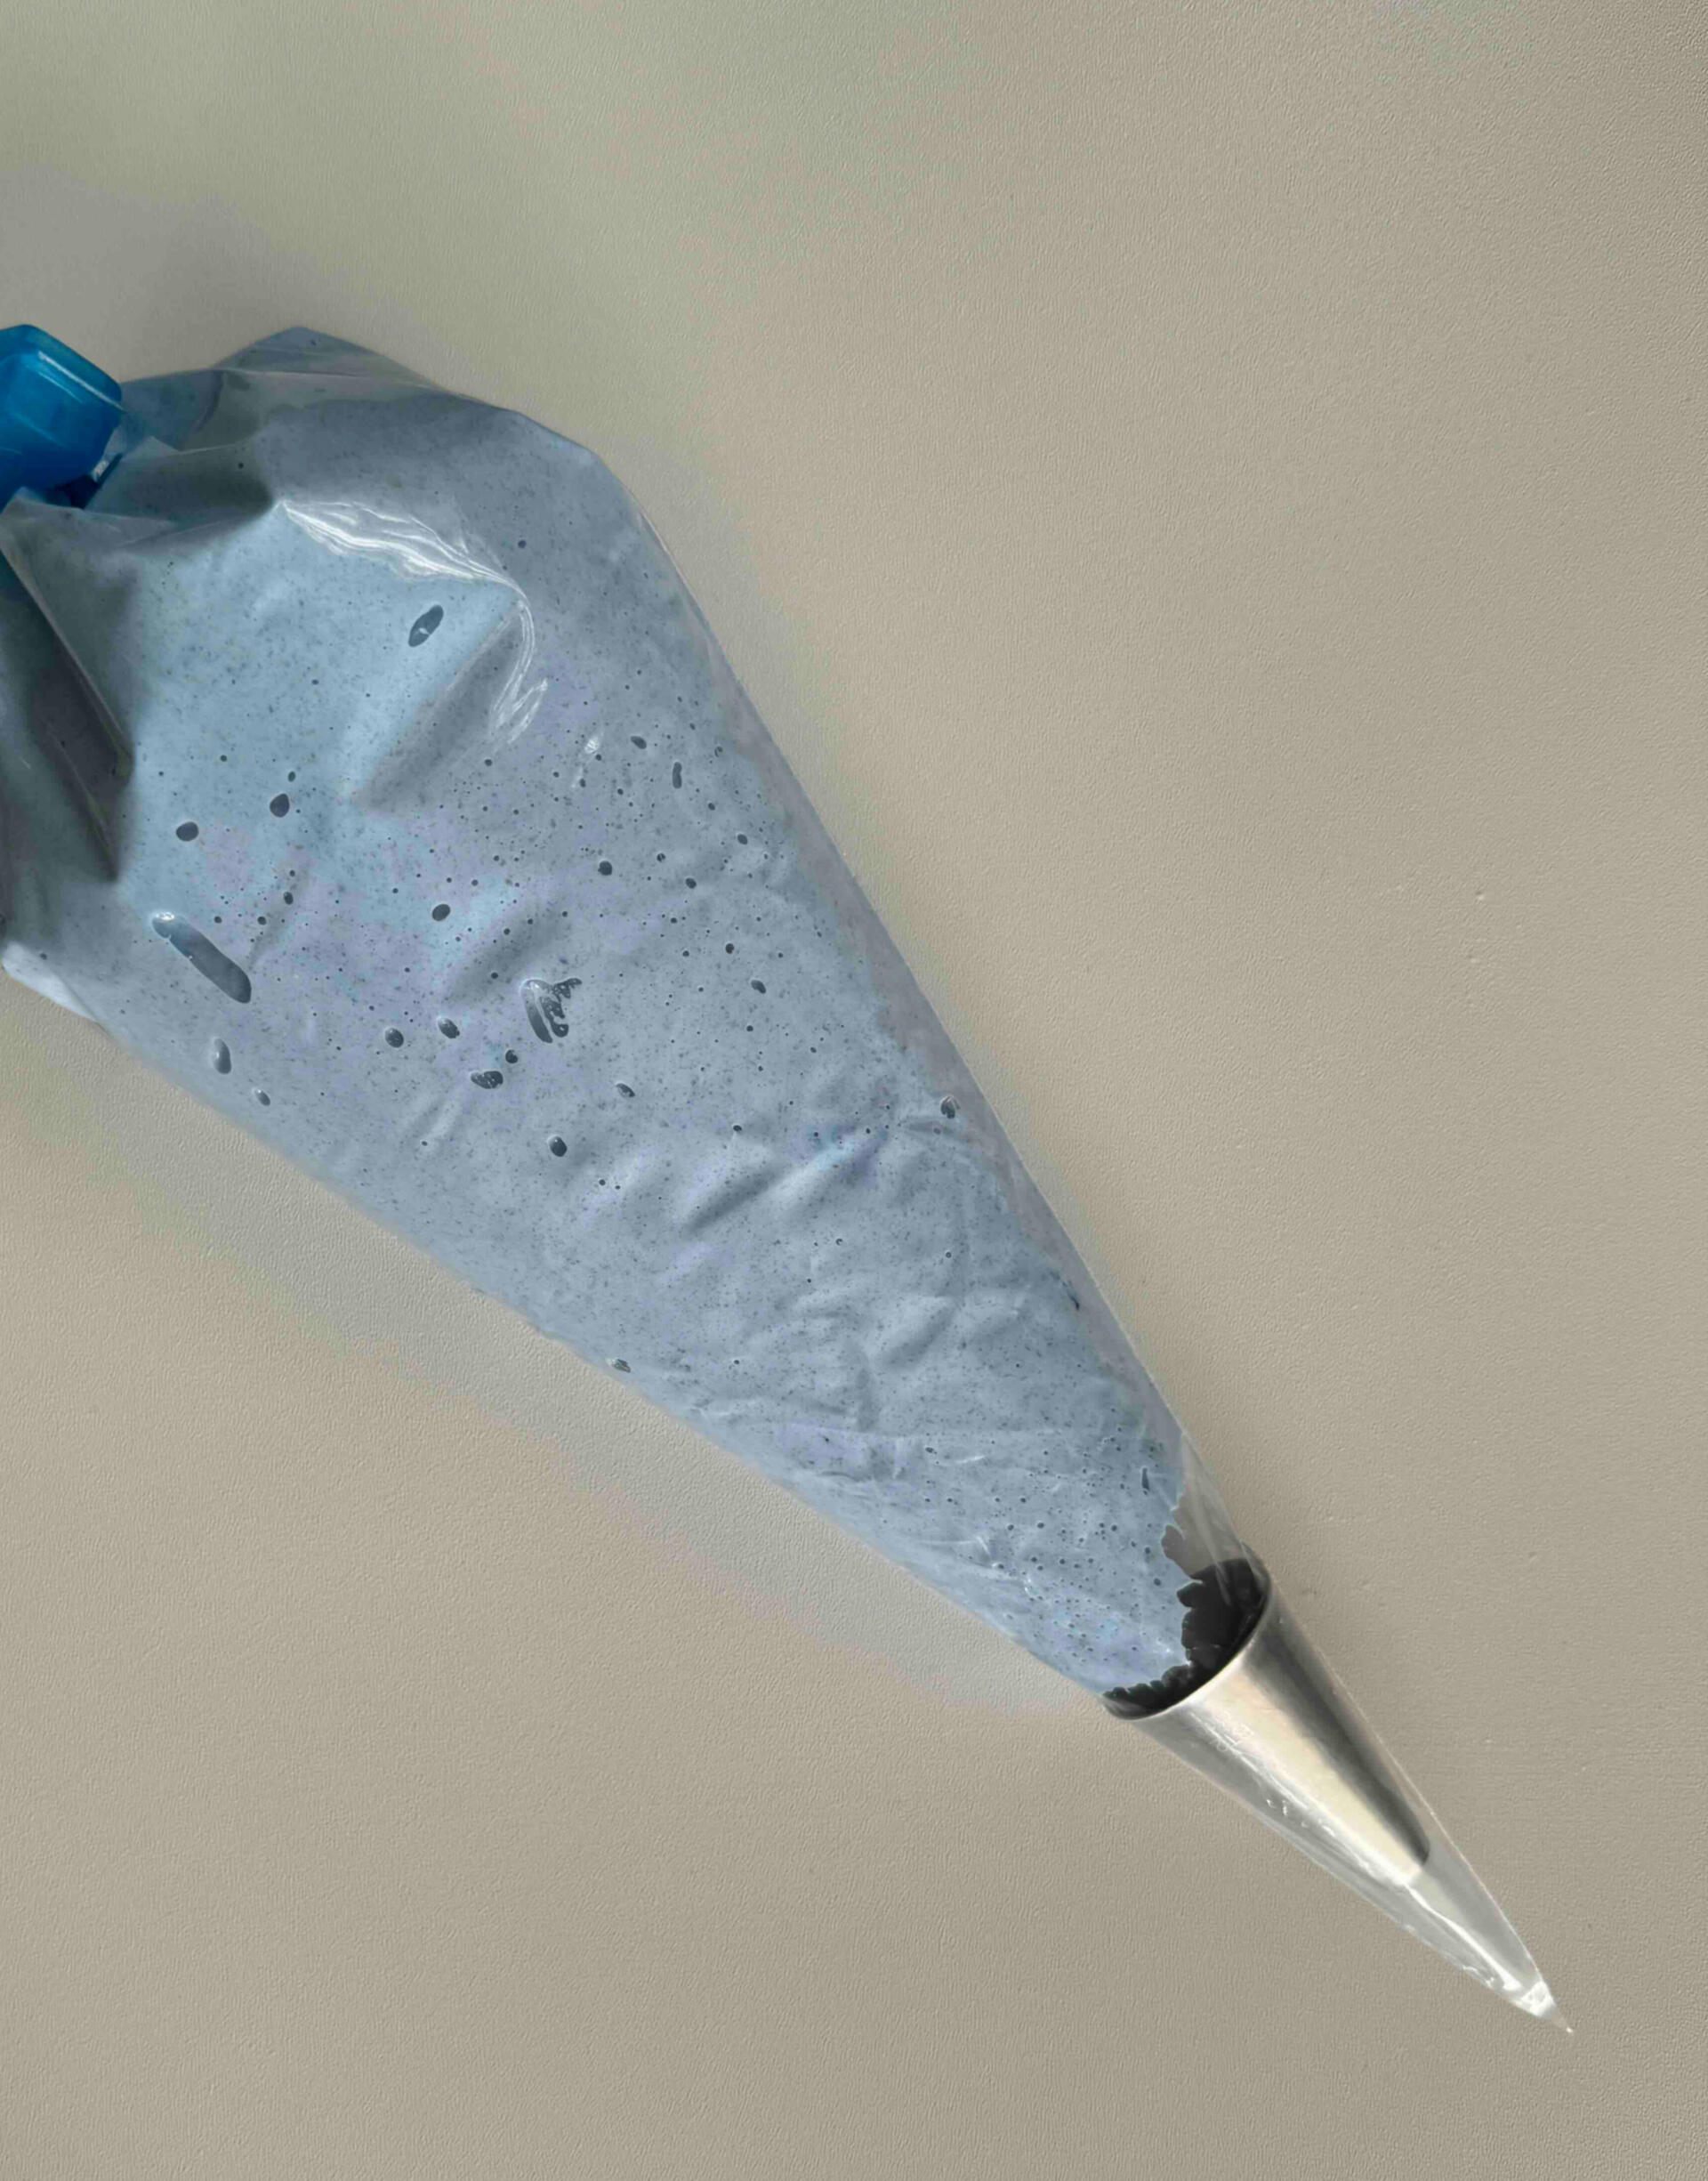
Piping the macaron batter
Pipe the macaron batter onto a baking mat to form even round disks, approx. 3cm/ 1.2in in diameter. For best results, hold your piping bag vertically at a 90° angle to the baking mat. This technique allows you to pipe the macaron batter with precision, resulting in beautifully shaped and uniform macaronsTo remove any remaining air from the disks, which can cause cracks in the shells, tap the pan against a hard surface (a table or counter) a few times to release air bubbles. You can also use a toothpick to gently pop any remaining air pockets, which is very effective.Let the macaron shells rest on the baking mat for about 15 min at room temperature before baking.I prefer piping all batches of macaron shells right away using 2 or 3 baking mats and pans. Note: The first batch needs to rest for 15min, while each subsequent batch should rest at least 15min longer since I suggest baking one pan at a time. For example, if you pipe 3 batches immediately, the first batch goes into the oven after 15min, and the third batch after 45min (assuming a 15min baking time per batch).Allow the shells to dry slightly and develop a firm surface (they shouldn't stick to your finger when touched lightly). This step is essential for the macaron shells to rise properly in the oven and form their famous feet.
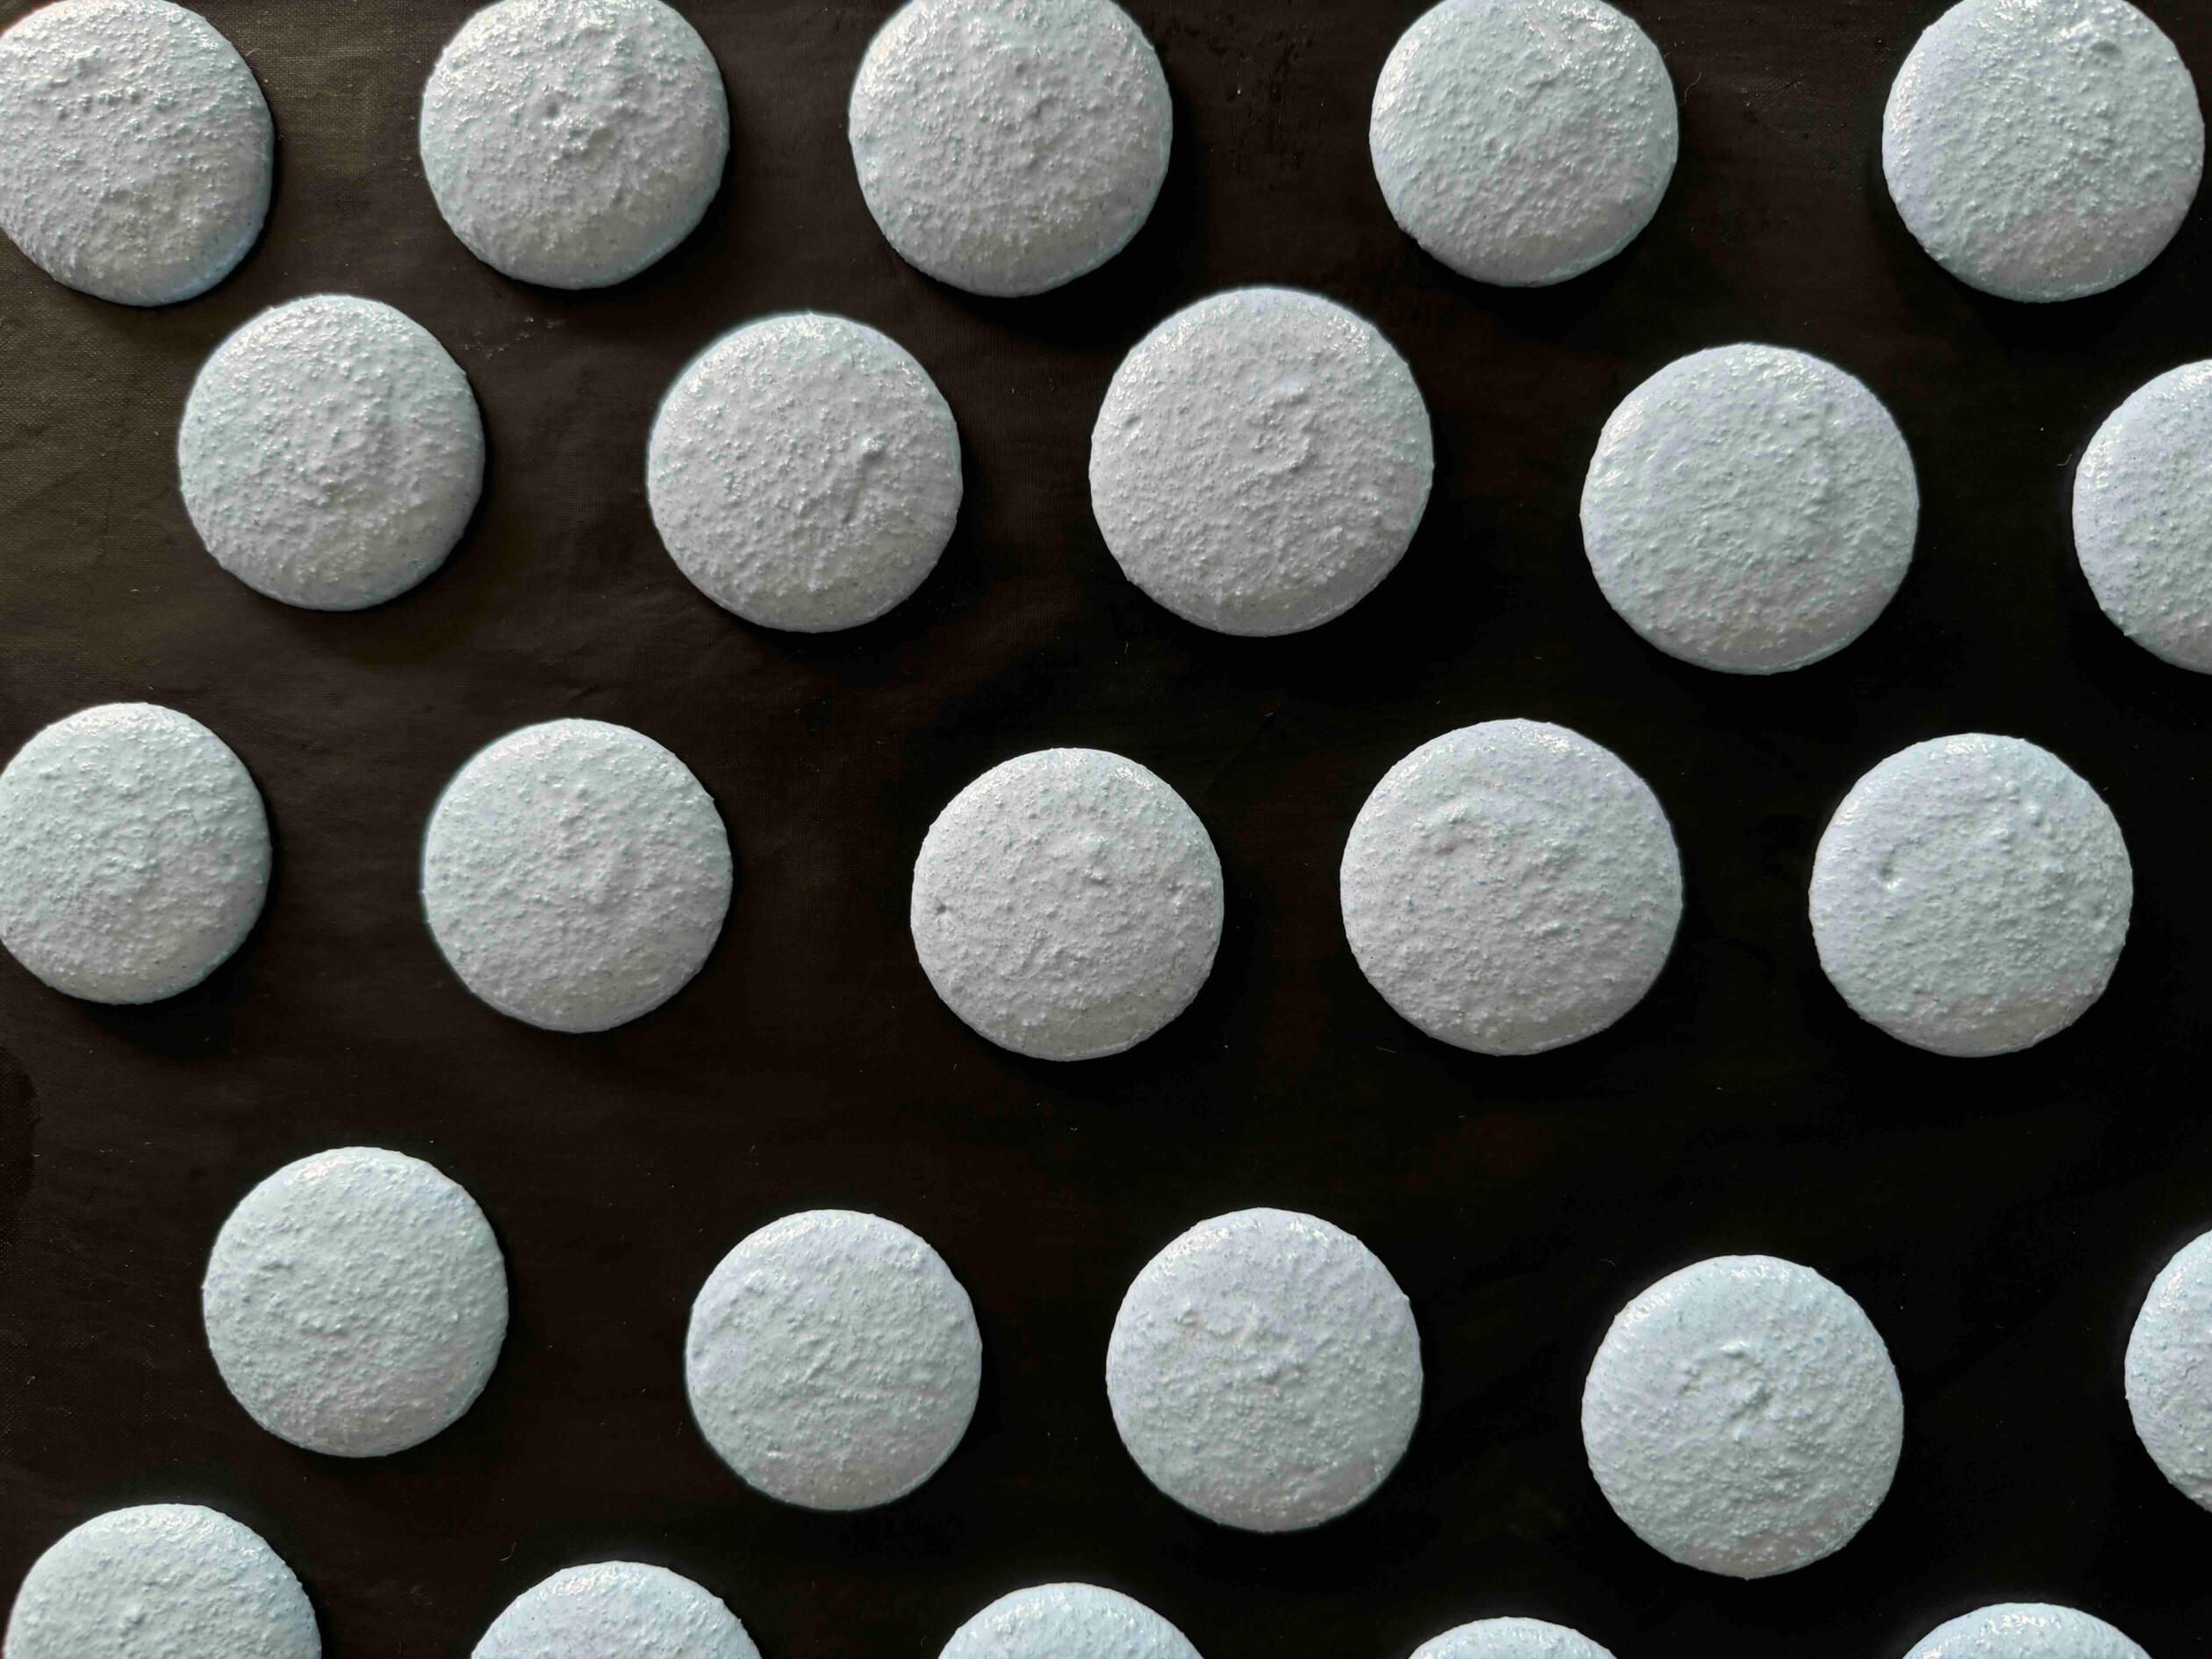
As shown in the photo above, I arrange the macaron shells in a checkered pattern. This layout allows for better ventilation and ensures more consistent baking of each macaron shell
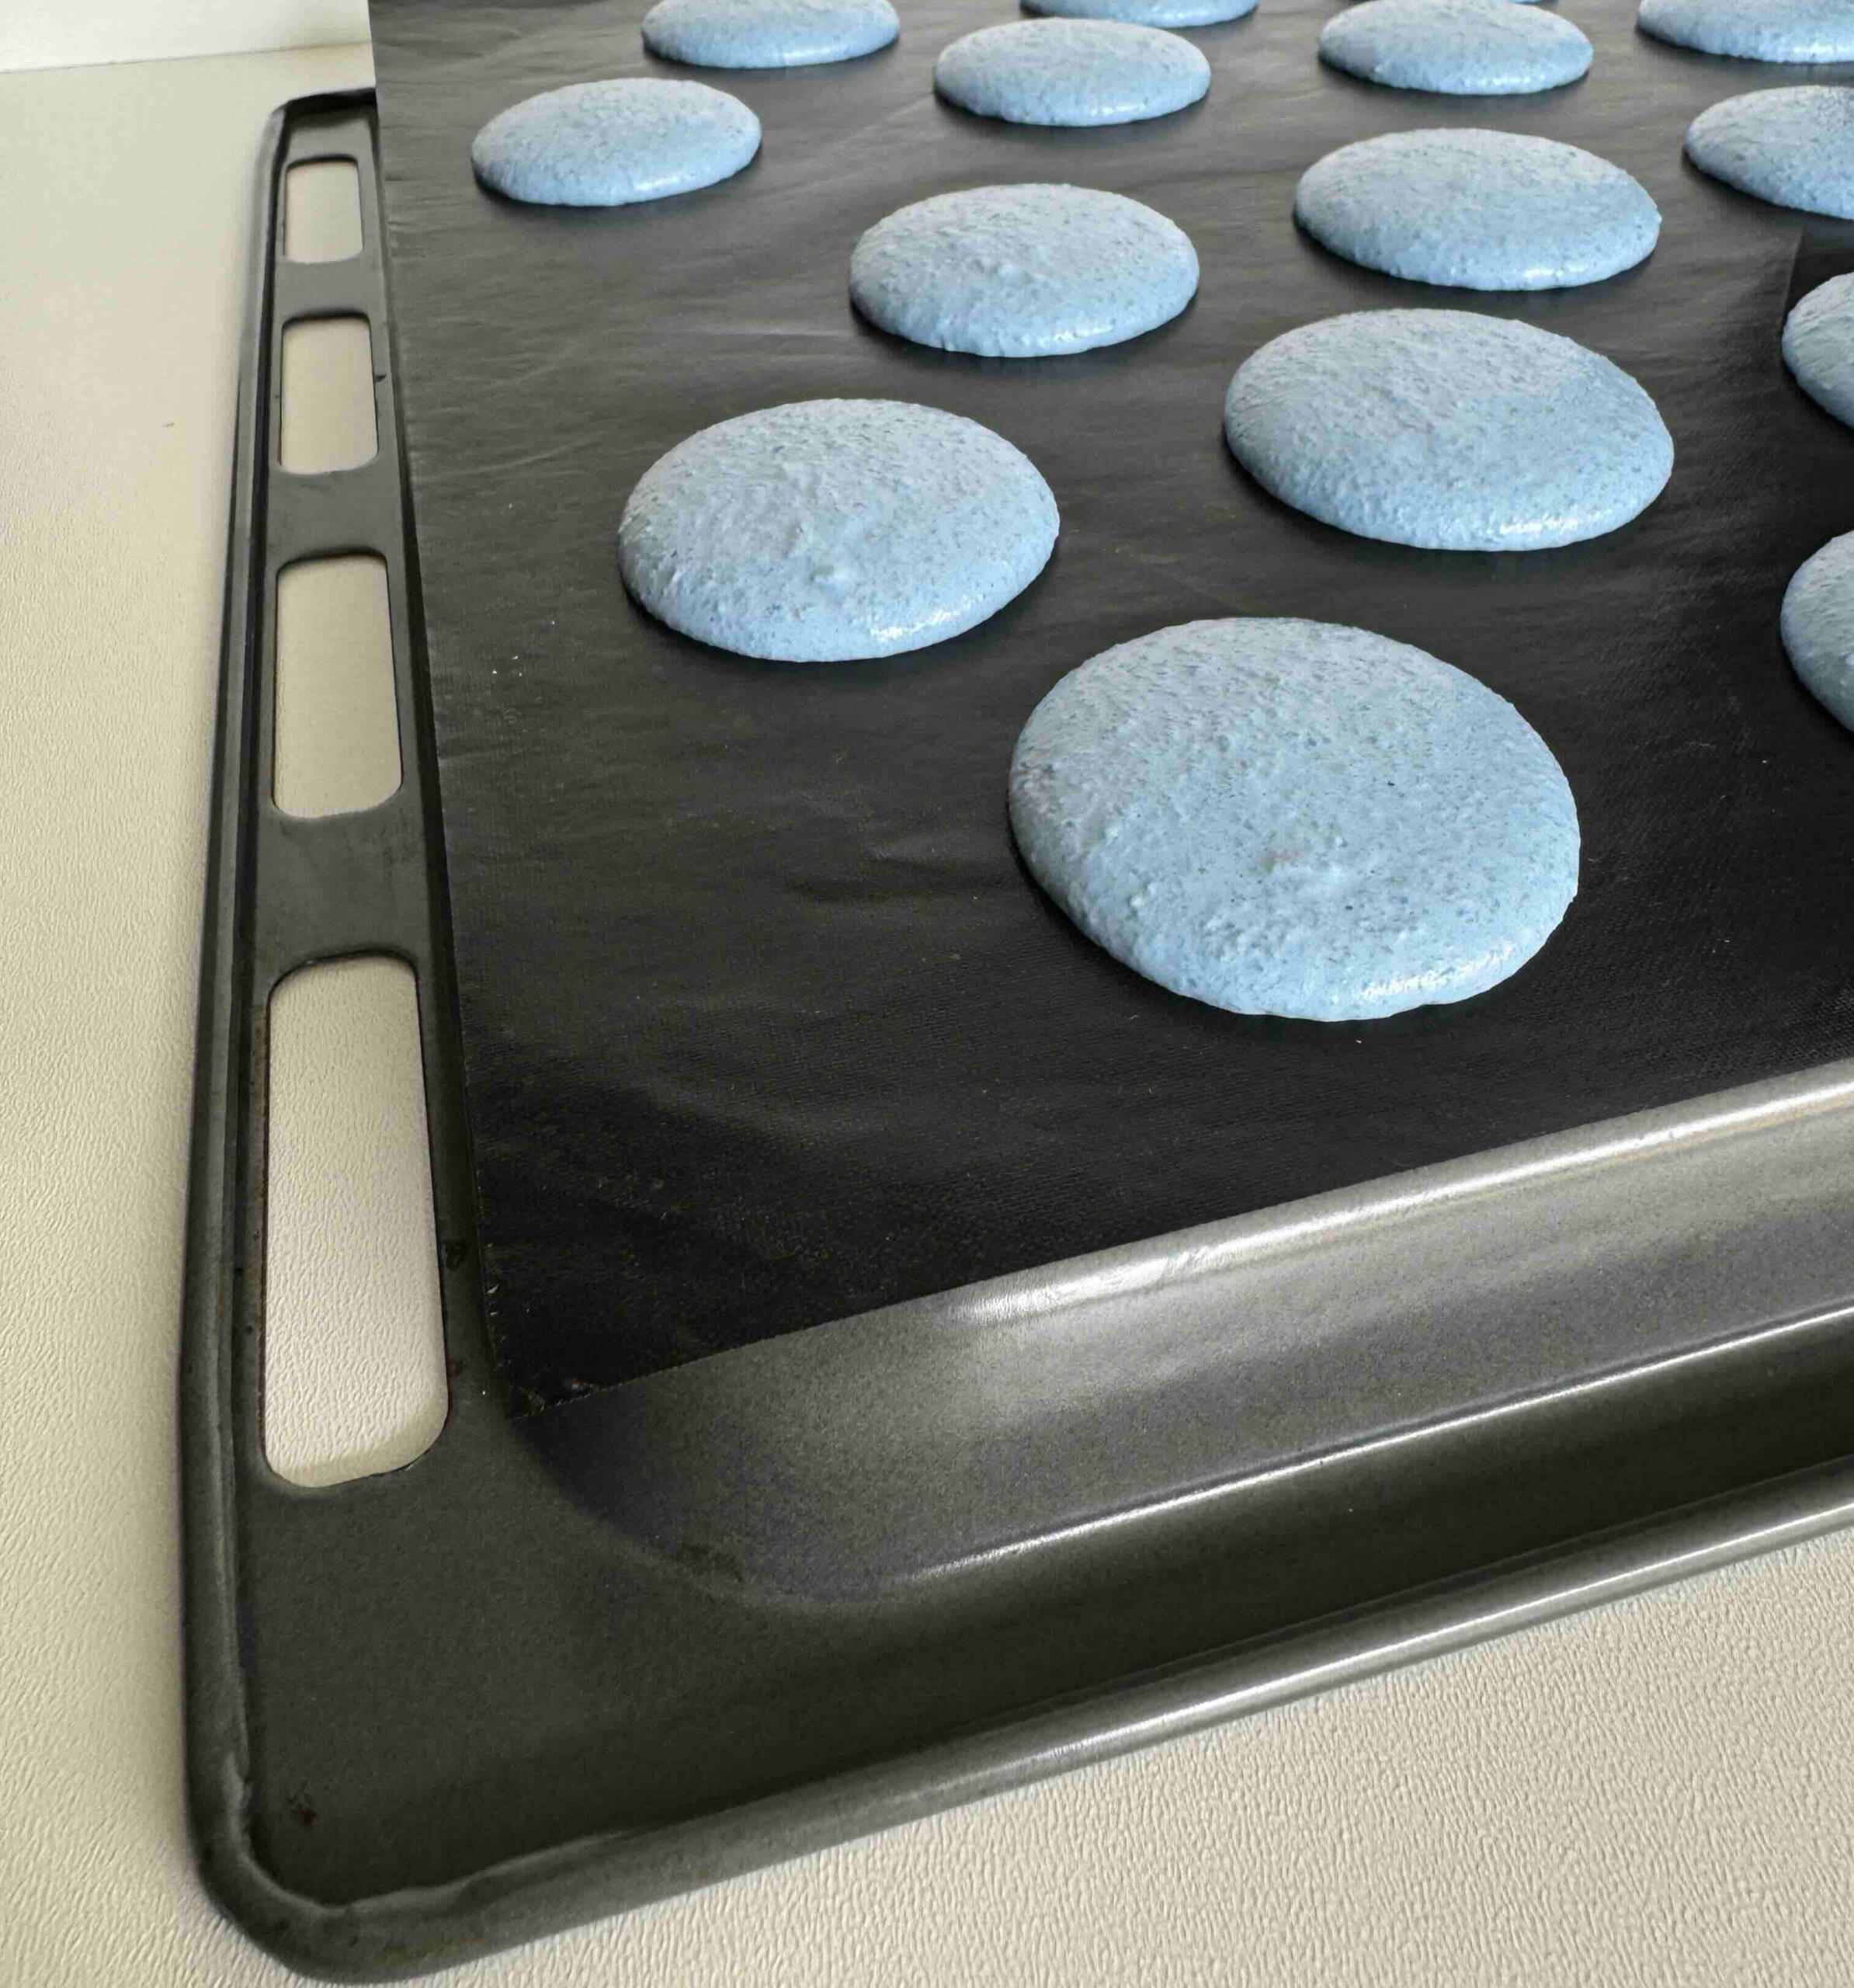
I also turn the baking pan upside down (as seen in the photo below) to further improve airflow around the macaron shells during baking
Baking guide for macaron shells
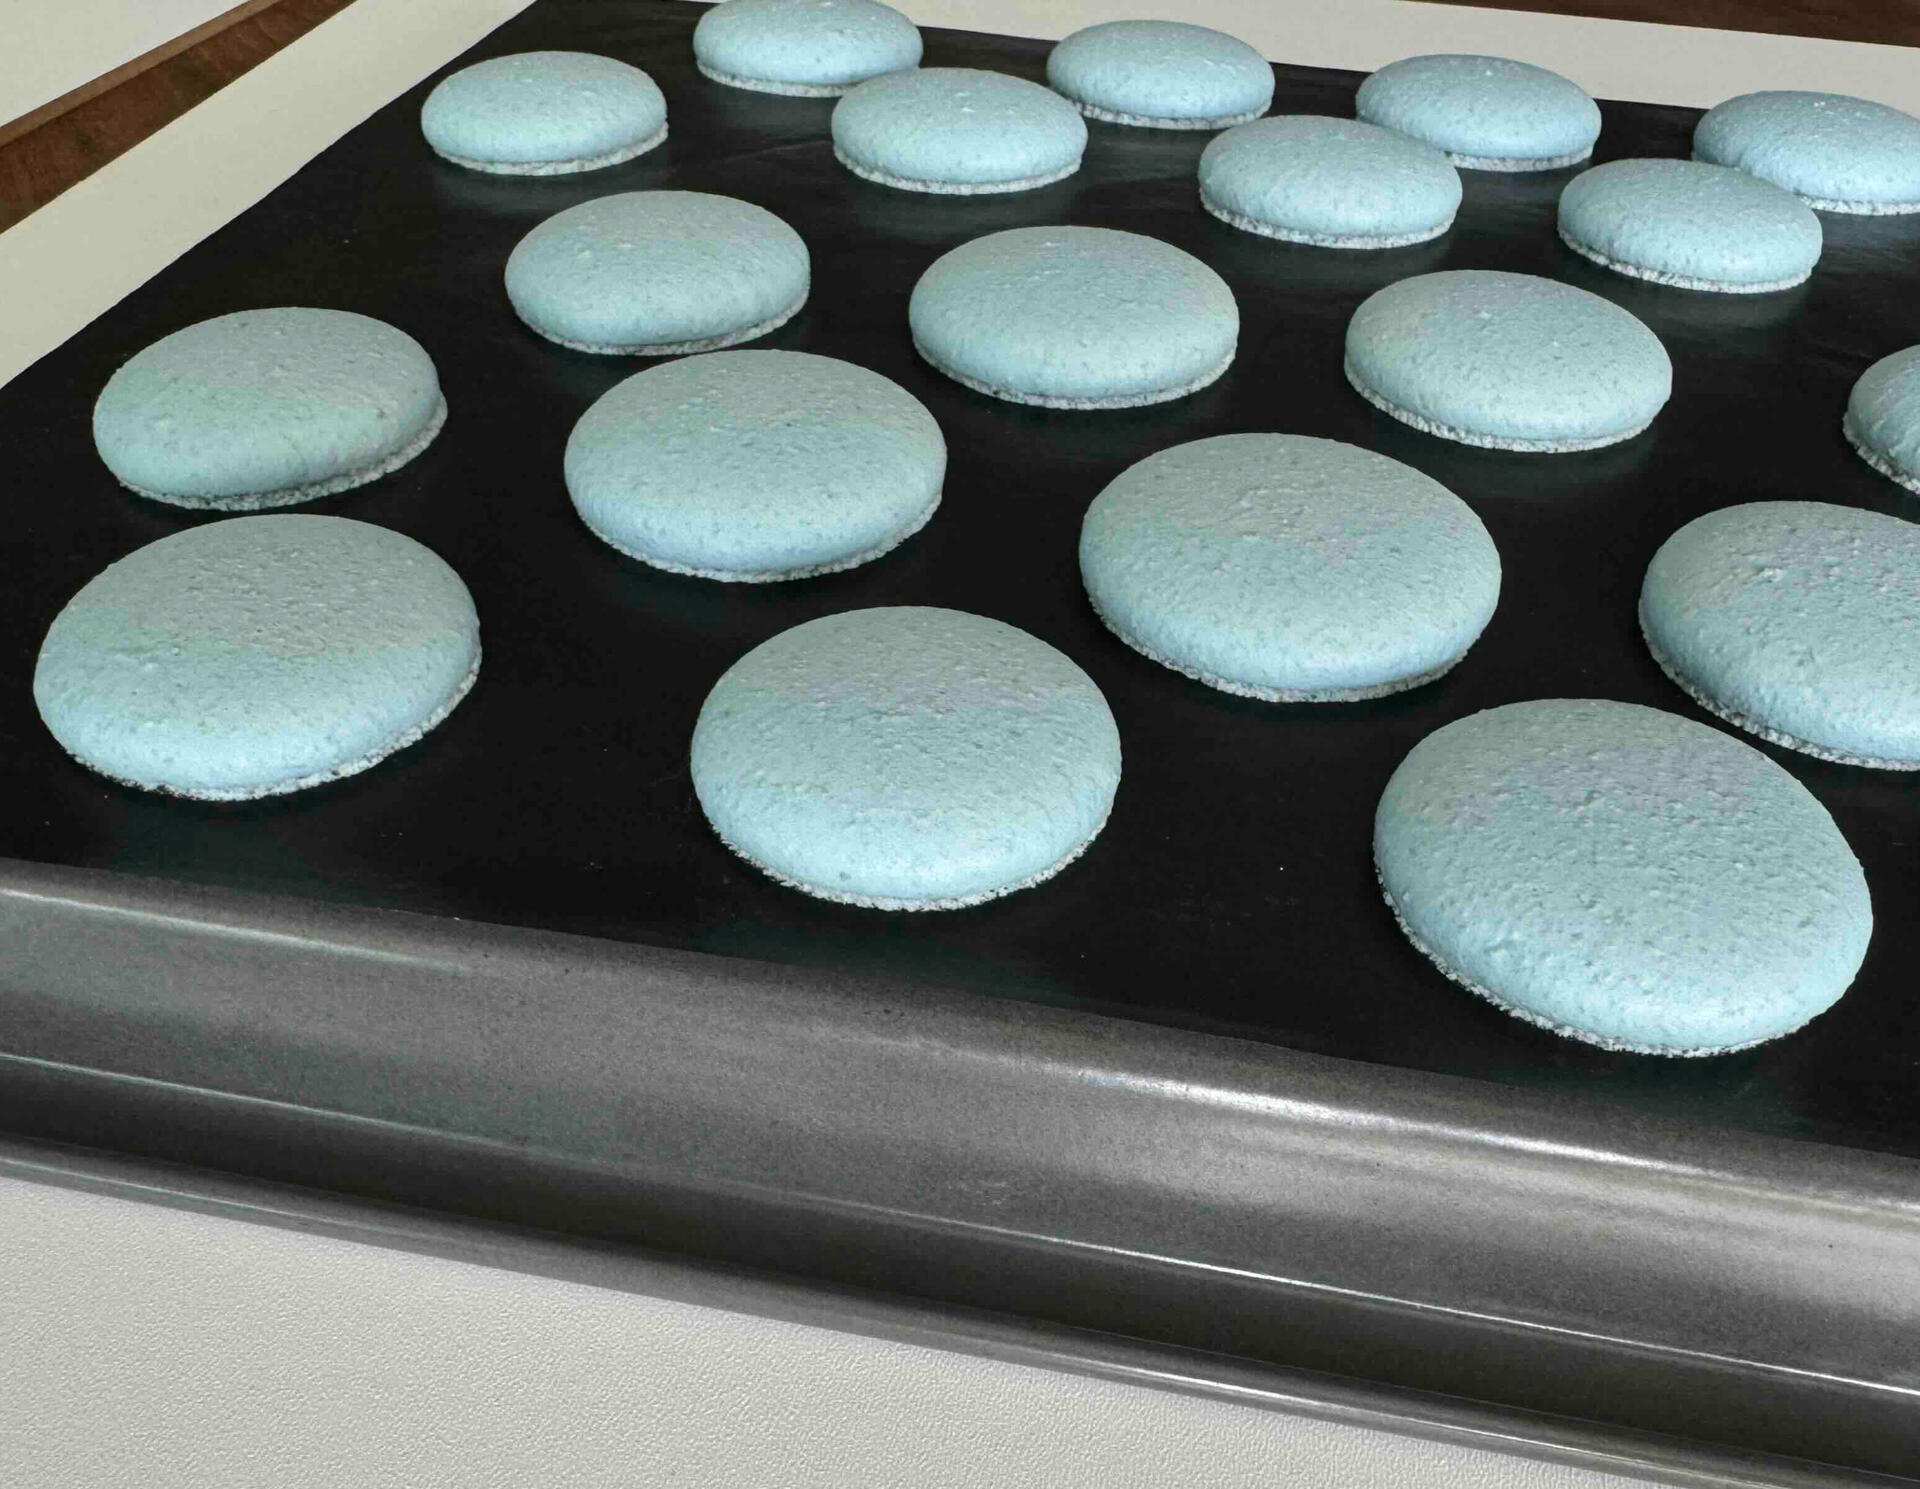
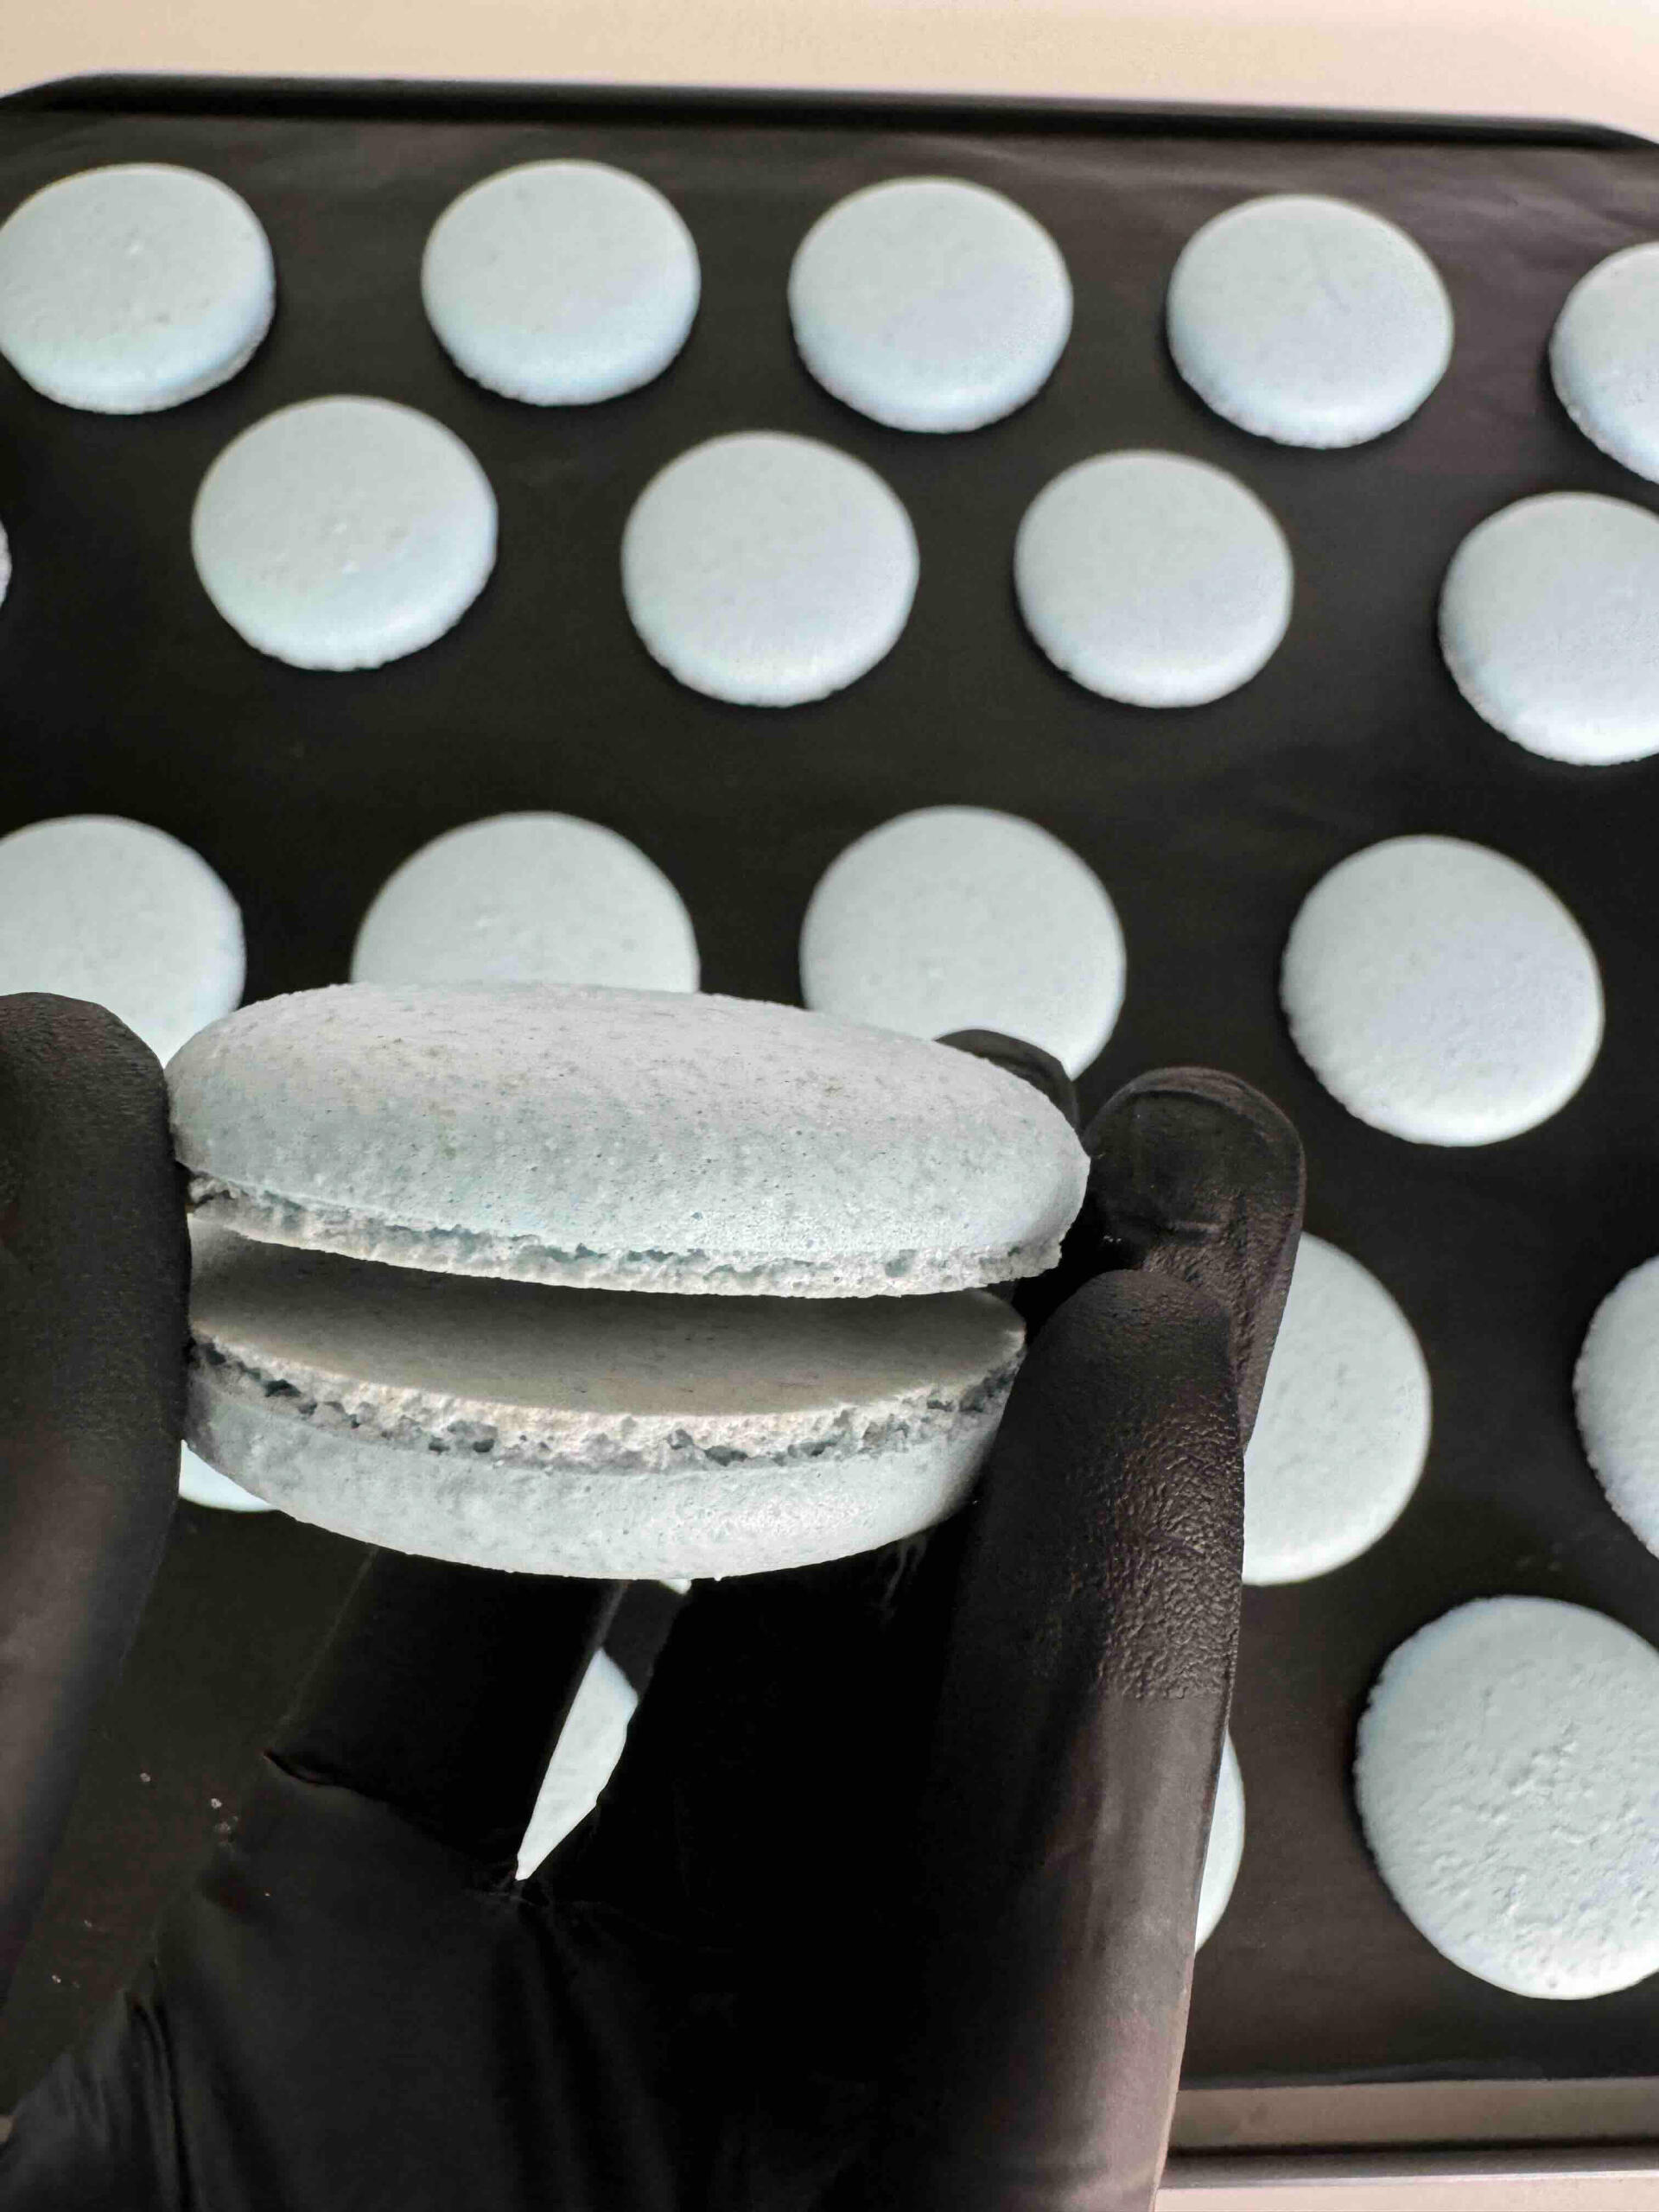
Baking macaron shells requires careful attention to detail to achieve the perfect texture and appearance. Here are the step-by-step instructions:Place the macaron shells in the preheated oven at 140°C/ 290°F and bake for 15min until they are set (they should NOT turn brown). The macaron shells should rise and form feet (the ruffled base as shown in the photo below).
Take the shells out of the oven and let them cool at room temperature for 10-15min before proceeding with filling and assembling the macarons. Do not remove the macaron shells from the pan and baking mat while they are cooling. The shells should not stick to the baking mat when removing them; if they do, allow them to cool further. The tops should be smooth and firm to the touch.Once baked and cooled, the shells are ready to be filled and assembled into delicious macarons.

The ideal temperature and baking process in the oven depend greatly on the oven type and heating mode. Therefore, I recommend using an oven thermometer. This affordable device provides a high level of accuracy and precision during baking
Experiment with your oven settings. For your first trial, split your batch into 3-4 portions and test different temperature settings (e.g., +/- 10°C/ 50°F)
Step 3: Creating Macaron Filling with Delicious Flavors
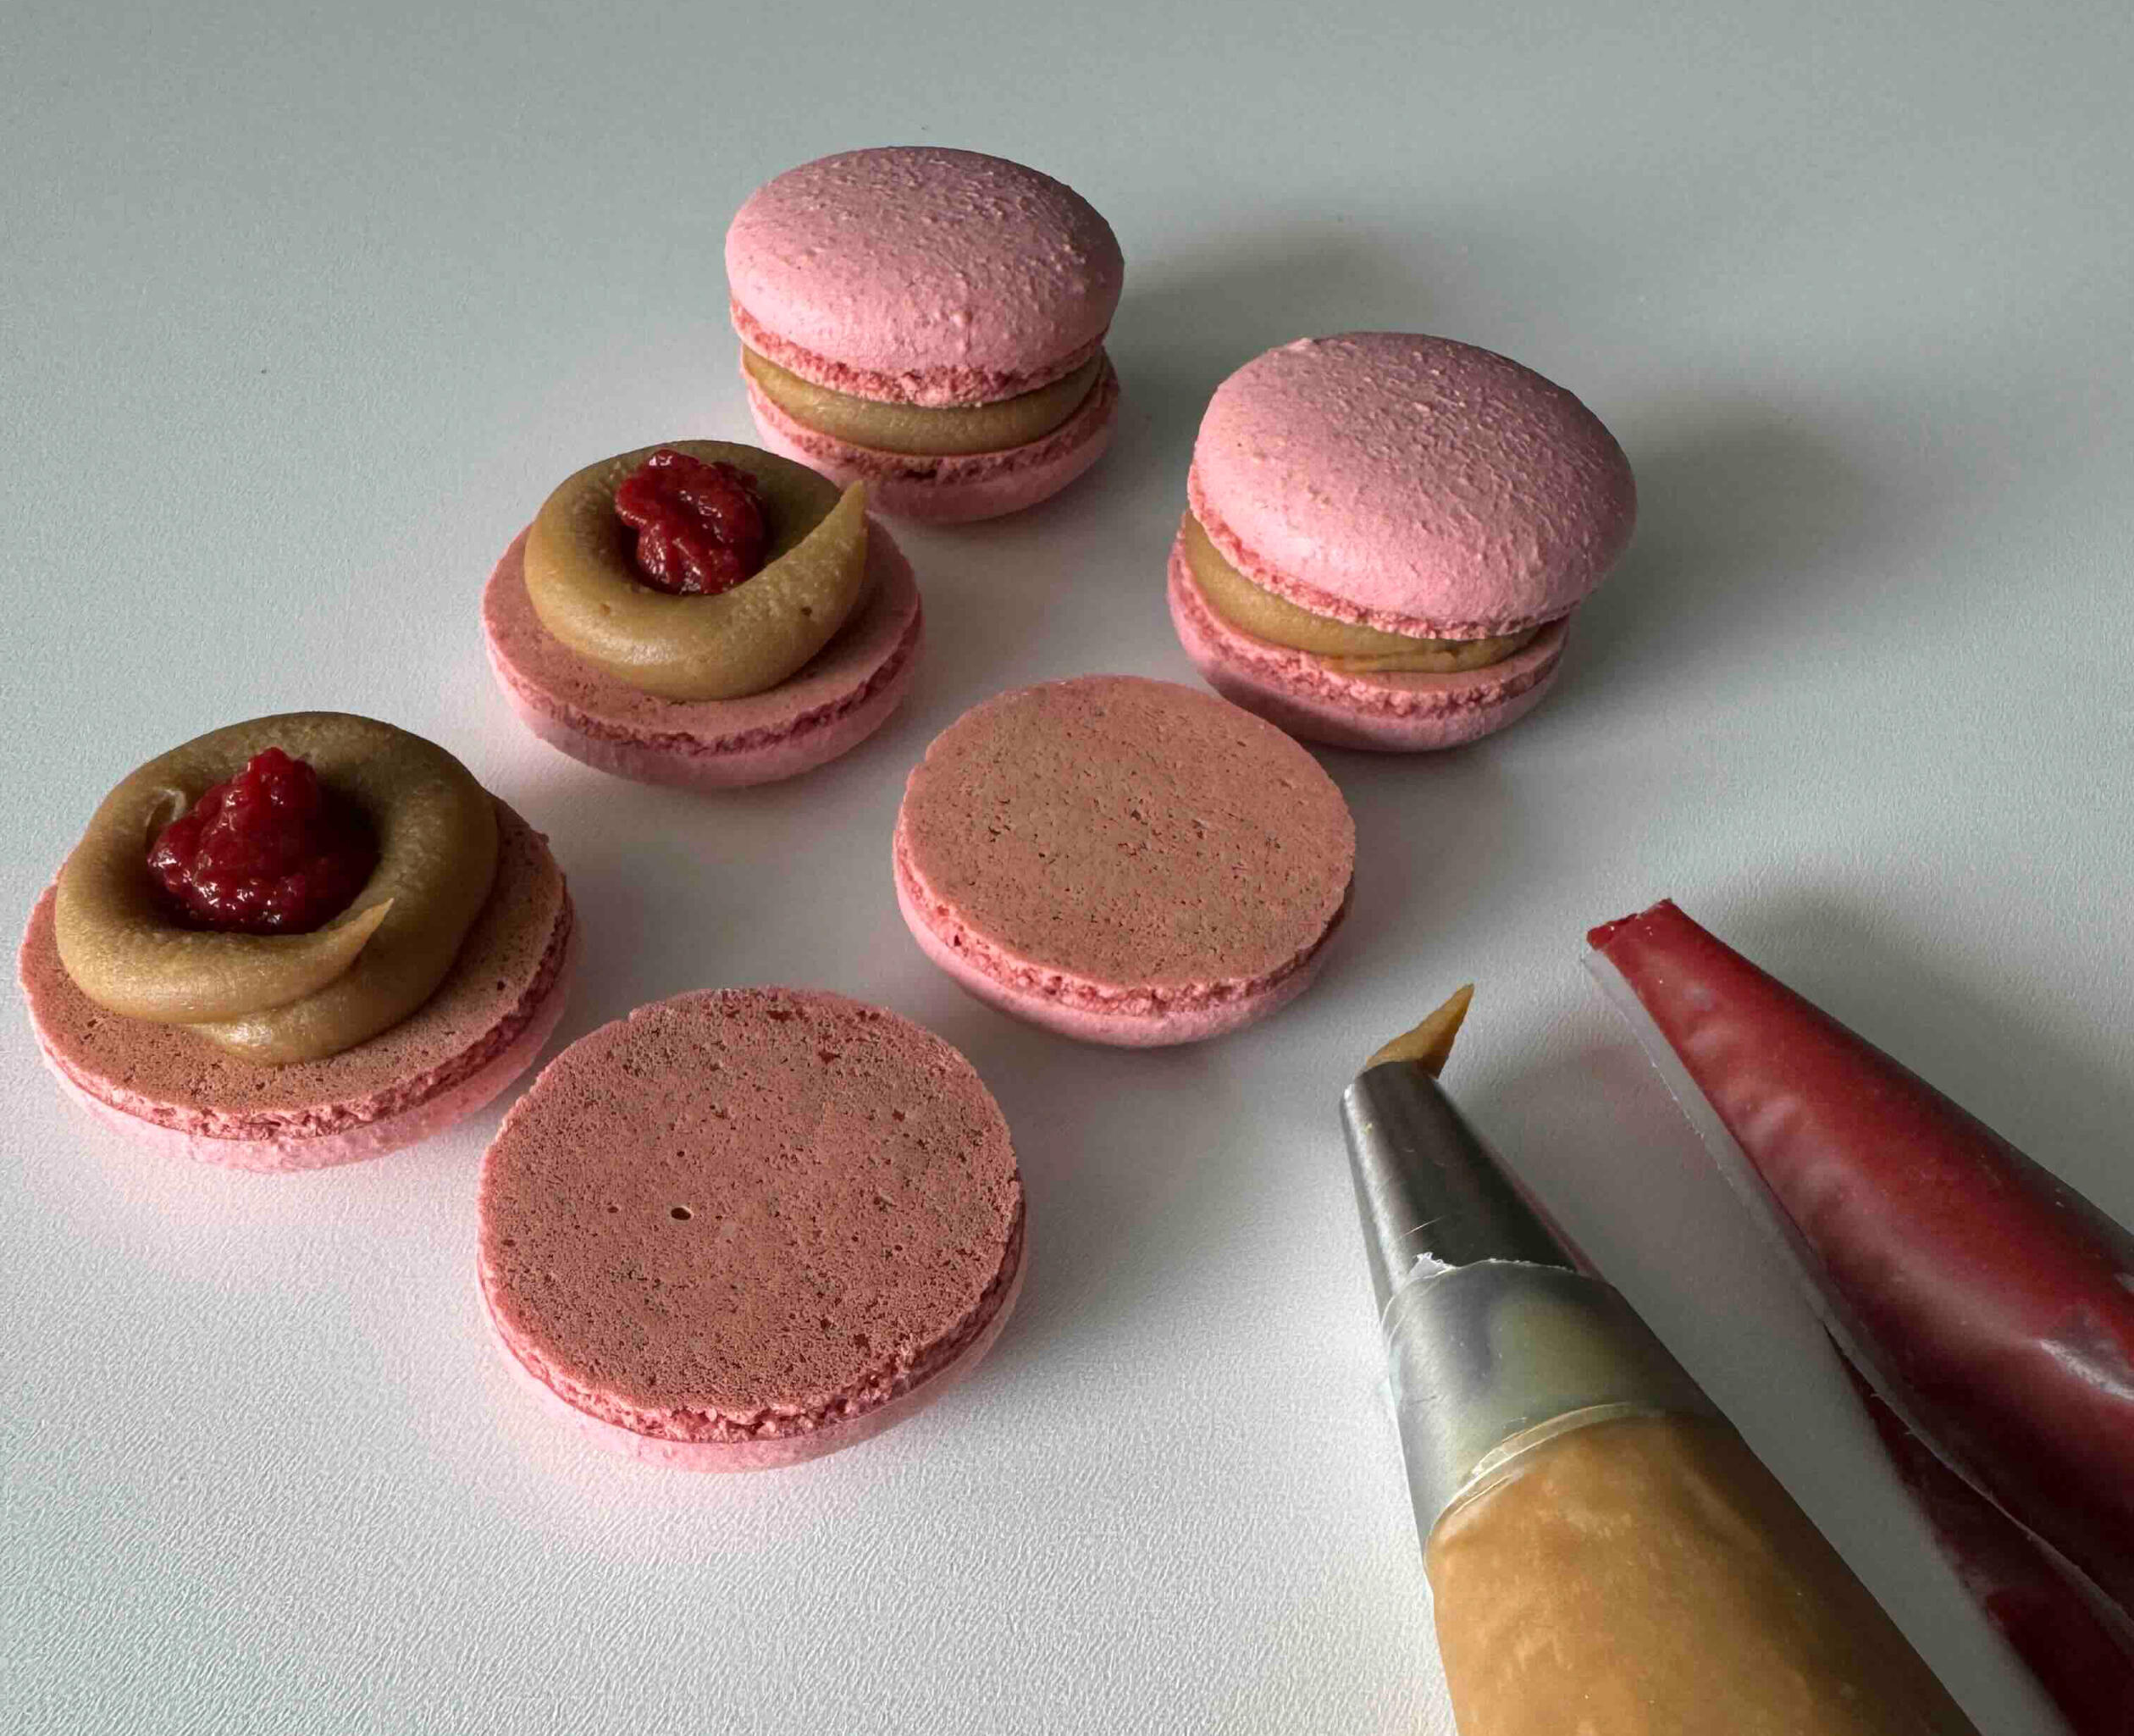
Creating macaron filling involves these key steps:Choose a Filling: Popular options include buttercream, ganache, fruit jams, or curd.Prepare Ingredients: Gather and measure all necessary ingredients for your chosen filling.Mix or Cook: Depending on the type of filling, either whip the ingredients together (e.g., buttercream) or cook them to the desired consistency (e.g., ganache).Here are a few macaron filling and ganache ideas that have worked best for me:
1. CLASSICAL GANACHE
White chocolate: 210g/ 7.41oz. I use white chocolate drops on a coconut sugar base
Cream: 130g/ 4.59oz (min. 33% fat)
Put white chocolate in a tall glass. Pre-heat the cream to 80°C/ 176°F and pour it over the chocolate. Let it melt for 1min and blend it well with a blender.
2. FRUIT/ BERRY FILLING
Puree of Mango, Passion Fruit, Raspberry, Black Currant: 100g/ 3.53oz
Corn starch: 8g/ 0.28oz
Add the corn starch to the berry puree and boil it for 1min, while continuously whisking. Let it cool down.
I usually put the berry filling in the middle and surround it by a classical ganache.
3. FLAVORED GANACHE
White chocolate: 160g/ 5.64oz. I use white chocolate drops on a coconut sugar base
Cream: 80g/ 2.82oz (min. 33% fat)
Fruit or berry puree: 80g/ 2.82oz
Put white chocolate in a tall glass. Pre-heat the cream to 80°C/ 176°F and pour it over the chocolate, Let it melt for 1min, add puree and blend it well with a blender.
Ensure that your filling has a good consistency, not too runny or too thick. Put the filling in a piping bag and store it in a fridge for at least 1.5h to achieve the right texture prior to assembling your macarons
I recommend using a piping bag with a round tip as we did for creating the macaron shells. This method provides great control over the filling process and allows an even and smooth structure of the filling
Step 4: Assembling and Storing Macarons
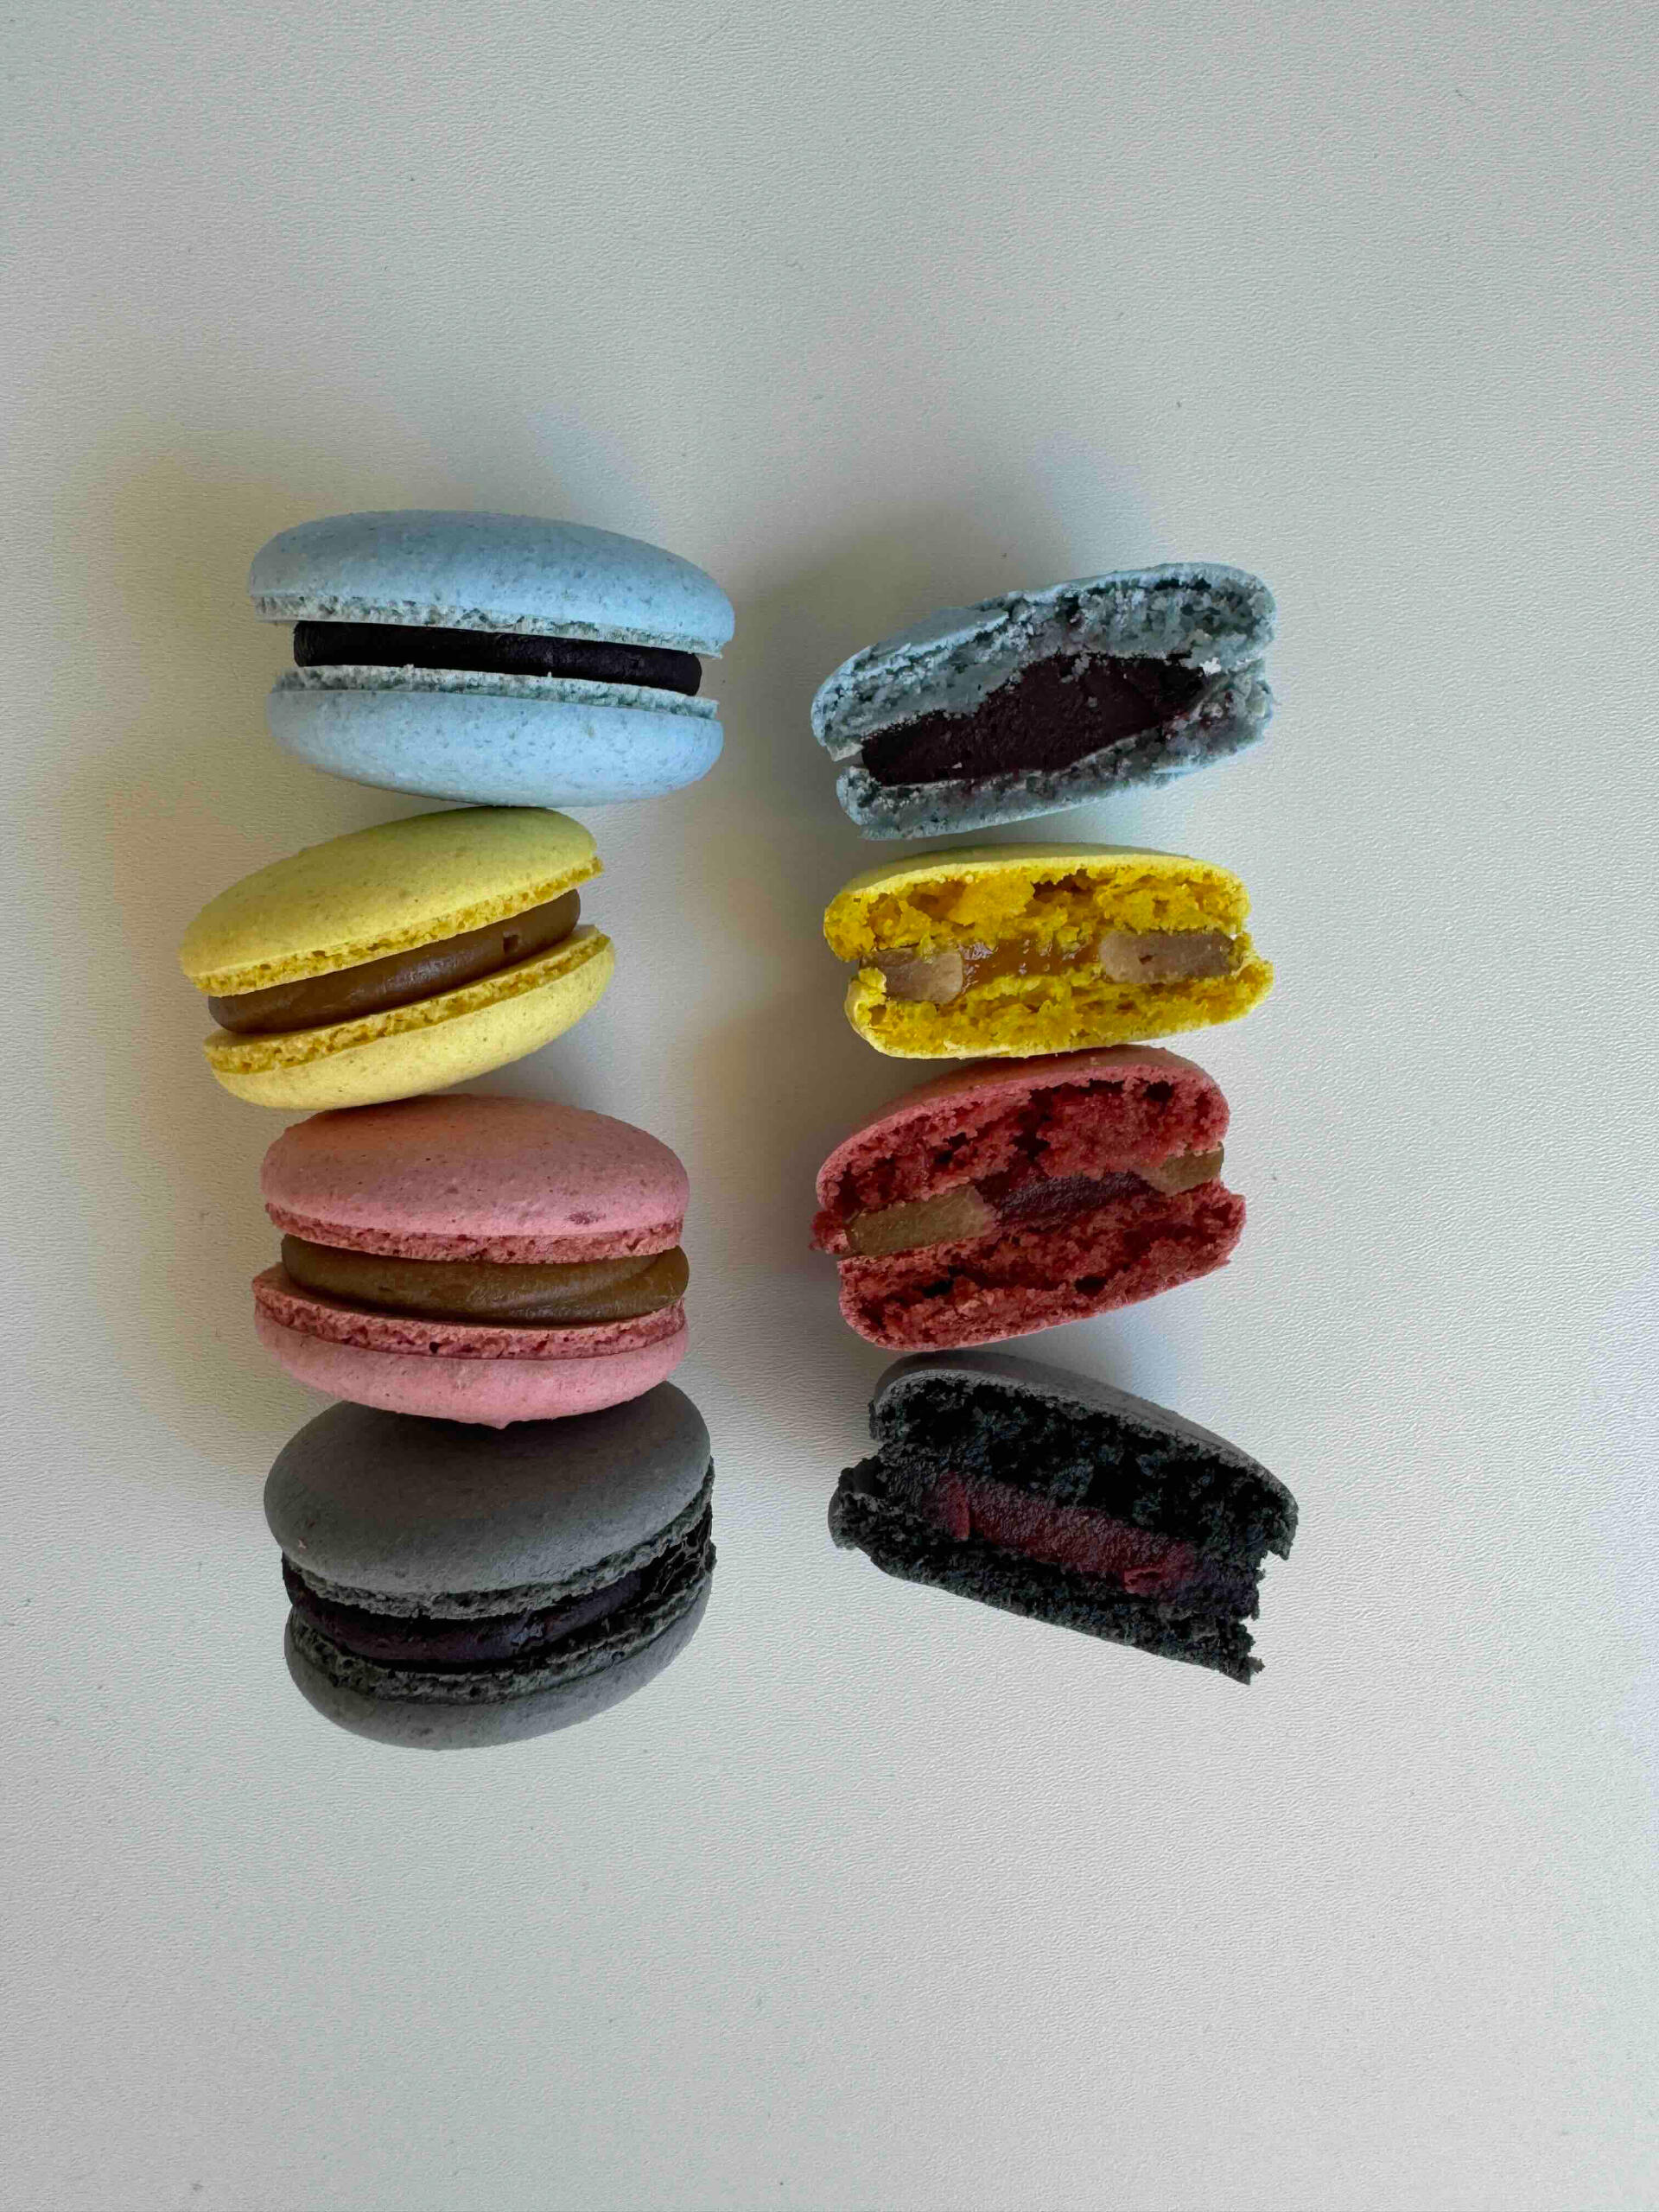
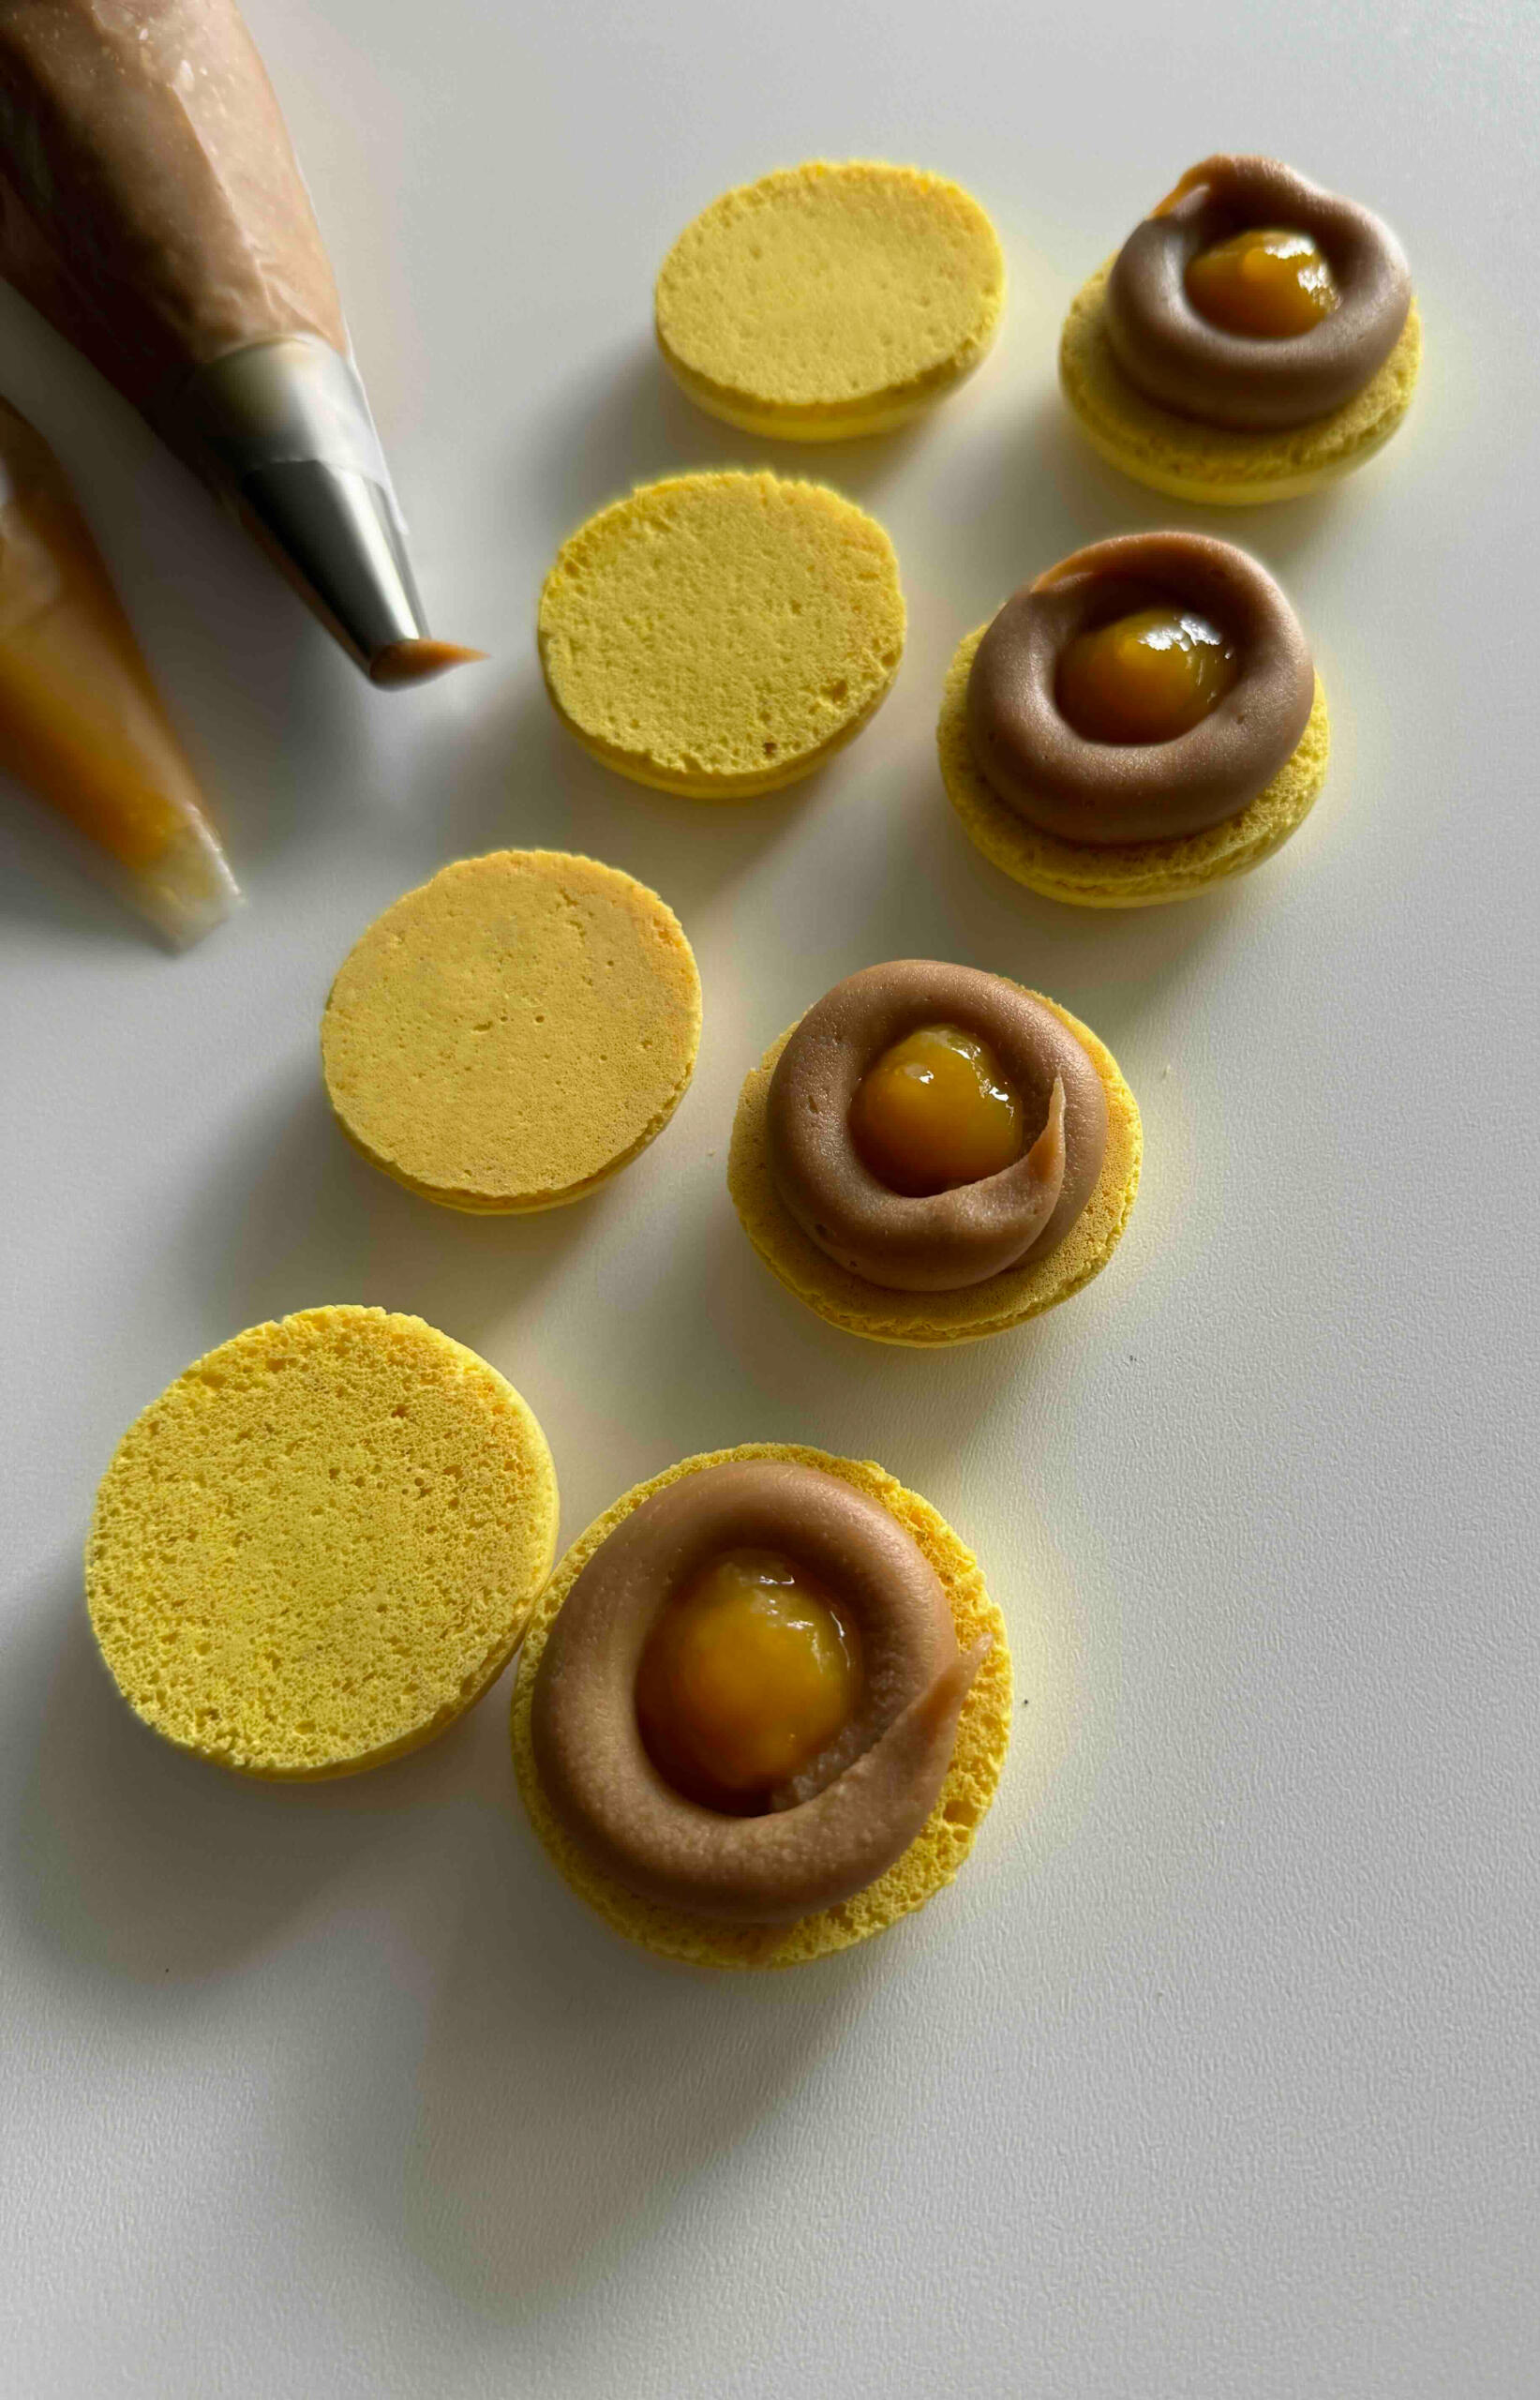
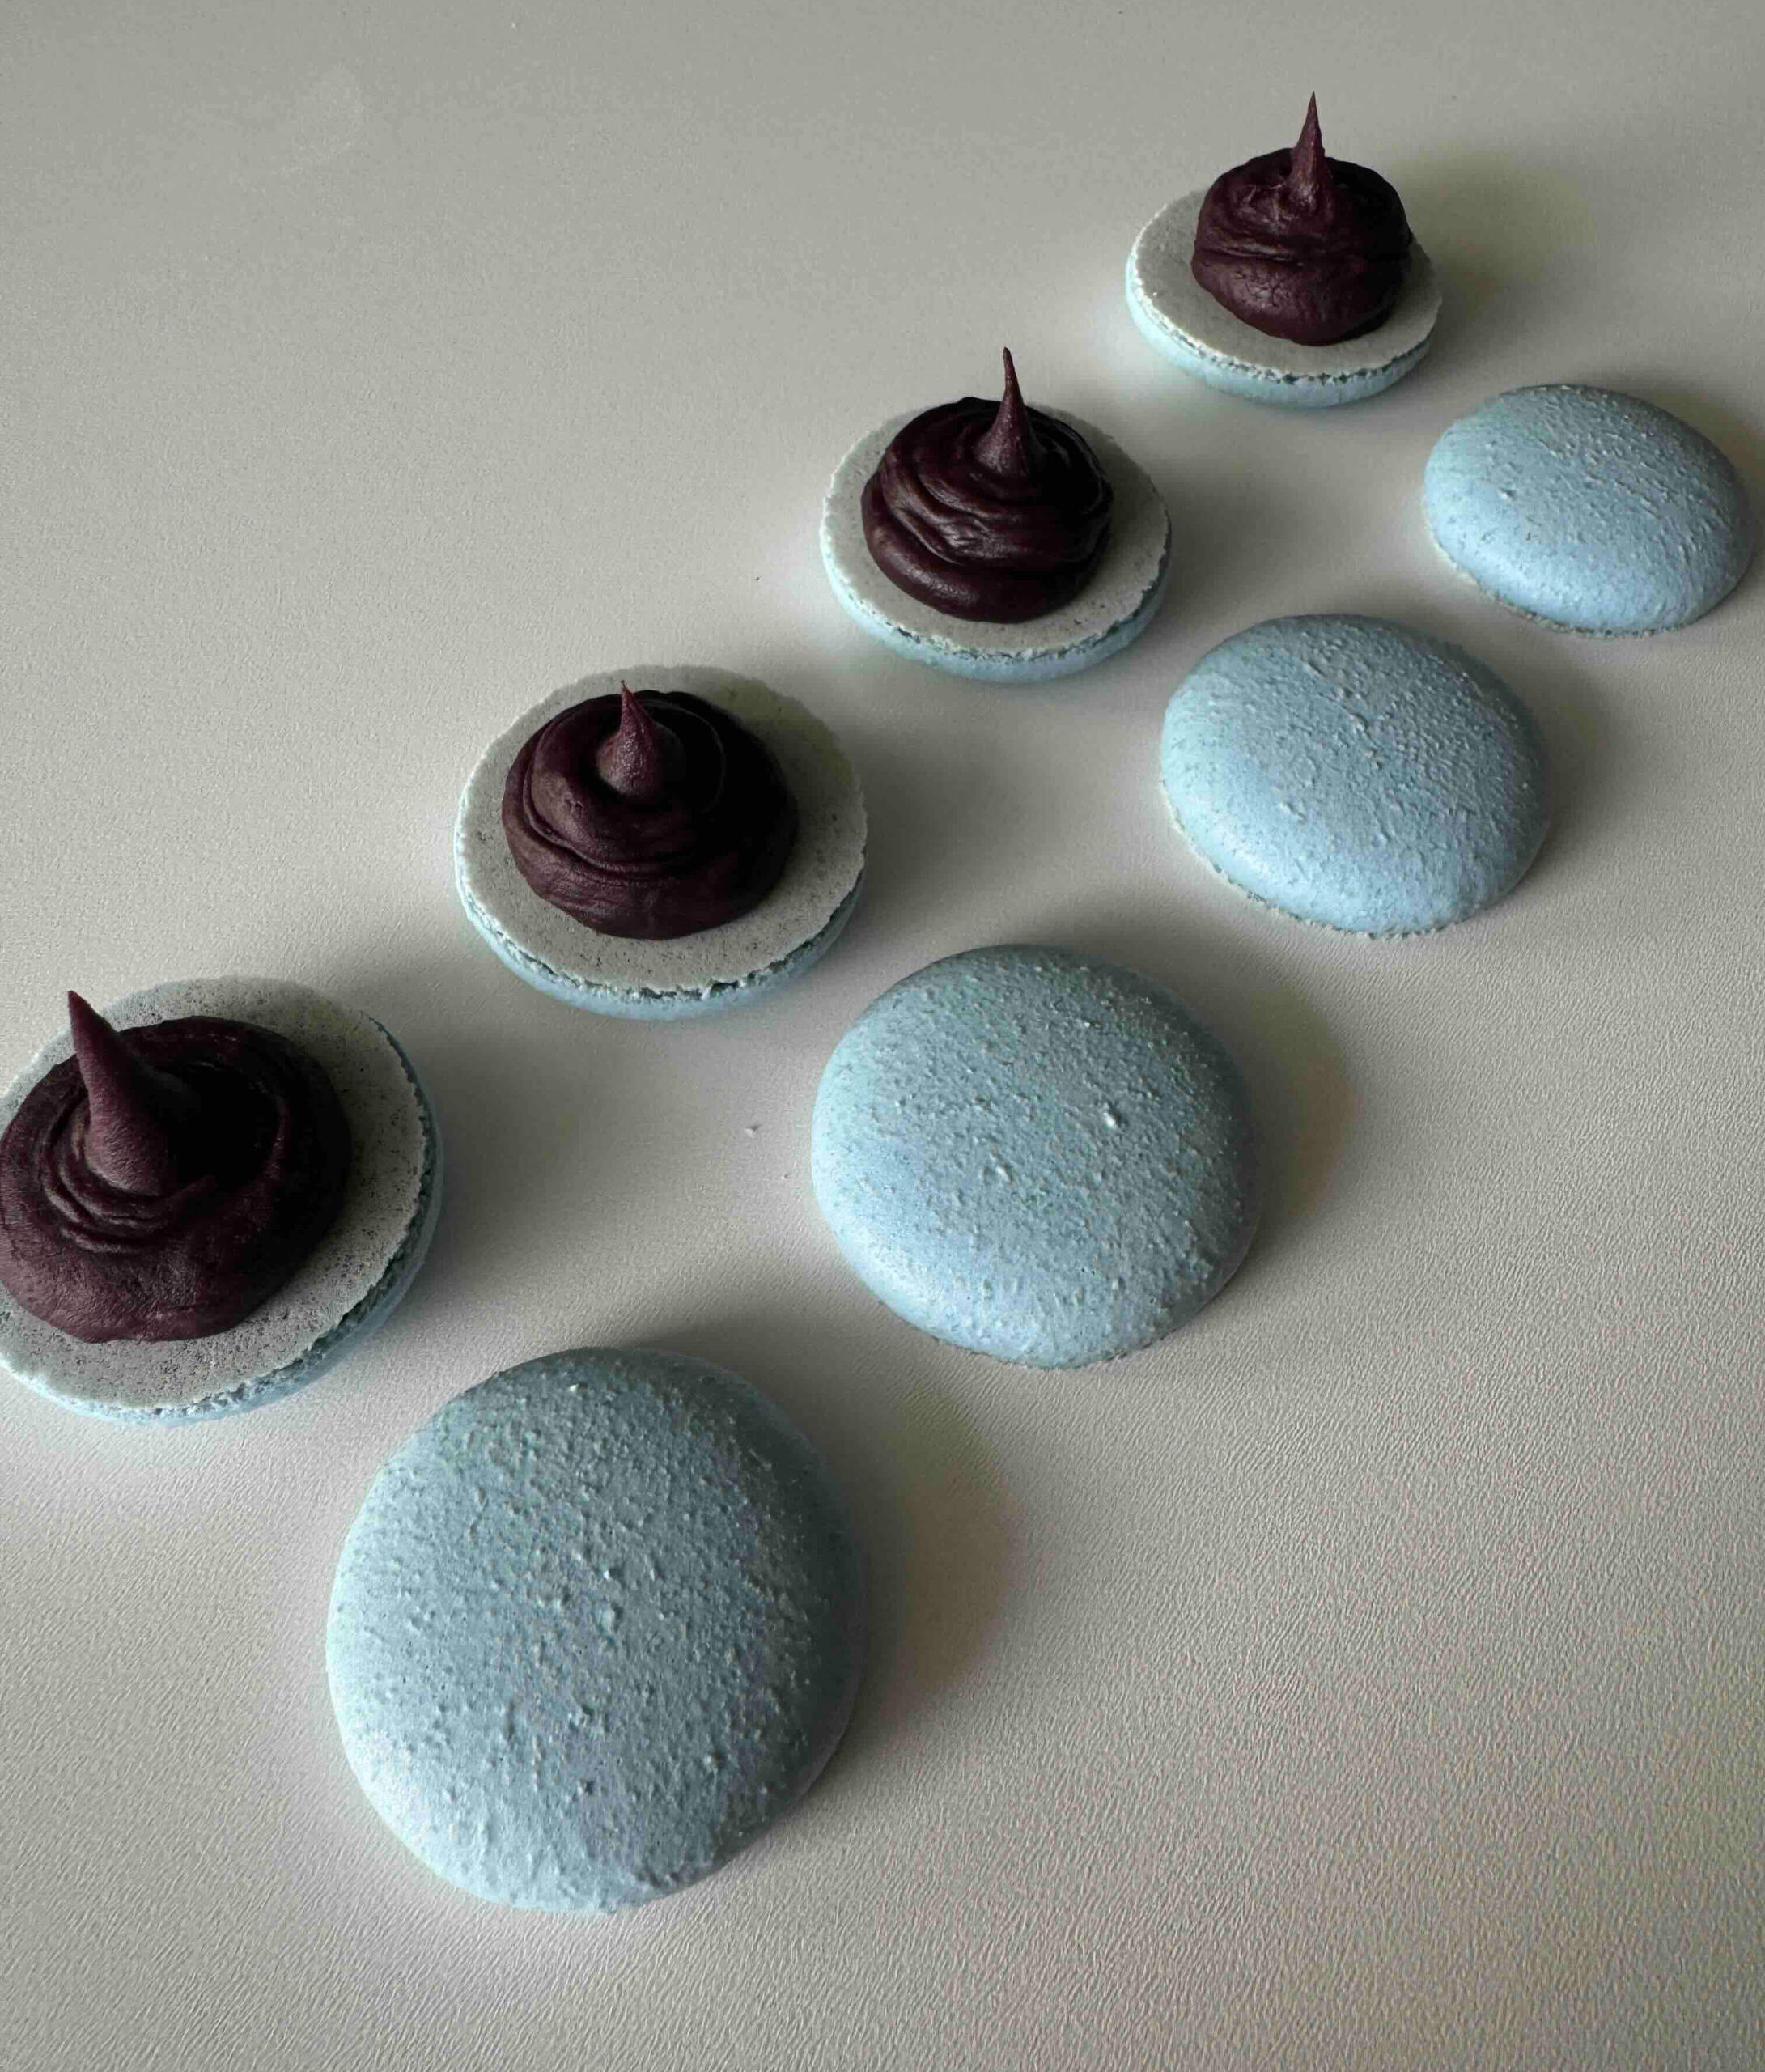
Now that the filling has chilled in the refrigerator for at least 1.5h, it’s time to fill and assemble your macaron shells. Before starting, let the filling sit at room temperature for about 5min.The piping method varies based on the filling you choose:
1. Classic or Flavored Ganache: Pipe ganache in the center of the macaron shell.
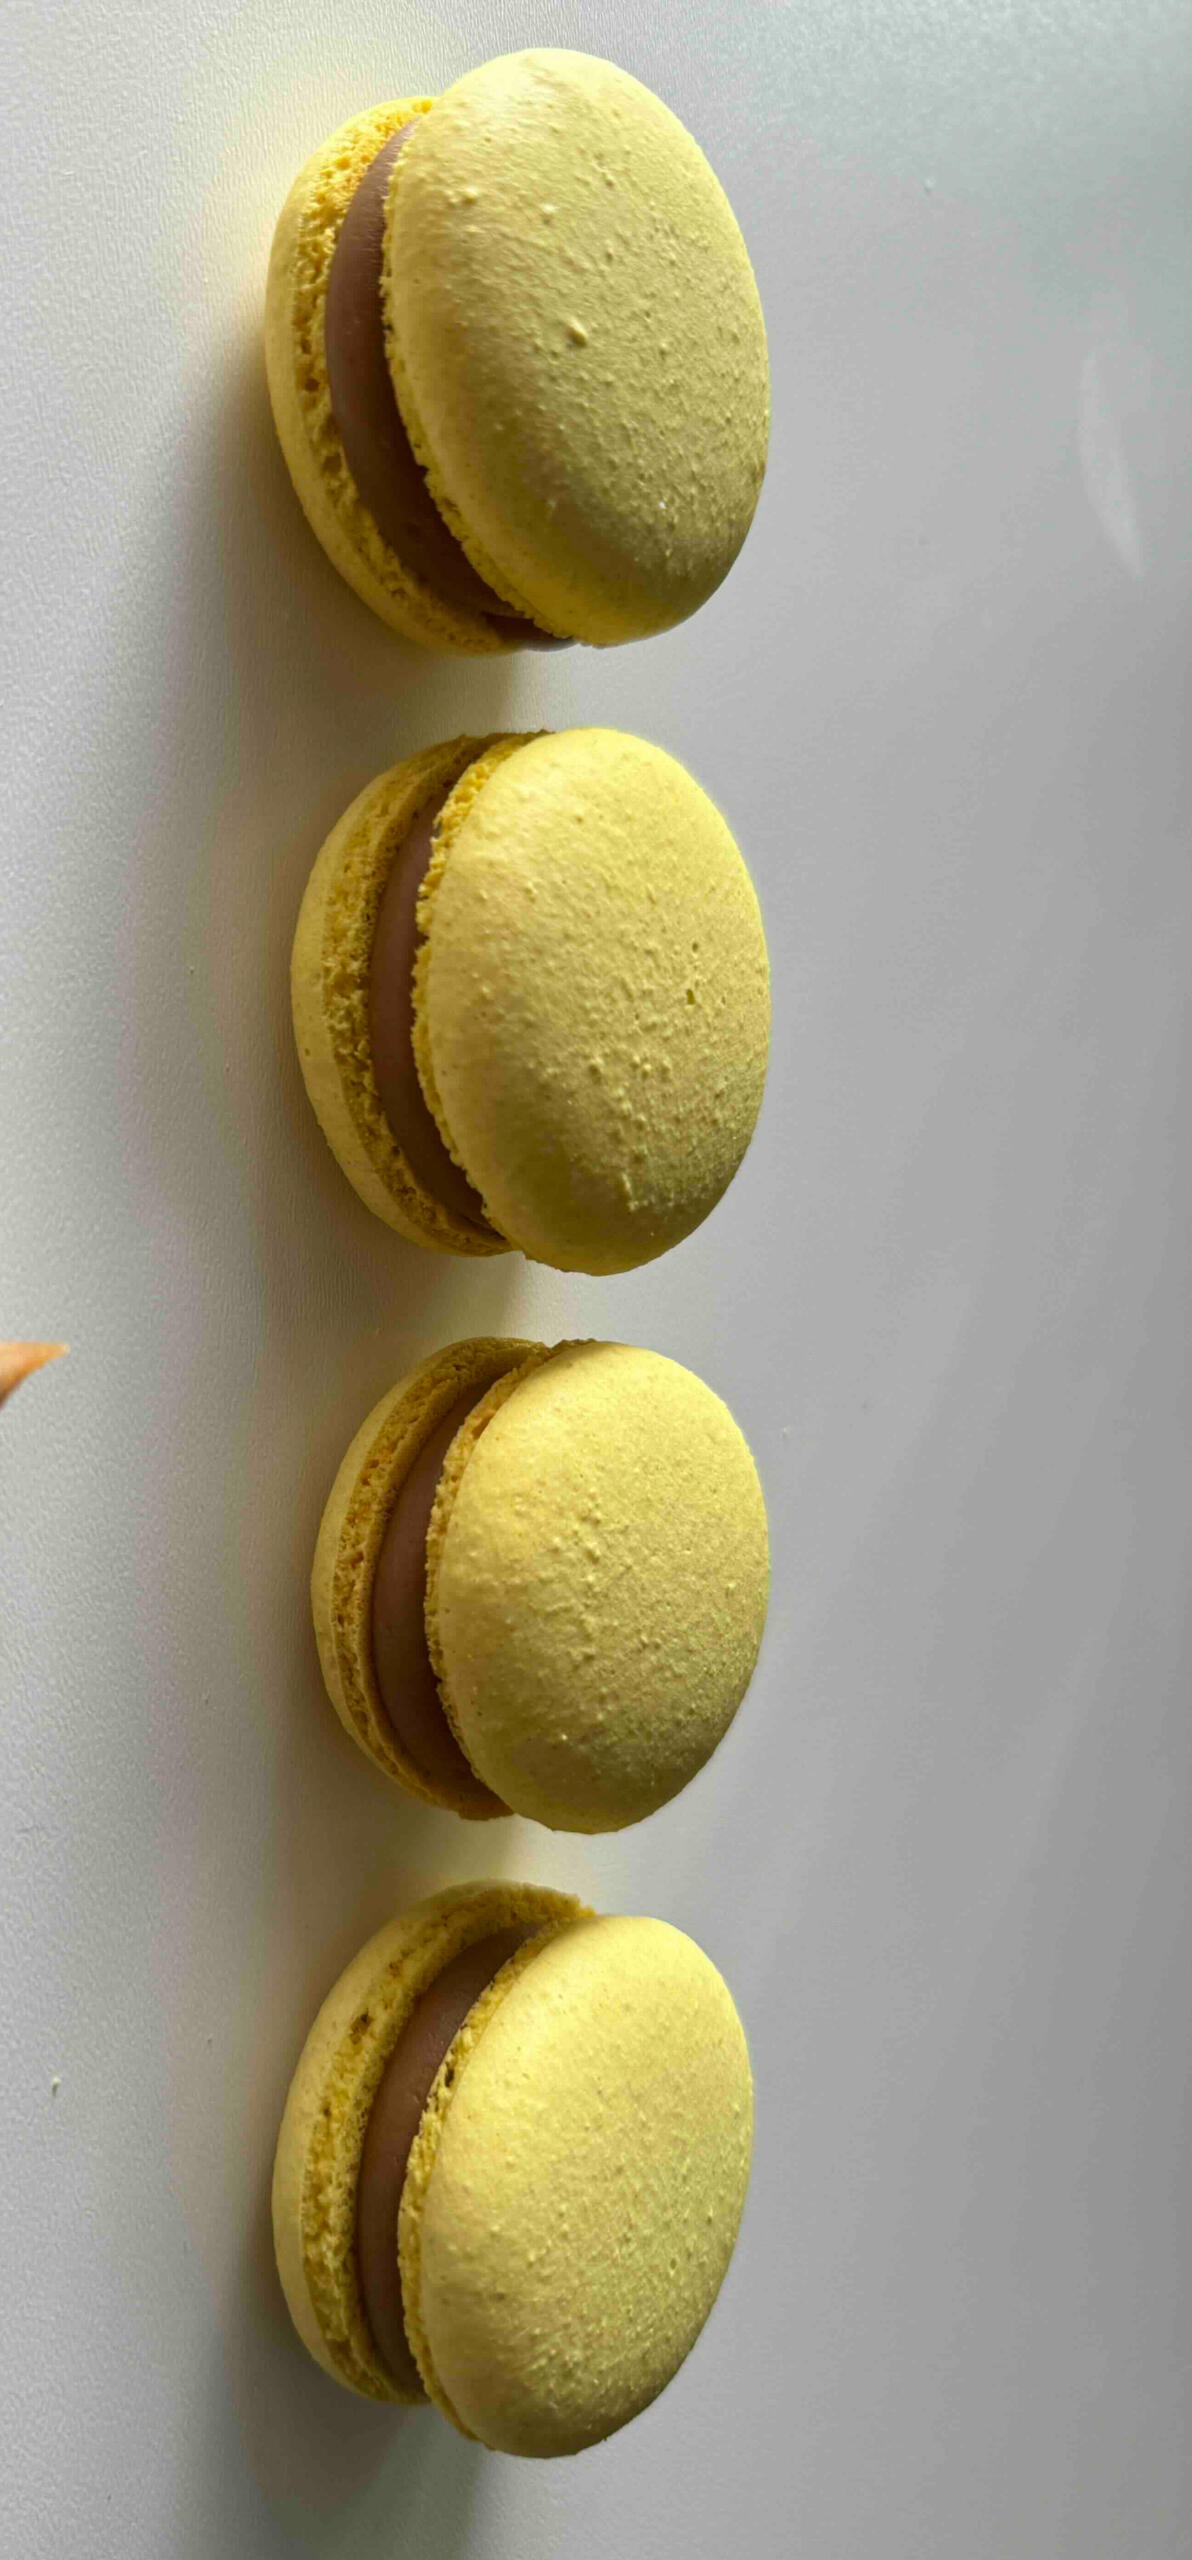
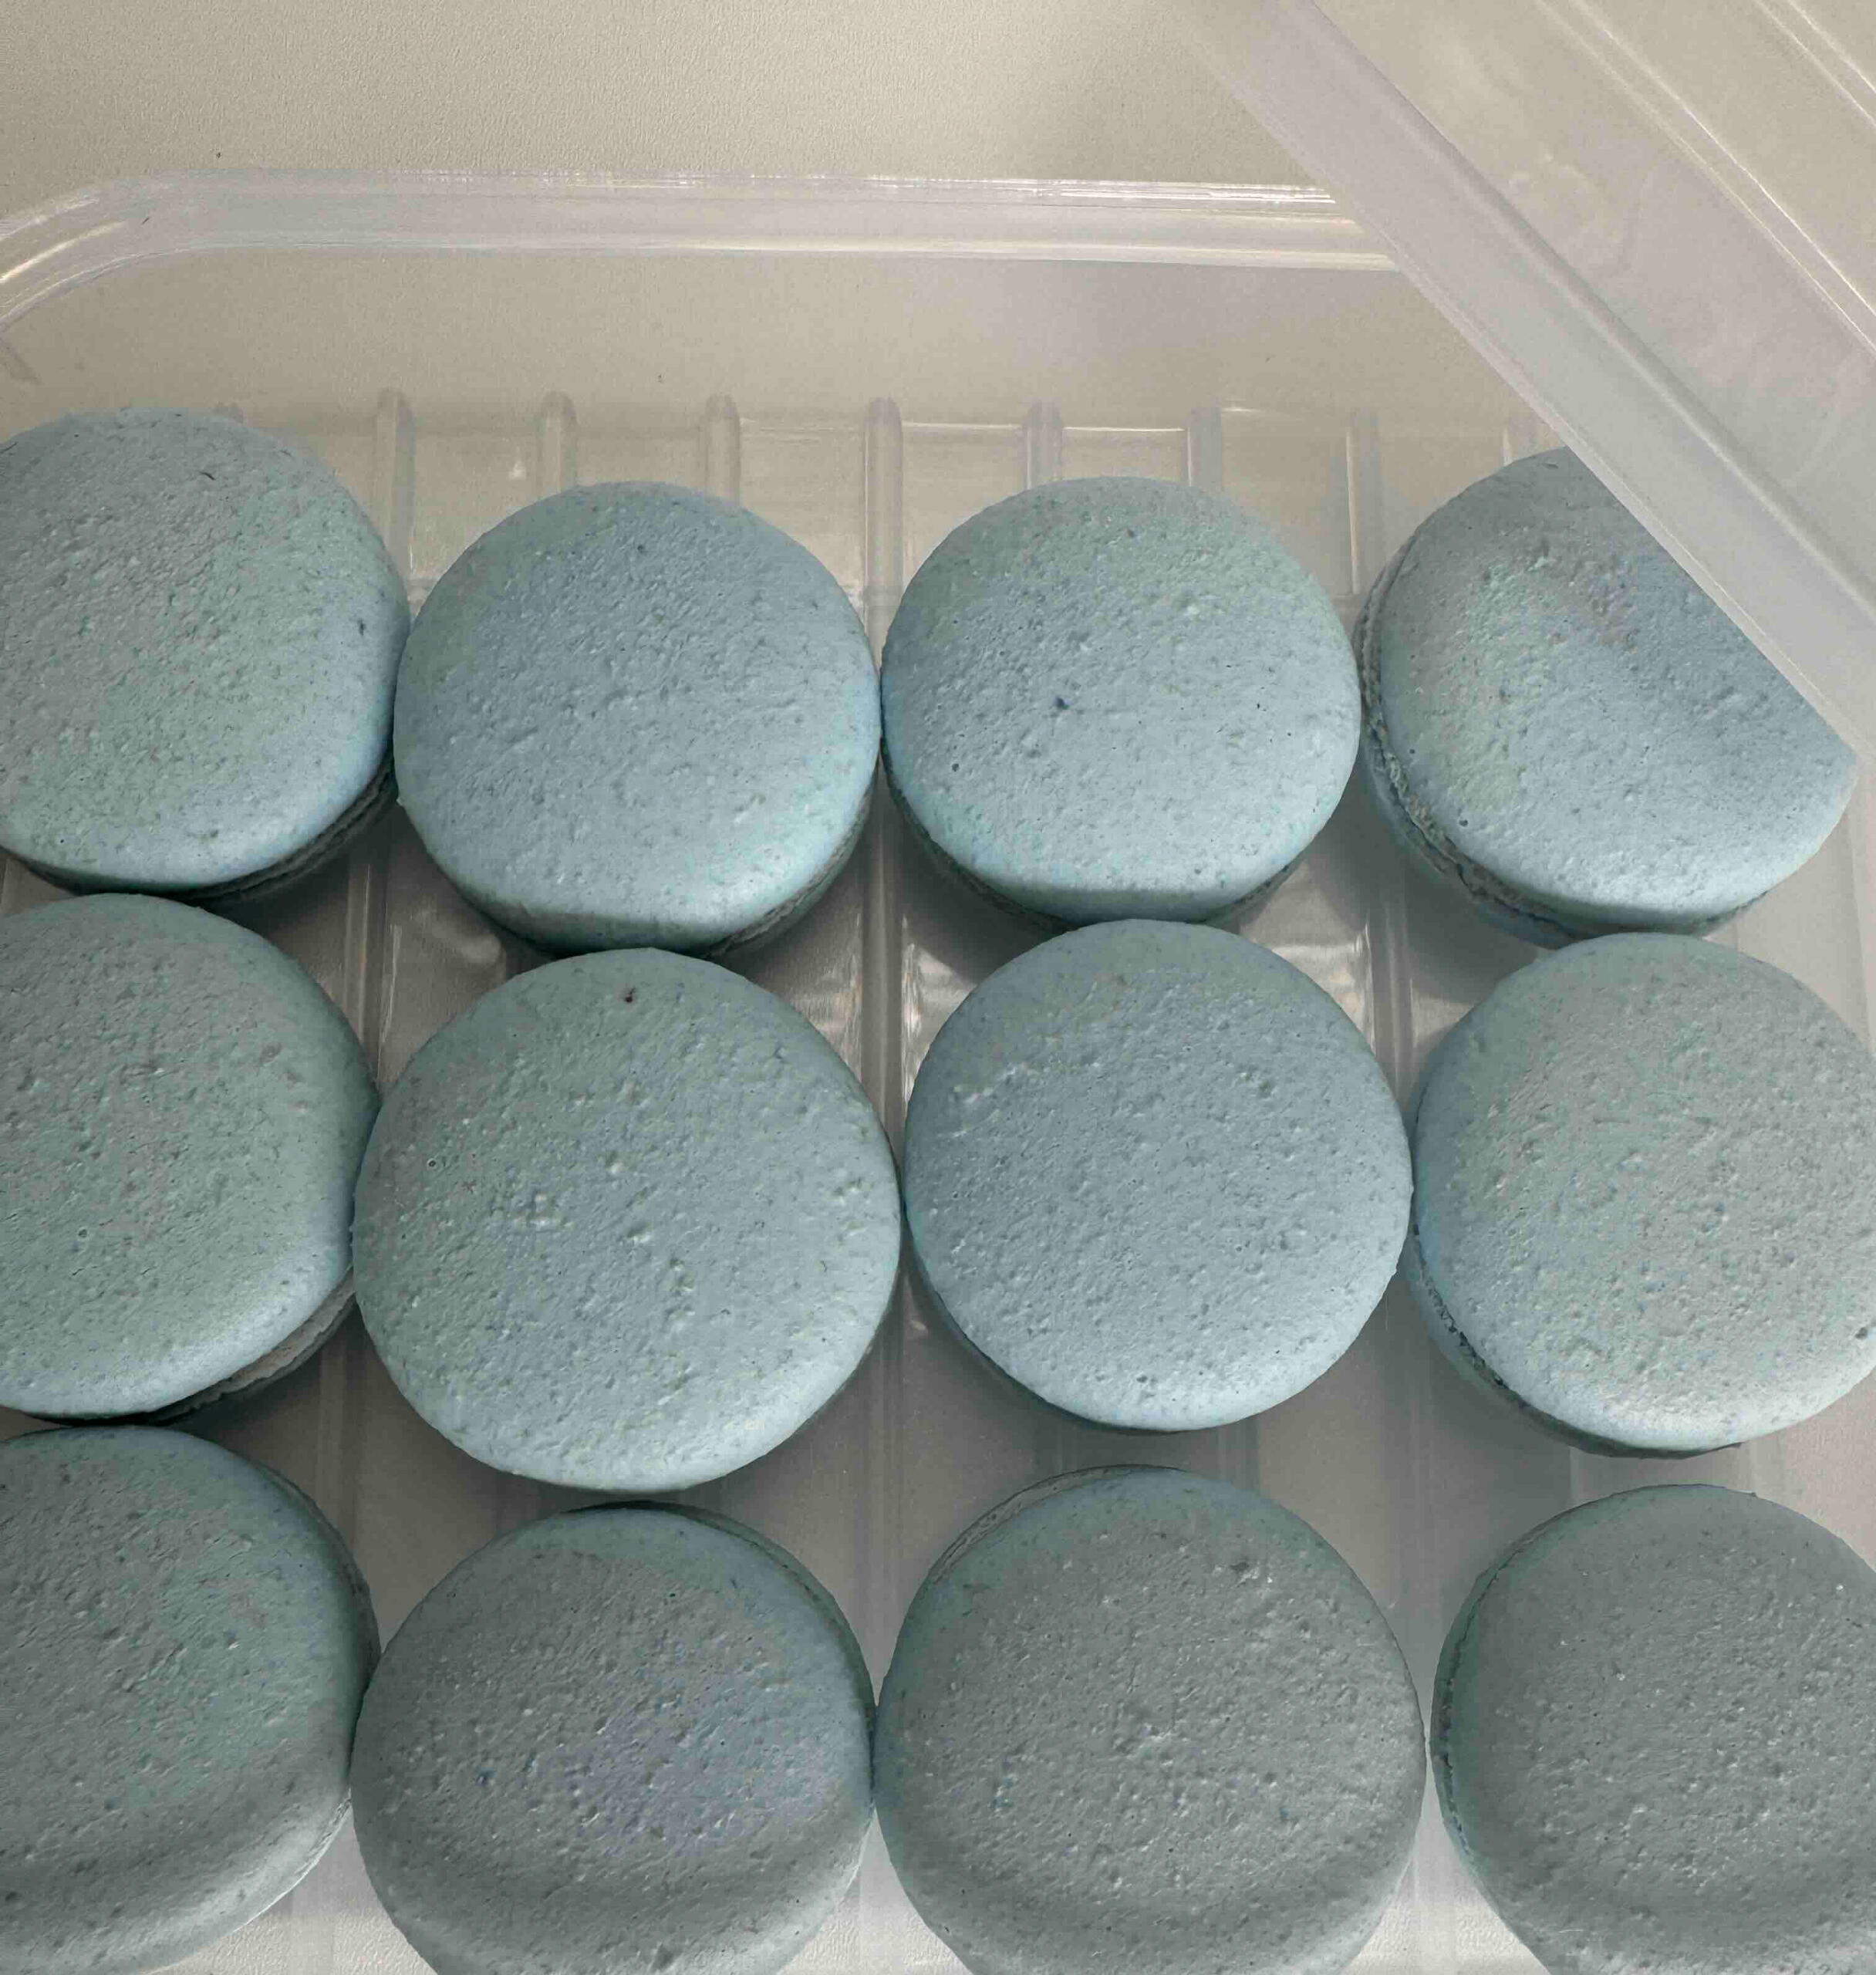
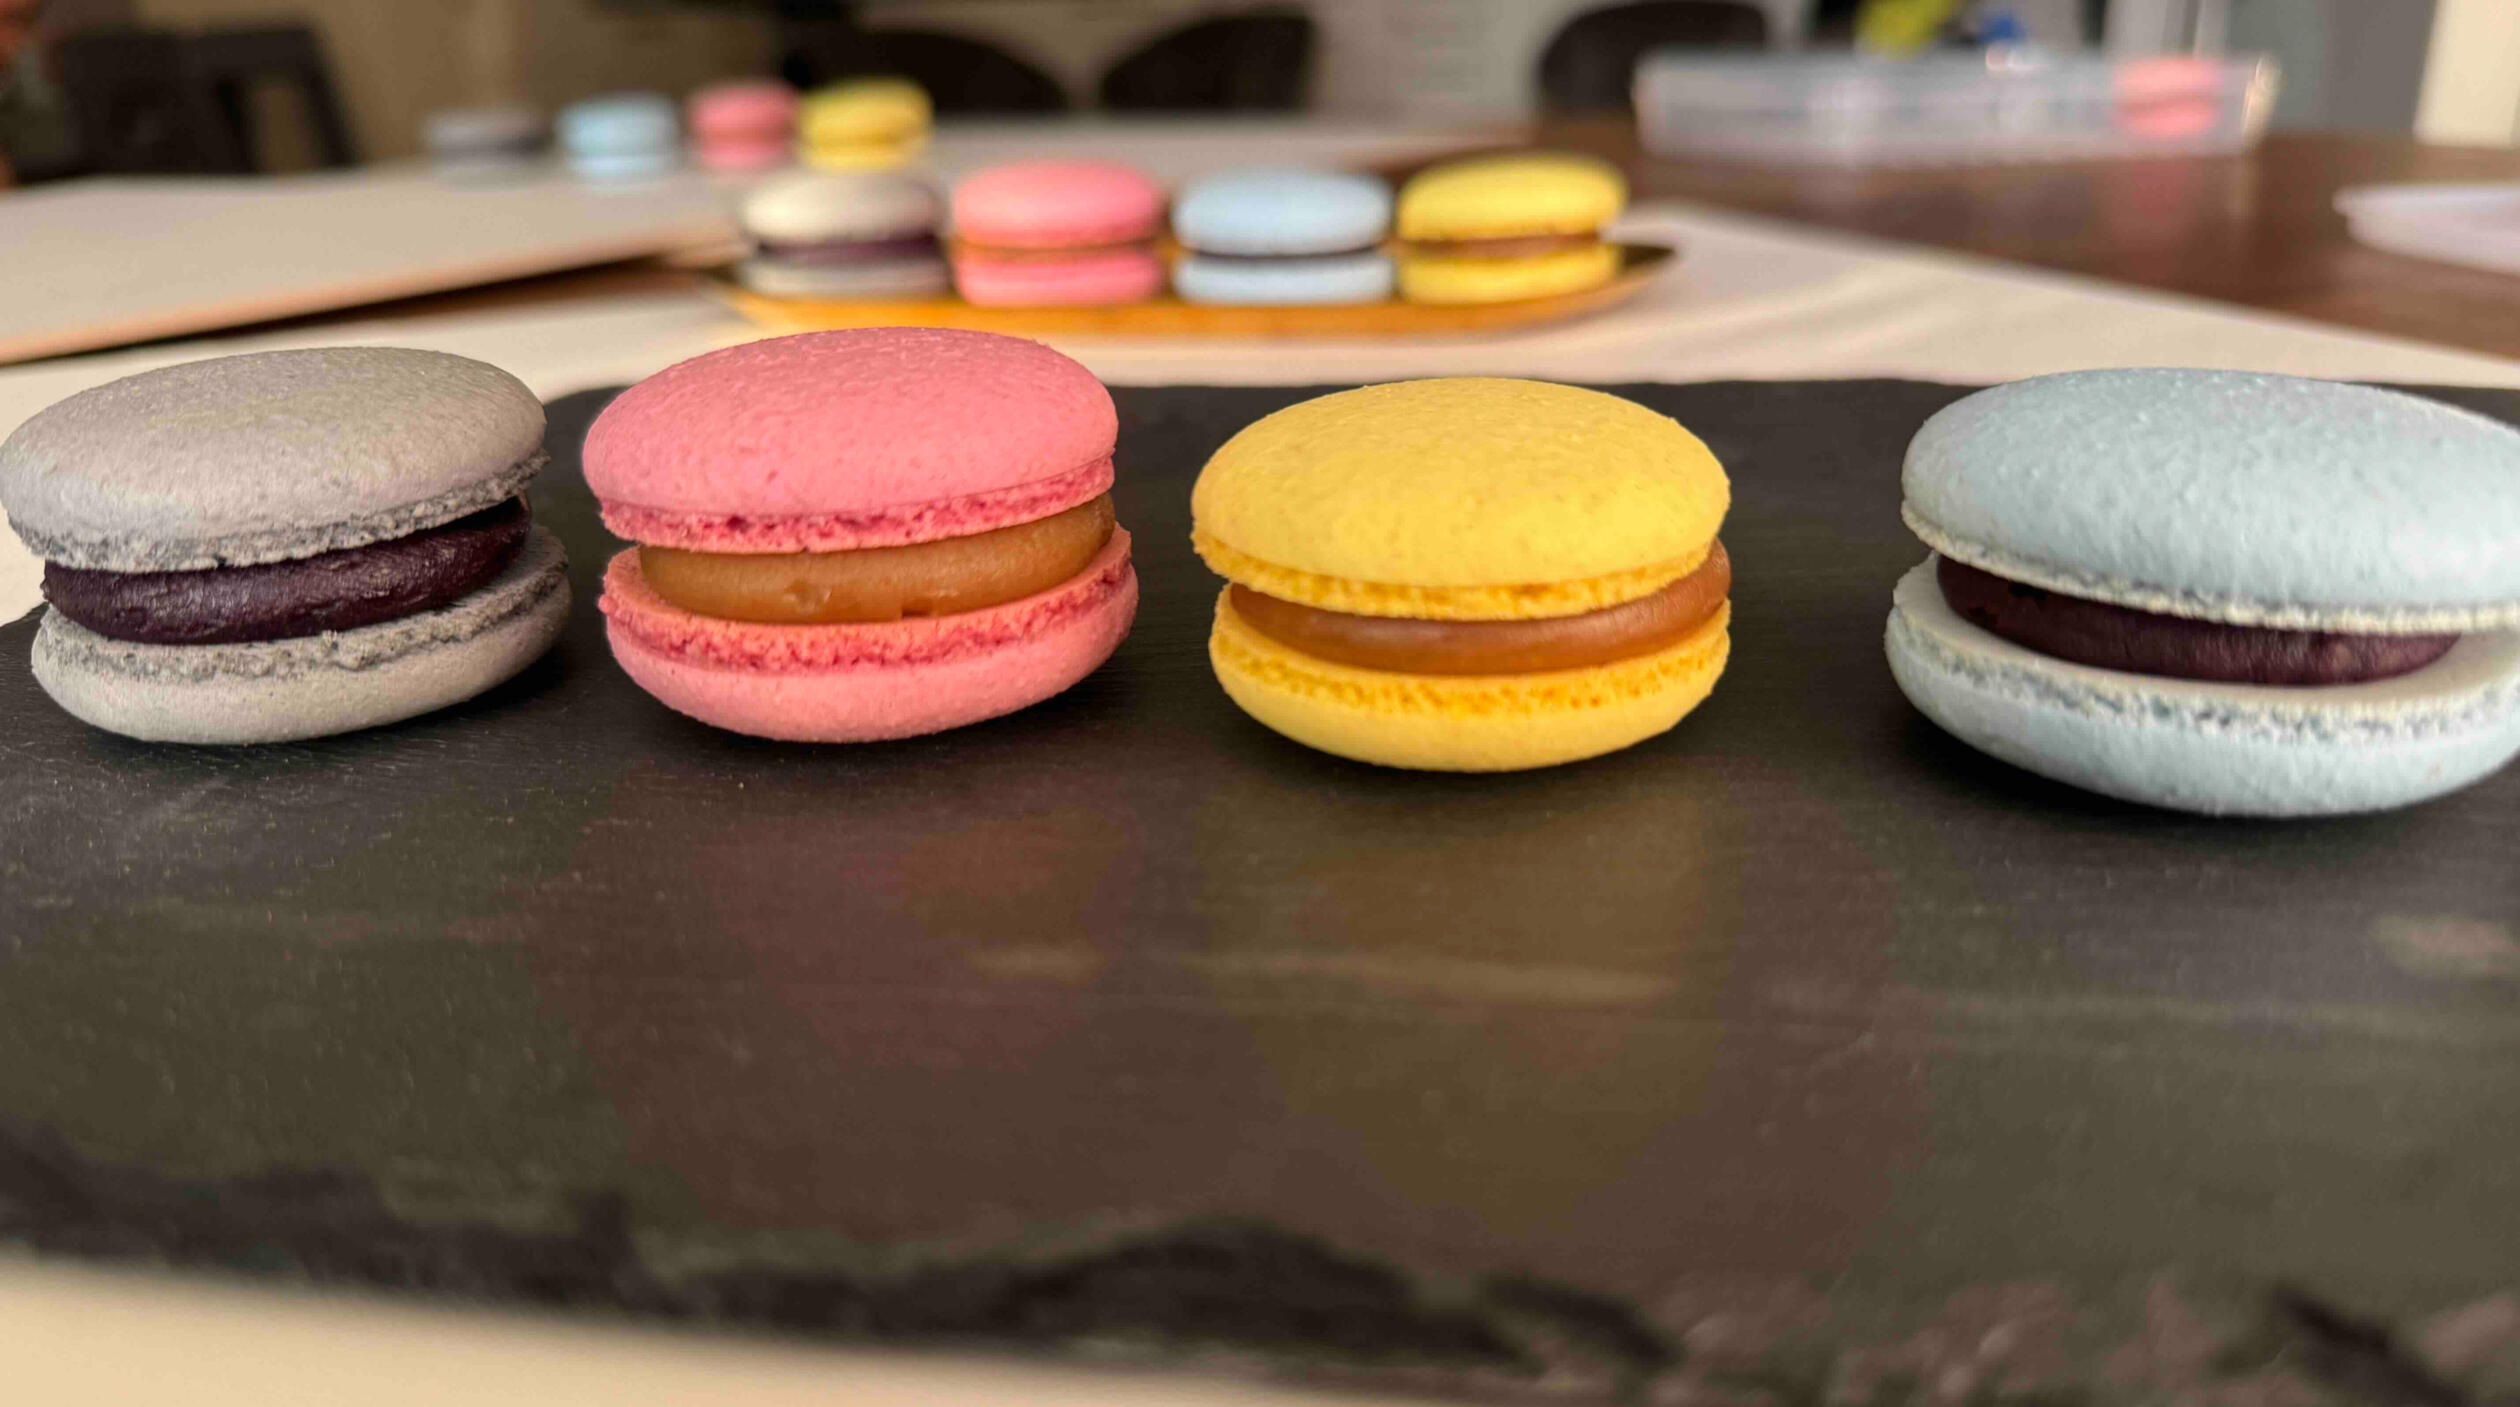
2. Fruit or Berry Filling together with Ganache: First, pipe a ring of ganache around the edge of the shell, then add the fruit or berry filling in the center.Once the filling is piped, place a second macaron shell on top and gently press down to spread the filling evenly to the edges.Congratulations, your macaron is ready!After assembling your macarons, allow them to rest for a few minutes to let the filling settle properly.Next, place the assembled macarons in an airtight container and store them in the fridge. This step is crucial for melding the flavors and achieving the perfect texture. For the best results, let them rest for at least 24h before enjoying.
Long-term storage:
Assembled macarons can be frozen for longer storage. Place them in an airtight container with parchment paper between layers to prevent sticking. They can be stored in the freezer for up to 2 weeks. When ready to eat, thaw them in the fridge for a few hours
Macaron shells can be stored in the fridge for up to 2 months when placed in an airtight container
Humidity control: Keep macarons away from humidity, which can soften the shells
Serving: Allow refrigerated or frozen macarons to come to room temperature before serving for the best texture and flavor
Airtight containers: Ensure containers are truly airtight to prevent macarons from drying out or absorbing other odors from the fridge or freezer
Troubleshooting macarons
Here’s a troubleshooting guide for macarons, outlining common problems and their solutions:
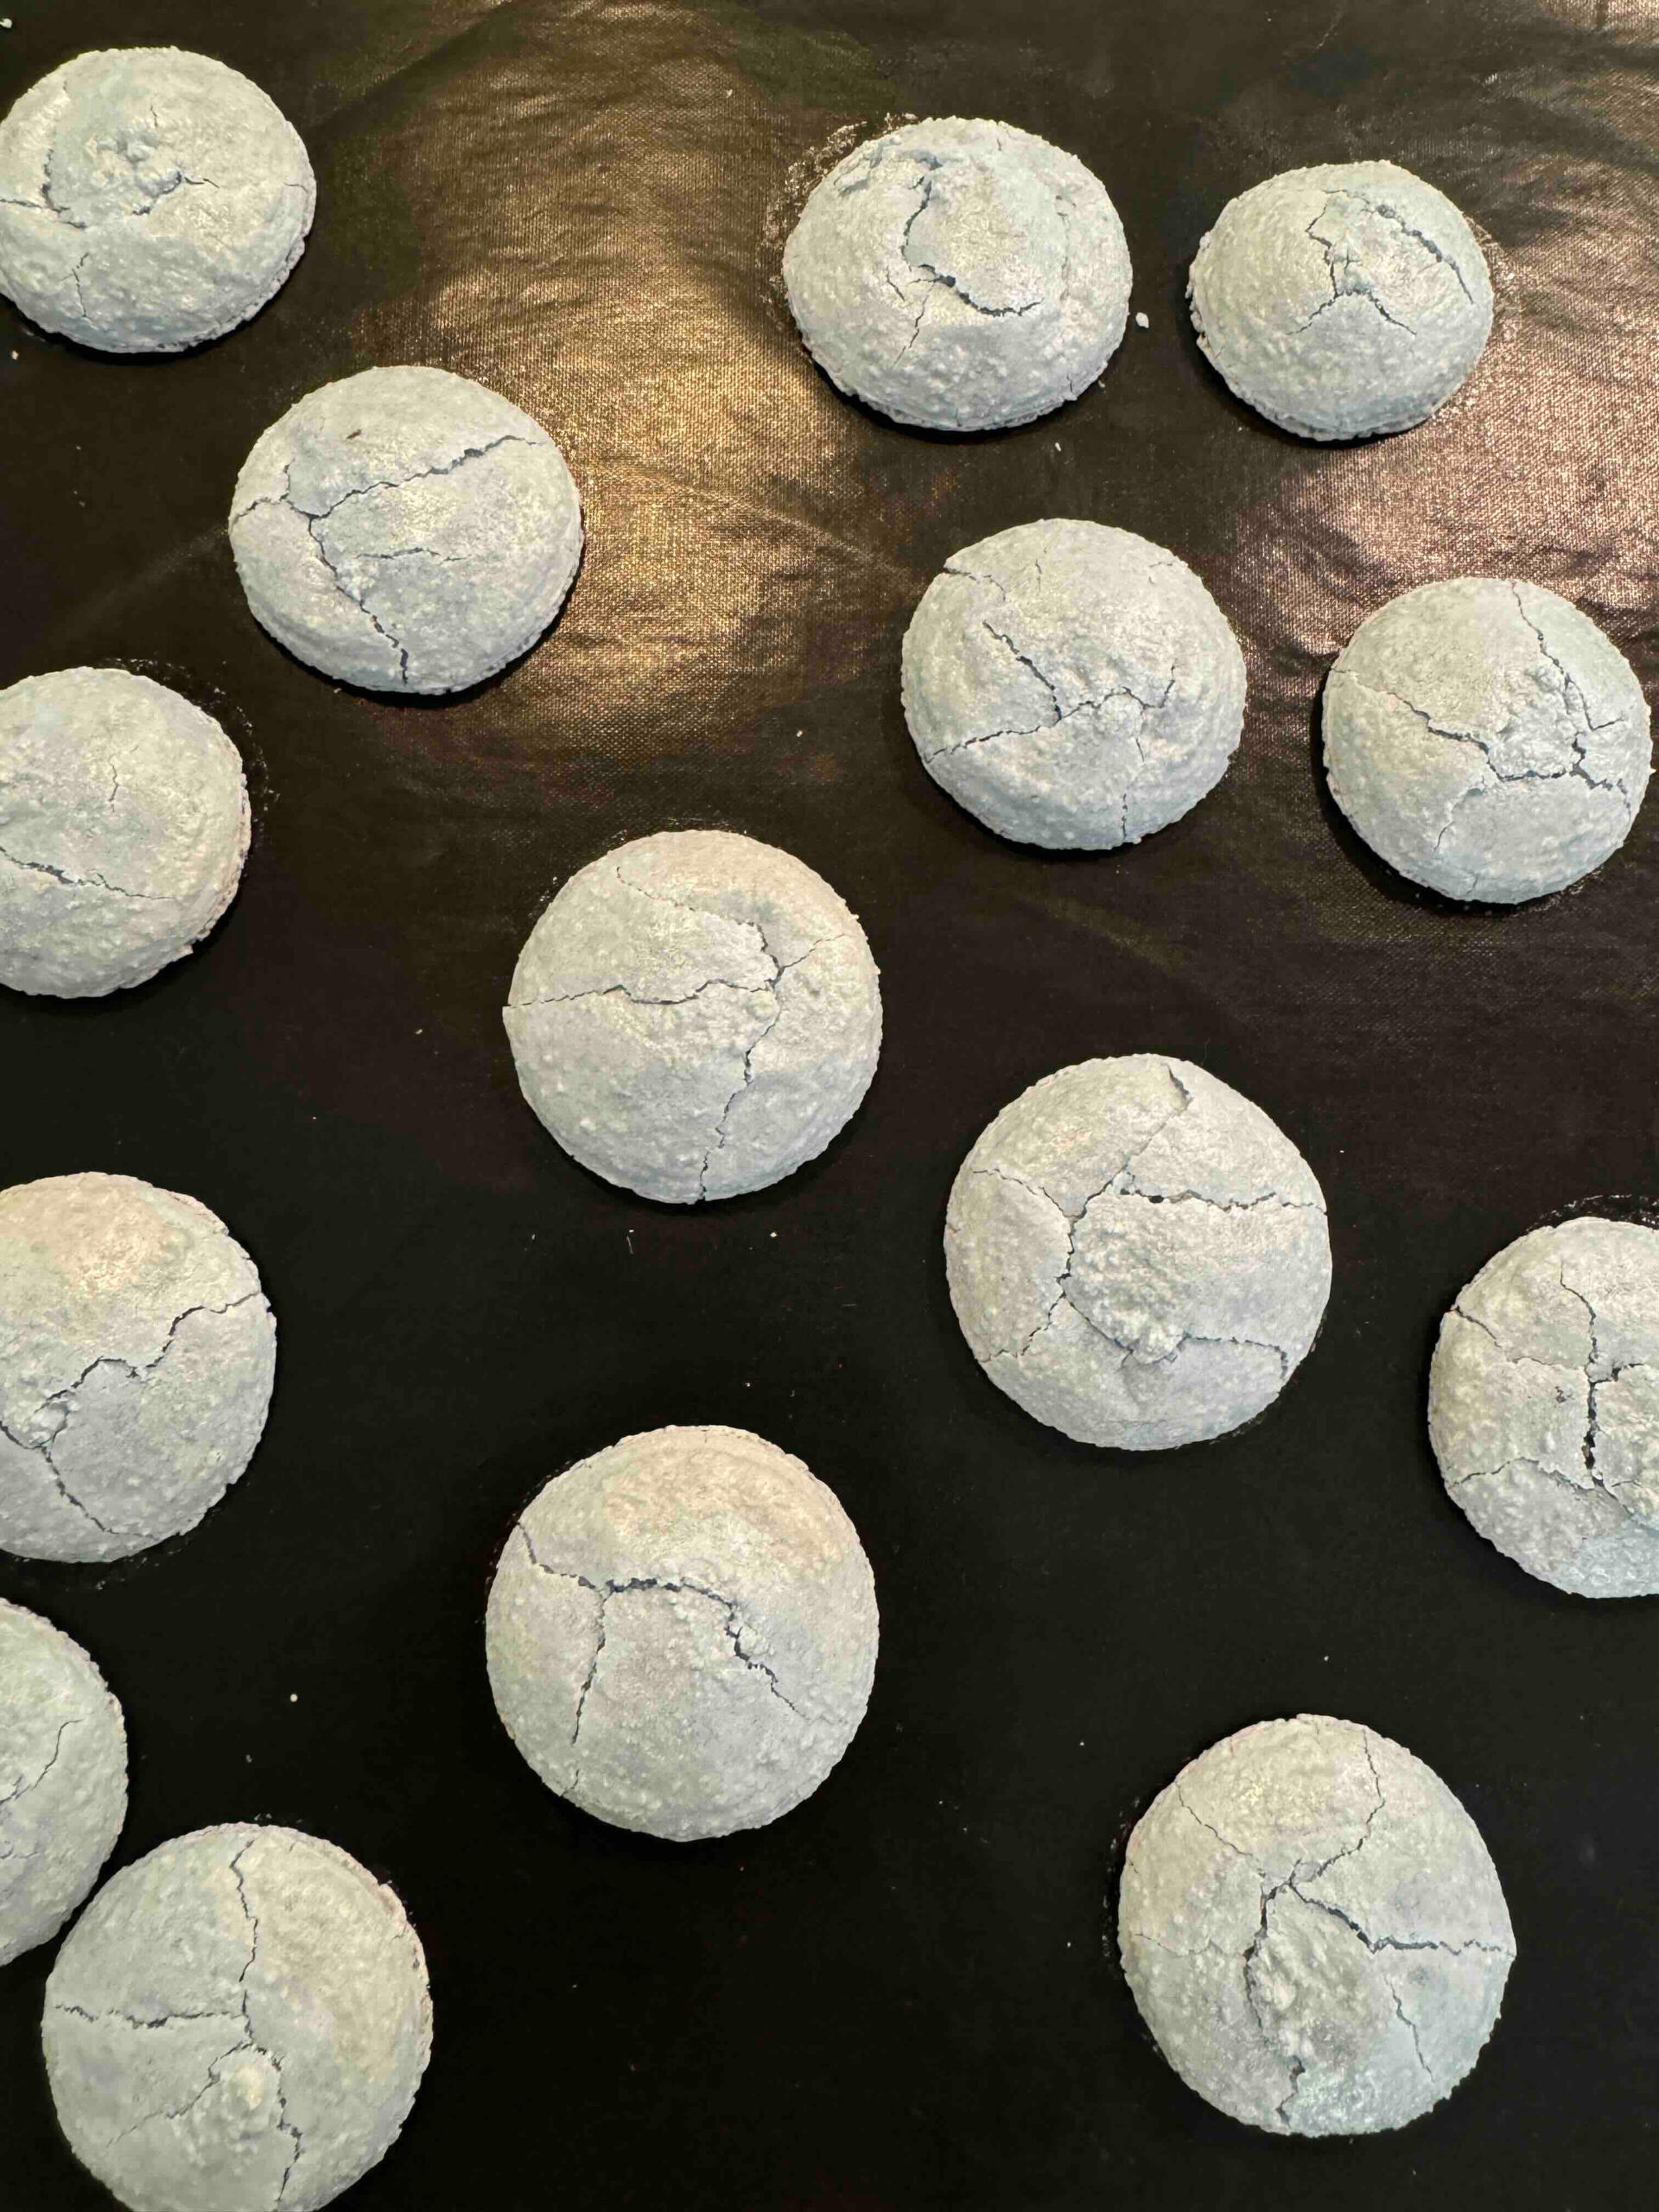
Cracked Macaron Shells:
Cause: Oven temperature was too high or macaron shells were baked for too long
Solution: Lower the oven temperature or reduce the baking time. Also, ensure the texture of your macaron batter is correct by not overmixing and removing all air pockets and bubbles
Hollow Macaron Shells:
Cause: The macaron batter was likely over-mixed or under-mixed. Air bubbles may also contribute to hollow shells
Solution: Adjust the mixing process to achieve the right consistency, ensuring the batter flows smoothly in a ribbon. Remove any air bubbles by tapping the baking tray or using a toothpick
Macaron Shells Didn't Rise and Didn't Form a Feet:
Cause: Overbeating the egg whites or overmixing the macaron batter
Solution: Allow the piped shells to rest for about 15min after piping onto the baking mat, until they form a skin before baking. Ensure the oven is at the correct temperature
Spreading Shells:
Cause: Over-mixing the batter can cause the piped shells to lose their shape
Solution: Pipe the batter straight down, and make sure the shells have rested and formed a skin before baking
Egg Whites/ Meringue Don`t Peak:
Cause: Even a small amount of fat can prevent egg whites from whipping properly
Solution: Ensure all equipment (bowls, spatula, wire whip, flat beater, etc.) is completely clean and free of grease. Use metal or glass bowls, as plastic can retain grease. Carefully separate the egg whites from the yolks; using cold eggs makes separation easier, but allow the whites to reach room temperature before whipping. Avoid adding sugar before the egg whites reach the soft peak stage, as this can prevent proper whipping
Final Thoughts on Mastering Macaron-Making
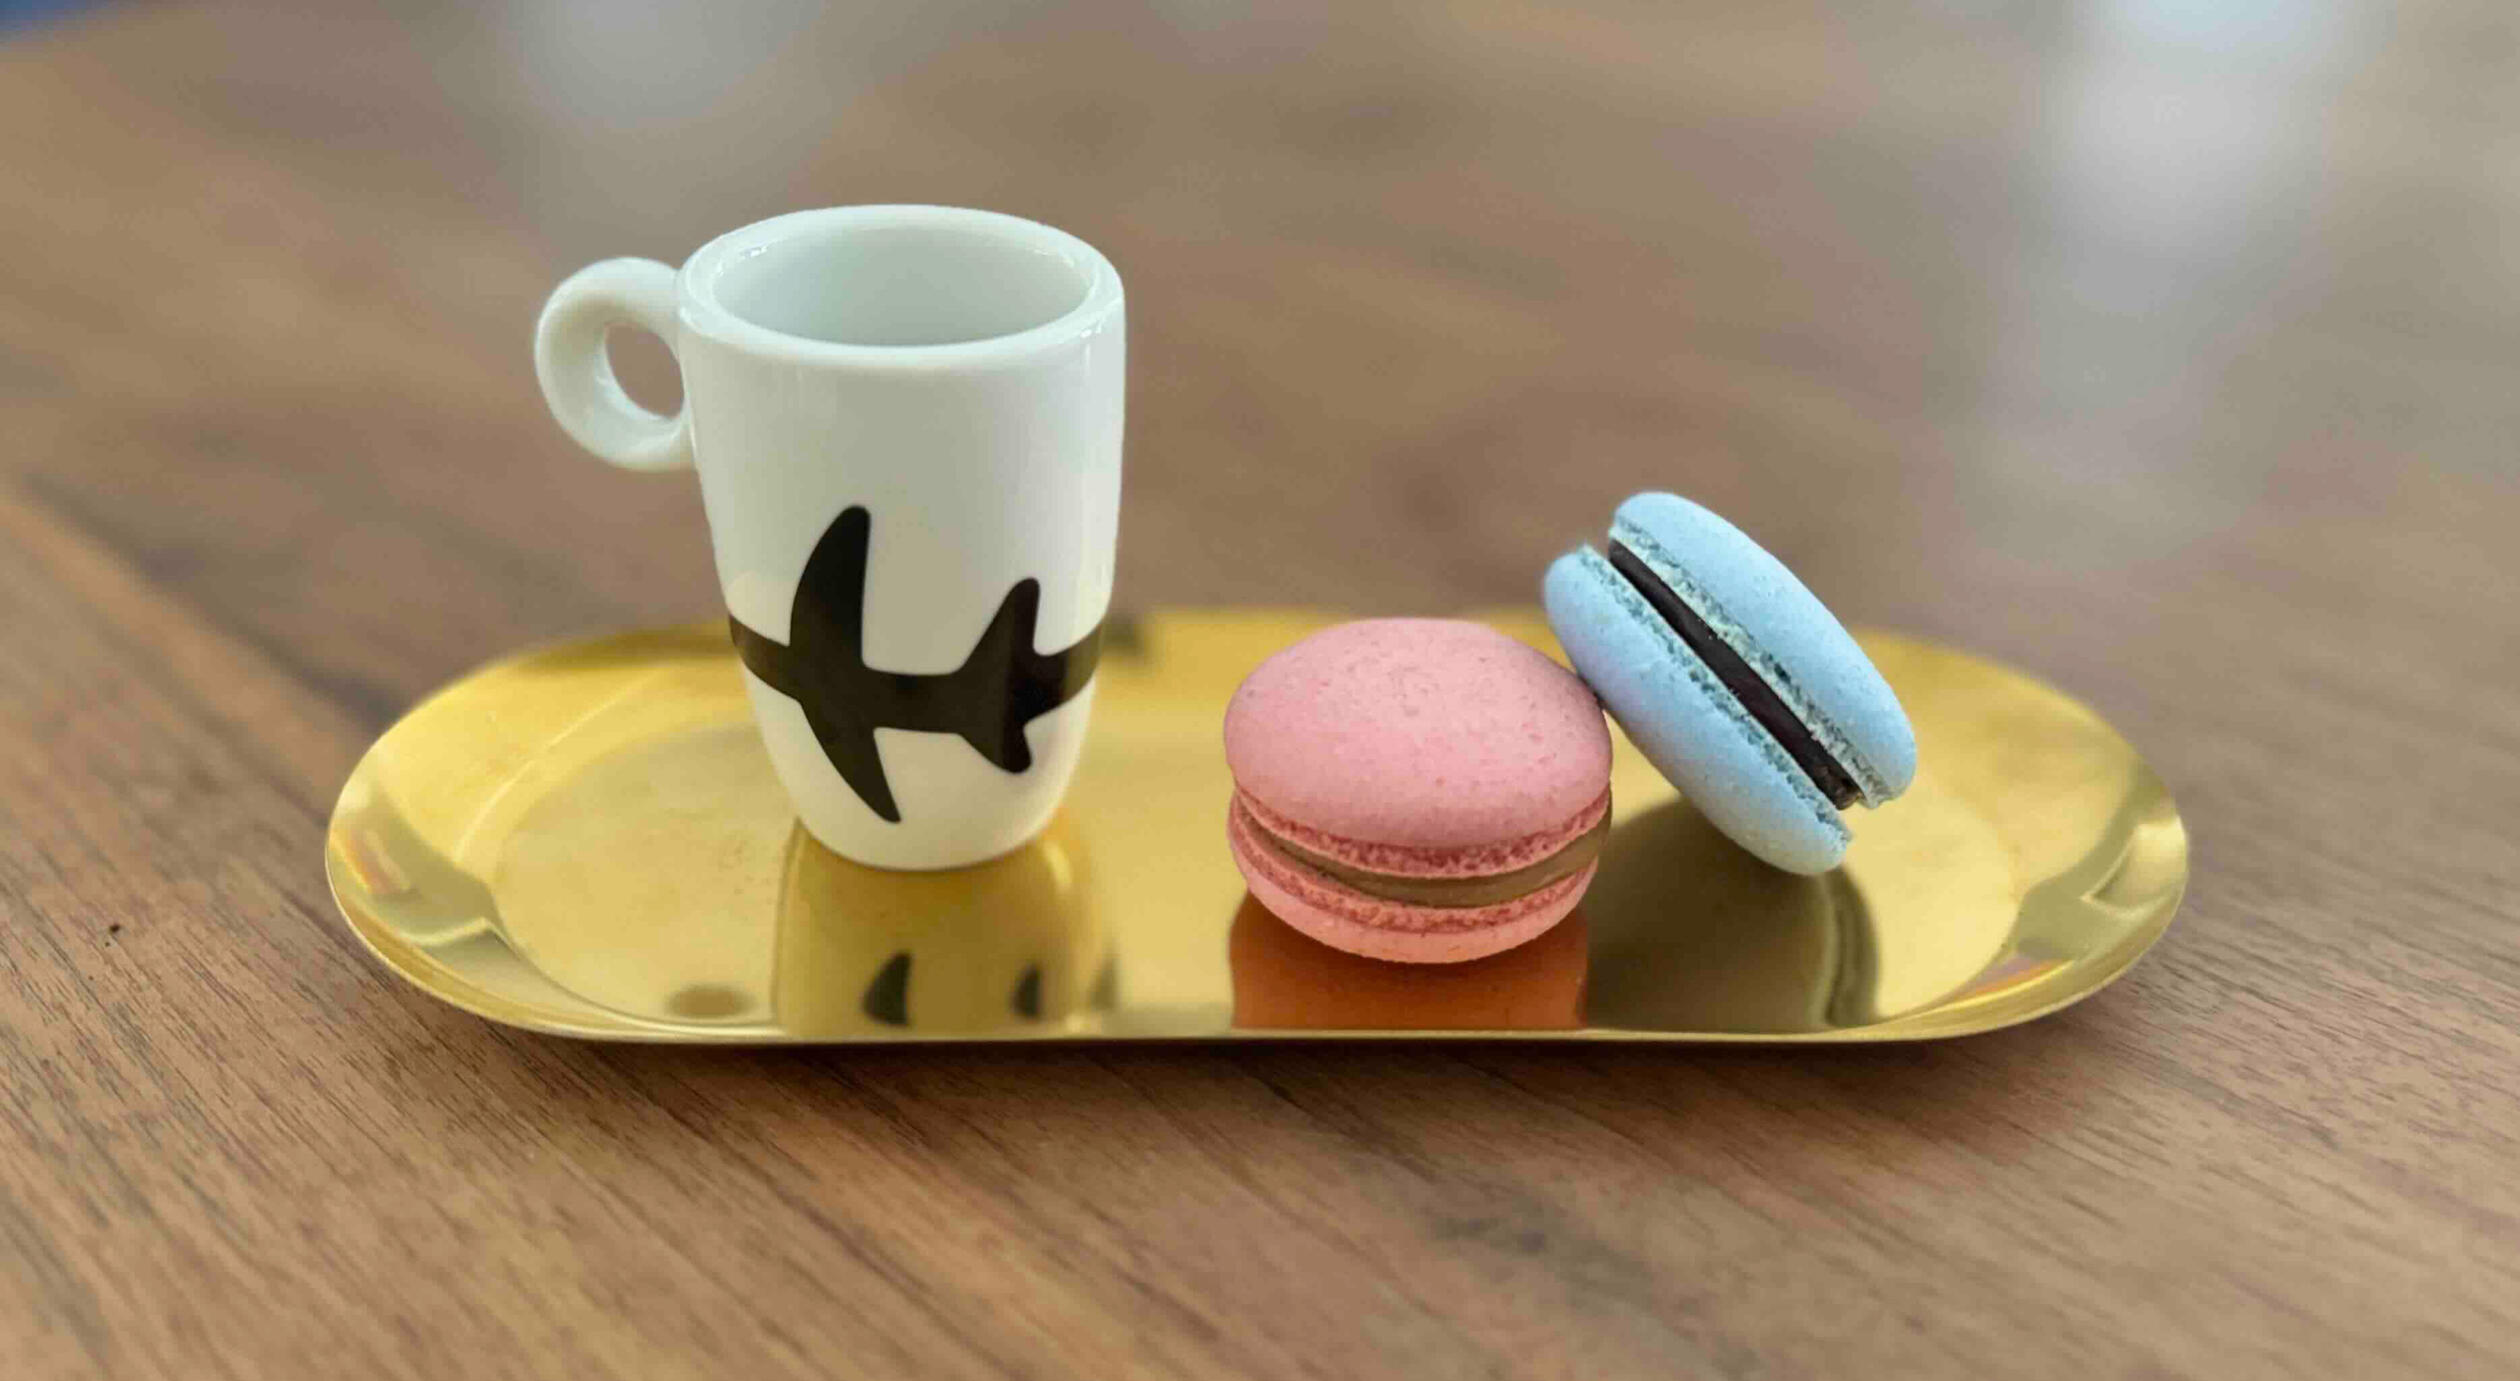
Mastering the art of making macarons takes precision and practice, but the rewards are worth every effort. By following these detailed steps and expert tips, such as proper piping techniques and ideal resting times, you can achieve perfectly baked macaron shells with delightful fillings. Whether you're a beginner or an experienced pastry chef, my comprehensive guide will help you create exquisite macarons every time.Happy baking, and feel free to experiment with new flavors and techniques!
Preparation time ca. 1h
Cooking time ca. 15-30min
Yield approx. 30 macarons